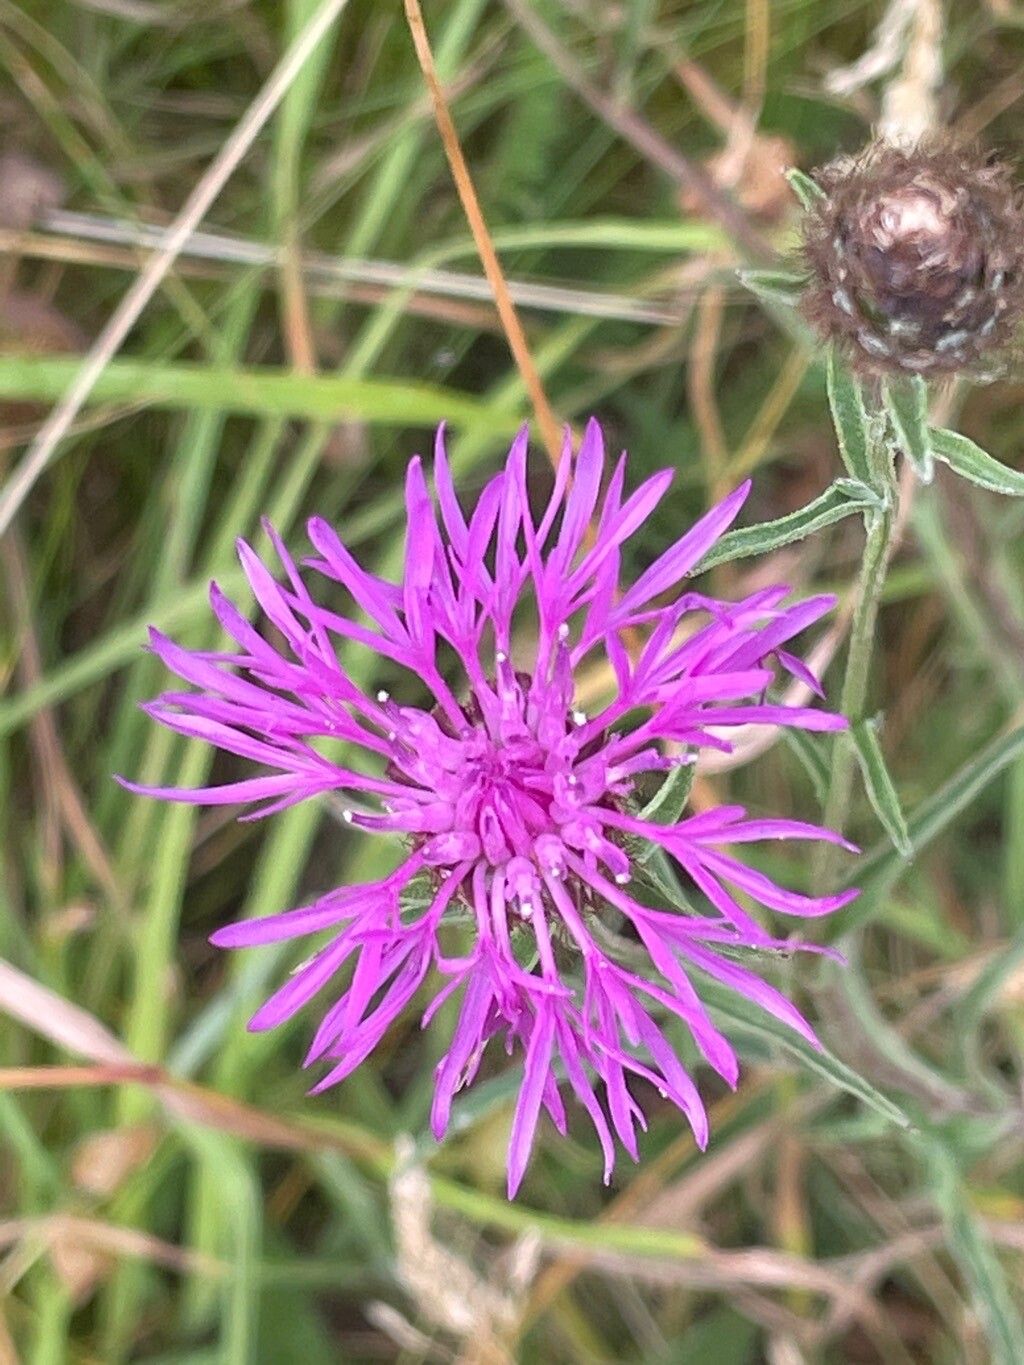
Hello fellow garden enthusiasts! If you’ve ever admired the delicate, thistle-like blooms of Centaurea debeauxii gracing a garden, you’re not alone. I’ve fallen in love with its airy beauty myself over the years. It has this wonderful way of adding a touch of wild elegance, almost like a breath of fresh air. And the best part? You can easily bring that magic into your own garden by propagating it! For folks just starting out with propagating, Centaurea debeauxii is a wonderfully rewarding plant to work with. It’s quite forgiving, which always makes the learning process that much more enjoyable.
The Best Time to Start
Timing is everything, as they say, and for our beloved Centaurea debeauxii, late spring to early summer is often the sweet spot. This is when the plant is actively growing and has plenty of energy to dedicate to healing and rooting. You’ll want to take cuttings from healthy, non-flowering stems. Look for shoots that are about 4-6 inches long.
Supplies You’ll Need
Gathering your supplies before you begin makes the whole process much smoother. Here’s what I usually have on hand:
- Sharp, clean pruning shears or a razor blade. Sterilizing them is key to preventing disease!
- A well-draining potting mix. I often use a blend of equal parts peat moss, perlite, and coarse sand.
- Small pots or seed trays with drainage holes.
- Rooting hormone powder (optional, but it can give an extra boost).
- A clear plastic bag or propagation dome to create a humid environment.
- A spray bottle filled with water.
Propagation Methods
While there are a few ways to go with Centaurea debeauxii, I find stem cuttings to be the most reliable and straightforward method.
- Select and Cut: Choose a healthy stem that is about 4-6 inches long and has no flowers. Using your sterilized pruning shears, make a clean cut just below a leaf node. A leaf node is that little bump on the stem where a leaf emerges. This is where the magic of rooting happens!
- Prepare the Cutting: Gently remove the lower leaves from the stem, leaving just a few at the top. This prevents them from rotting when planted. If your cutting is particularly long, you can pinch off the very tip of the main shoot to encourage bushier growth later on.
- Apply Rooting Hormone (Optional): If you’re using rooting hormone, lightly dip the cut end of the stem into the powder. Tap off any excess.
- Planting: Moisten your potting mix. Make a small hole in the center of your pot with your finger or a pencil. Insert the cut end of the stem into the hole, ensuring the leaf nodes are below the soil line. Gently firm the soil around the stem.
- Create Humidity: Water the soil lightly until it’s evenly moist, but not soggy. Then, cover the pot with a clear plastic bag or a propagation dome. This creates a mini-greenhouse effect, keeping the humidity high, which your cuttings desperately need.
The “Secret Sauce” (Pro Tips)
Here are a couple of things I’ve learned over the years that really seem to make a difference:
- Don’t be afraid to take multiple cuttings. Not every single one will take, and that’s perfectly normal! The more you start, the better your chances of success.
- Bottom heat can be a game-changer, especially if your house is a bit on the cooler side. Placing your pots on a gentle heat mat specifically designed for seedlings can significantly speed up root development.
Aftercare & Troubleshooting
Once your cuttings are planted and cozy under their humidity dome, keep the soil consistently moist but not waterlogged. Check them every day or two, misting the leaves lightly if they look a bit dry. Remove the plastic bag for about 30 minutes each day to allow for some air circulation – this helps prevent fungal issues.
You’ll know your cuttings have taken when you see new growth appearing from the top or sides of the stem, or when you gently tug on the cutting and feel some resistance (the roots are holding it). This usually takes anywhere from 3-6 weeks, depending on conditions.
The biggest enemy you’ll face is rot. If you notice your cuttings turning black, mushy, or smelling unpleasant, it’s usually a sign of too much moisture and not enough air circulation. Don’t be disheartened if this happens; it’s a learning curve! Sometimes, you can salvage a stem if you catch it early by trimming away the rotten parts and repotting it in fresh, drier soil.
A Encouraging Closing
Propagating Centaurea debeauxii is a wonderfully hands-on way to connect with your garden. Be patient with yourself and your little cuttings. Each one is a tiny miracle in the making. Enjoy the journey, celebrate every new sprout, and before you know it, you’ll have a whole patch of this delightful plant to admire! Happy propagating!
Resource:
https://identify.plantnet.org/k-world-flora/species/Centaurea%20debeauxii%20Godr.%20&%20Gren./data