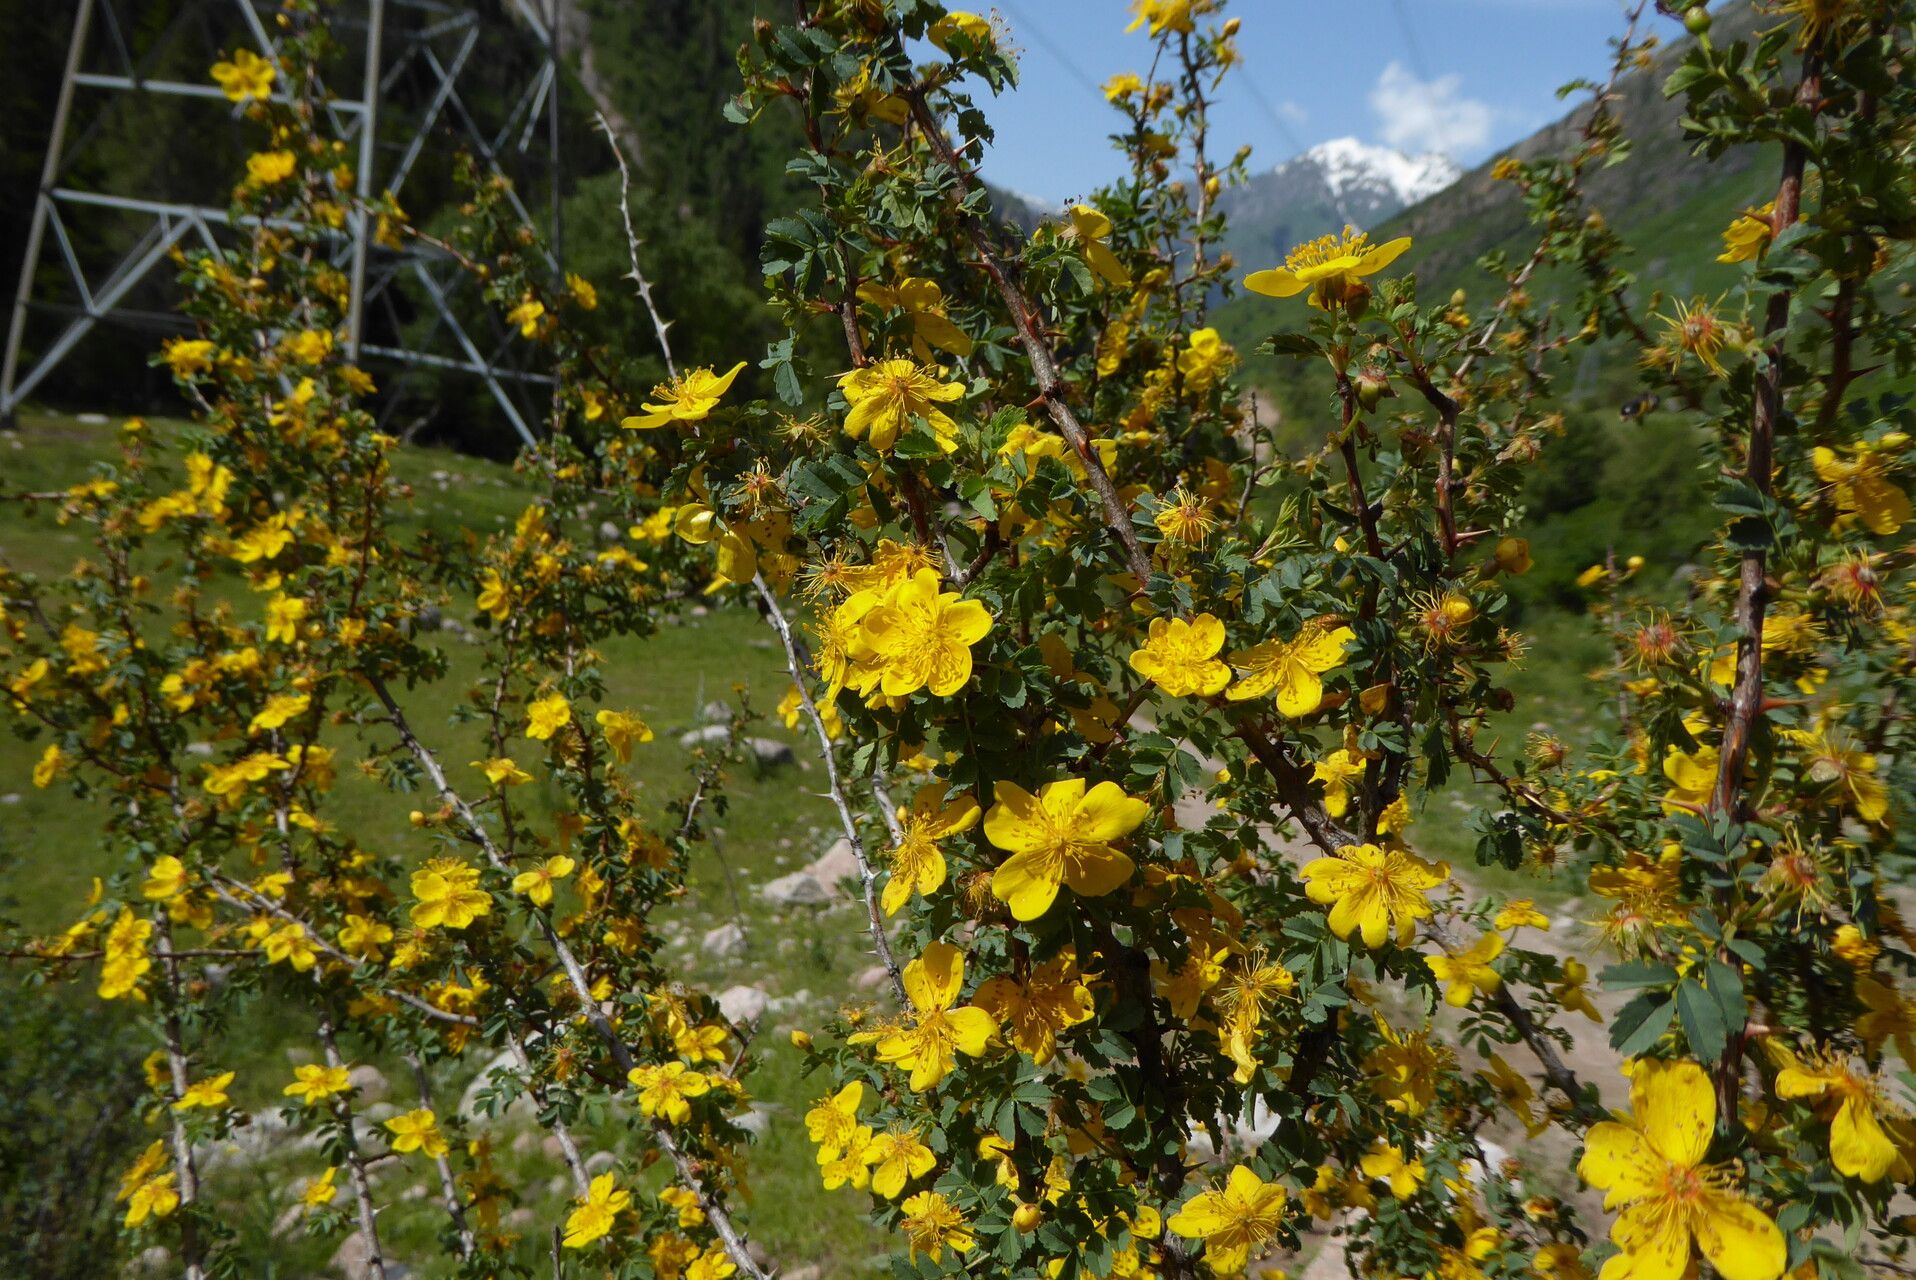
Hey there, fellow plant lovers! Today, we’re diving into the delightful world of Rosa ecae, a rose that’s just a little bit different, a little bit special. Its charm lies in its dainty, usually single, yellow flowers that bloom with a joyful abandon. There’s something incredibly satisfying about coaxing a new life from a piece of an existing plant, isn’t there? And with Rosa ecae, it’s a journey well worth embarking on. Now, if you’re new to the rose-propagating game, I’ll be upfront: Rosa ecae can be a bit of a challenge. She’s not as straightforward as some of her bushier cousins, but don’t let that deter you! With a little patience and a few insider tricks, you’ll be well on your way.
The Best Time to Start
When it comes to giving your new Rosa ecae babies the best shot at life, timing is everything. The sweet spot for propagating most roses, including our yellow friend here, is usually late spring to early summer, once the plant has finished its main flush of blooms and the stems have started to mature a bit – we call them “semi-ripe” cuttings. You want a stem that’s firm but can still be bent slightly without snapping. Avoid taking cuttings from brand new, floppy growth or from wood that’s already completely hard and woody.
Supplies You’ll Need
Gathering your tools before you begin will make the whole process so much smoother. Here’s what I recommend having on hand:
- Sharp Pruning Shears or a Craft Knife: Clean, sharp tools are non-negotiable. They make clean cuts, which heal better.
- Rooting Hormone Powder or Gel: This is like a little boost of encouragement for your cuttings.
- Small Pots or Seedling Trays: Aim for something around 3-4 inches wide.
- A Well-Draining Potting Mix: I like a mix of equal parts peat-free compost, perlite, and a bit of coarse sand. This ensures good aeration and prevents soggy roots.
- A Clear Plastic Bag or Propagator Lid: This helps maintain humidity.
- A Small Watering Can with a Fine Rose: For gentle watering.
- Labels: So you remember what you’ve potted!
Propagation Methods
While Rosa ecae can be a bit finicky, stem cuttings are generally our most reliable bet for getting more of these beauties.
Stem Cuttings
- Select Your Stems: Look for healthy, non-flowering stems from the current year’s growth. You want stems that are semi-ripe – firm but still a little flexible.
- Take the Cuttings: Using your clean shears, cut sections of stem about 4-6 inches long. Make the bottom cut just below a leaf node (where a leaf attaches to the stem). This is where the magic of rooting often happens. At the top, cut just above a leaf node.
- Prepare the Cuttings: Gently remove all but the top two or three leaves. If the remaining leaves are large, you can even cut them in half horizontally to reduce water loss.
- Apply Rooting Hormone: Dip the bottom inch of each cutting into rooting hormone. Tap off any excess powder.
- Pot Them Up: Fill your small pots with your prepared potting mix and moisten it thoroughly. Make a hole in the center of the soil with a pencil or dowel. Carefully insert the prepared cutting into the hole, ensuring the rooting hormone coating the bottom doesn’t rub off. Gently firm the soil around it.
- Create a Humid Environment: Water the soil lightly again. Then, cover the pot with a clear plastic bag or place it inside a propagator lid. This is crucial for keeping humidity high. Make sure the leaves do not touch the sides of the bag if possible, as this can encourage rot.
- Place in Bright, Indirect Light: Find a warm spot that receives plenty of bright, indirect light but avoid direct sun, which can cook your cuttings.
Water Propagation (with caution for Rosa ecae)
While I’m a big fan of water propagation for many plants, Rosa ecae can be more prone to rot in water. If you choose this method, be extra vigilant.
- Prepare Cuttings: Follow steps 1-3 above.
- Place in Water: Fill a clean jar or glass with room-temperature water. Submerge only the bottom 1-2 inches of the stem. It’s a good idea to remove any leaves that would sit below the waterline to prevent them from decaying.
- Change Water Regularly: This is the most important part. Change the water every two to three days to keep it fresh and oxygenated, and to deter bacterial growth.
- Watch for Roots: Roots should start to appear in a few weeks. Once they are about an inch long, you can carefully pot them into your well-draining soil mix, following the potting instructions in the stem cutting method.
The “Secret Sauce” (Pro Tips)
After years of getting my hands dirty, I’ve picked up a few tricks that make a noticeable difference:
- Bottom Heat is Your Friend: Roses, especially trickier ones, often root much faster and more reliably with gentle bottom heat. A propagation mat placed under your pots can make all the difference. Aim for a consistent temperature of around 70-75°F (21-24°C).
- Air Circulation is Key: While we need humidity, stagnant air can be a recipe for disaster. Open the plastic bag or propagator lid for a few minutes each day to allow for fresh air exchange. This helps prevent fungal diseases.
- Don’t Rush It: I know it’s exciting to check for roots, but resist the urge to pull up your cuttings too often. Give them at least 4-6 weeks before you even think about gently tugging to feel for resistance.
Aftercare & Troubleshooting
Once you see those beautiful new roots forming – a little tug that meets resistance is a good sign, as is a new flush of tiny leaves! At this point, you can start to gradually acclimatize your new plants to normal conditions.
- Remove the Plastic: Begin by lifting the plastic bag or propping open the propagator lid for longer periods each day, increasing the exposure over a week or two to prevent shock.
- Watering: Water your rooted cuttings when the top inch of soil feels dry. Be careful not to overwater.
- Light: Keep them in that bright, indirect light for a while longer before moving them to a slightly sunnier spot.
Now, what if things aren’t going as planned? The most common culprits are botrytis (grey mold) and mild rot.
- Grey Mold: This looks like fuzzy grey mold on the leaves or stems. It’s usually a sign of too much humidity and not enough air circulation. Remove any affected parts immediately and improve air flow.
- Rot: If the stem turns dark and mushy, it’s likely rot. This often happens from overwatering or poor drainage. Unfortunately, there’s usually no coming back from this.
Don’t get discouraged if you have failures; it happens to all of us! It’s part of the learning process.
A Little Encouragement to Get You Growing
Propagating Rosa ecae is a rewarding journey, even with its occasional quirks. Be patient with yourself and with your cuttings. Savor the moments of anticipation, celebrate the tiny victories, and soon enough, you’ll have a whole new generation of these lovely yellow roses to enjoy. Happy propagating!
Resource:
https://identify.plantnet.org/k-world-flora/species/Rosa%20ecae%20Aitch./data