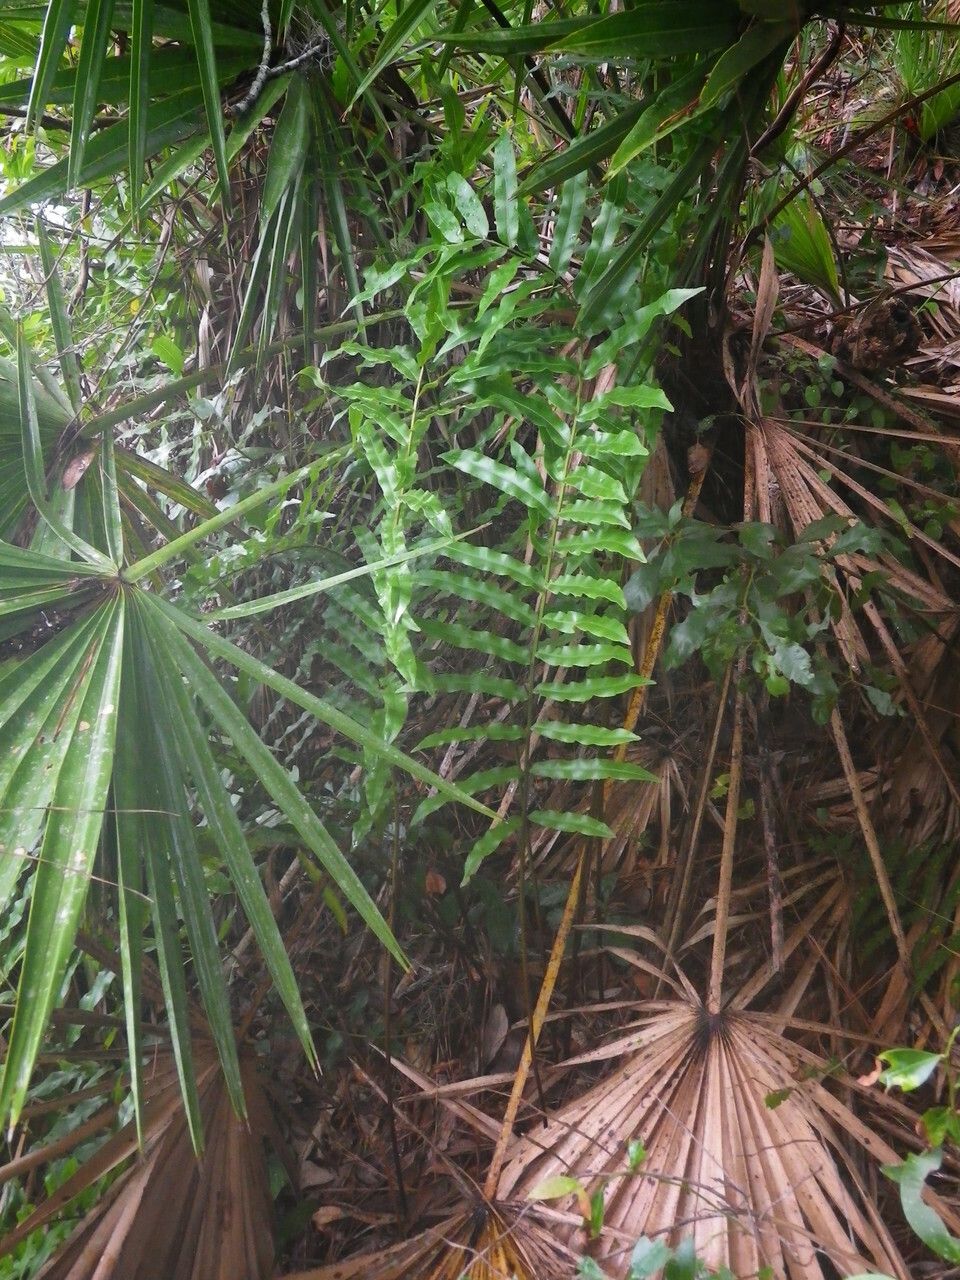
Oh, hello there! Grab a mug of whatever makes you happy, and let’s chat about ferns. Specifically, let’s talk about propagating Telmatoblechnum serrulatum, also known as the Water Chain Fern. Honestly, I find this fern utterly charming. It has these beautiful, arching fronds that cascade so elegantly, reminding me of a verdant waterfall. And the satisfaction of creating new life from an existing plant? Pure garden magic. Now, is it a beginner-friendly plant to propagate? I’d say it’s moderately easy. With a little attention to detail, you’ll be well on your way to a fern-filled haven.
The Best Time to Start
My best results with Telmatoblechnum serrulatum have always come in the late spring or early summer. This is when the plant is actively growing and has the most energy to dedicate to producing new roots. You can try it at other times, but you might find your success rate dips a bit. Look for healthy, vigorous fronds that are firm and not yet showing any signs of stress.
Supplies You’ll Need
Here’s what I usually gather before I get my hands dirty:
- Sharp, clean pruning shears or a craft knife. For clean cuts, it’s essential.
- A well-draining potting mix. I often use a blend of peat moss, perlite, and a bit of orchid bark. For ferns, good aeration is key!
- Small pots or containers. Think 4-6 inch pots for divisions, or small nursery pots for cuttings.
- Plastic bags or a propagator. To create a humid environment.
- Rooting hormone (optional). This can give cuttings a helpful boost.
- Misting bottle. For that gentle spritz of hydration.
- Watering can. For when they’re ready for a bit more.
Propagation Methods
Let’s dive into how we can coax this lovely fern into multiplying.
Division (My Favorite!)
This is usually the easiest and most rewarding method for Telmatoblechnum serrulatum.
- Gently remove the fern from its pot. If it’s been in the pot for a while, you might need to loosen the edges with your knife.
- Inspect the root ball. You’re looking for natural divisions – sections where the rhizomes (the creeping stems) have grown apart. You should be able to see distinct clumps of fronds with their own root systems.
- Carefully separate the sections. You might be able to pull them apart by hand. If they’re a bit stubborn, use your clean pruning shears or knife to make a cut through the rhizome, ensuring each division has healthy roots and at least a few fronds.
- Pot up each division. Use your well-draining potting mix. Plant them at the same depth they were previously growing.
- Water thoroughly, but don’t let them sit in water.
Stem Cuttings (More Patience Required)
This method takes a bit longer, but it’s absolutely doable.
- Select a healthy, mature frond. Look for one that’s firm and green.
- Cut a section of the frond. Aim for a piece that includes a bit of the main stem (rhizome) it’s attached to, about 2-3 inches long. Make your cut just below a node (where a leaf stalk emerges).
- Remove any lower leaflets. You want to expose the part of the stem that will go into the soil.
- Dip the cut end in rooting hormone. This is where you can give it a little advantage. Tap off any excess.
- Insert the cutting into your potting mix. Make a small hole with your finger or a pencil, then gently place the cutting in, ensuring the cut end is in contact with the soil.
- Water gently.
- Cover the pot with a plastic bag or place it in a propagator. This is crucial for maintaining humidity.
The “Secret Sauce” (Pro Tips)
Here are a couple of things I’ve learned over the years that make a difference:
- When doing divisions, don’t be afraid to trim back overly long or damaged roots. The plant will focus its energy on producing new, healthy ones.
- For cuttings, if you’re using the plastic bag method, poke a few small holes in the bag the first few days. This prevents it from becoming too stagnant and can help ward off mildew. Once you see signs of new growth, you can gradually remove the bag.
Aftercare & Troubleshooting
Once your new fern babies are potted, give them a good, gentle watering. Keep the potting mix consistently moist, but never waterlogged. Think “damp sponge.” Place them in a spot with bright, indirect light. Avoid direct sun, as it can scorch their delicate new leaves.
The most common issue you might encounter is rot. This usually happens if the soil is too wet or the humidity is too high without enough air circulation. If you see a frond turning yellow and mushy at the base, it’s often a sign of rot. Sadly, if rot sets in, it can be difficult to recover. Prevention is key here – ensure good drainage and appropriate moisture levels.
A Encouraging Closing
Propagating plants is a journey, and every gardener learns through trial and error. Be patient with your Telmatoblechnum serrulatum propagations. It might take a few weeks, or even a couple of months, to see significant root development. Just keep giving them consistent, caring attention, and you’ll be rewarded with beautiful new ferns. Happy growing!
Resource: