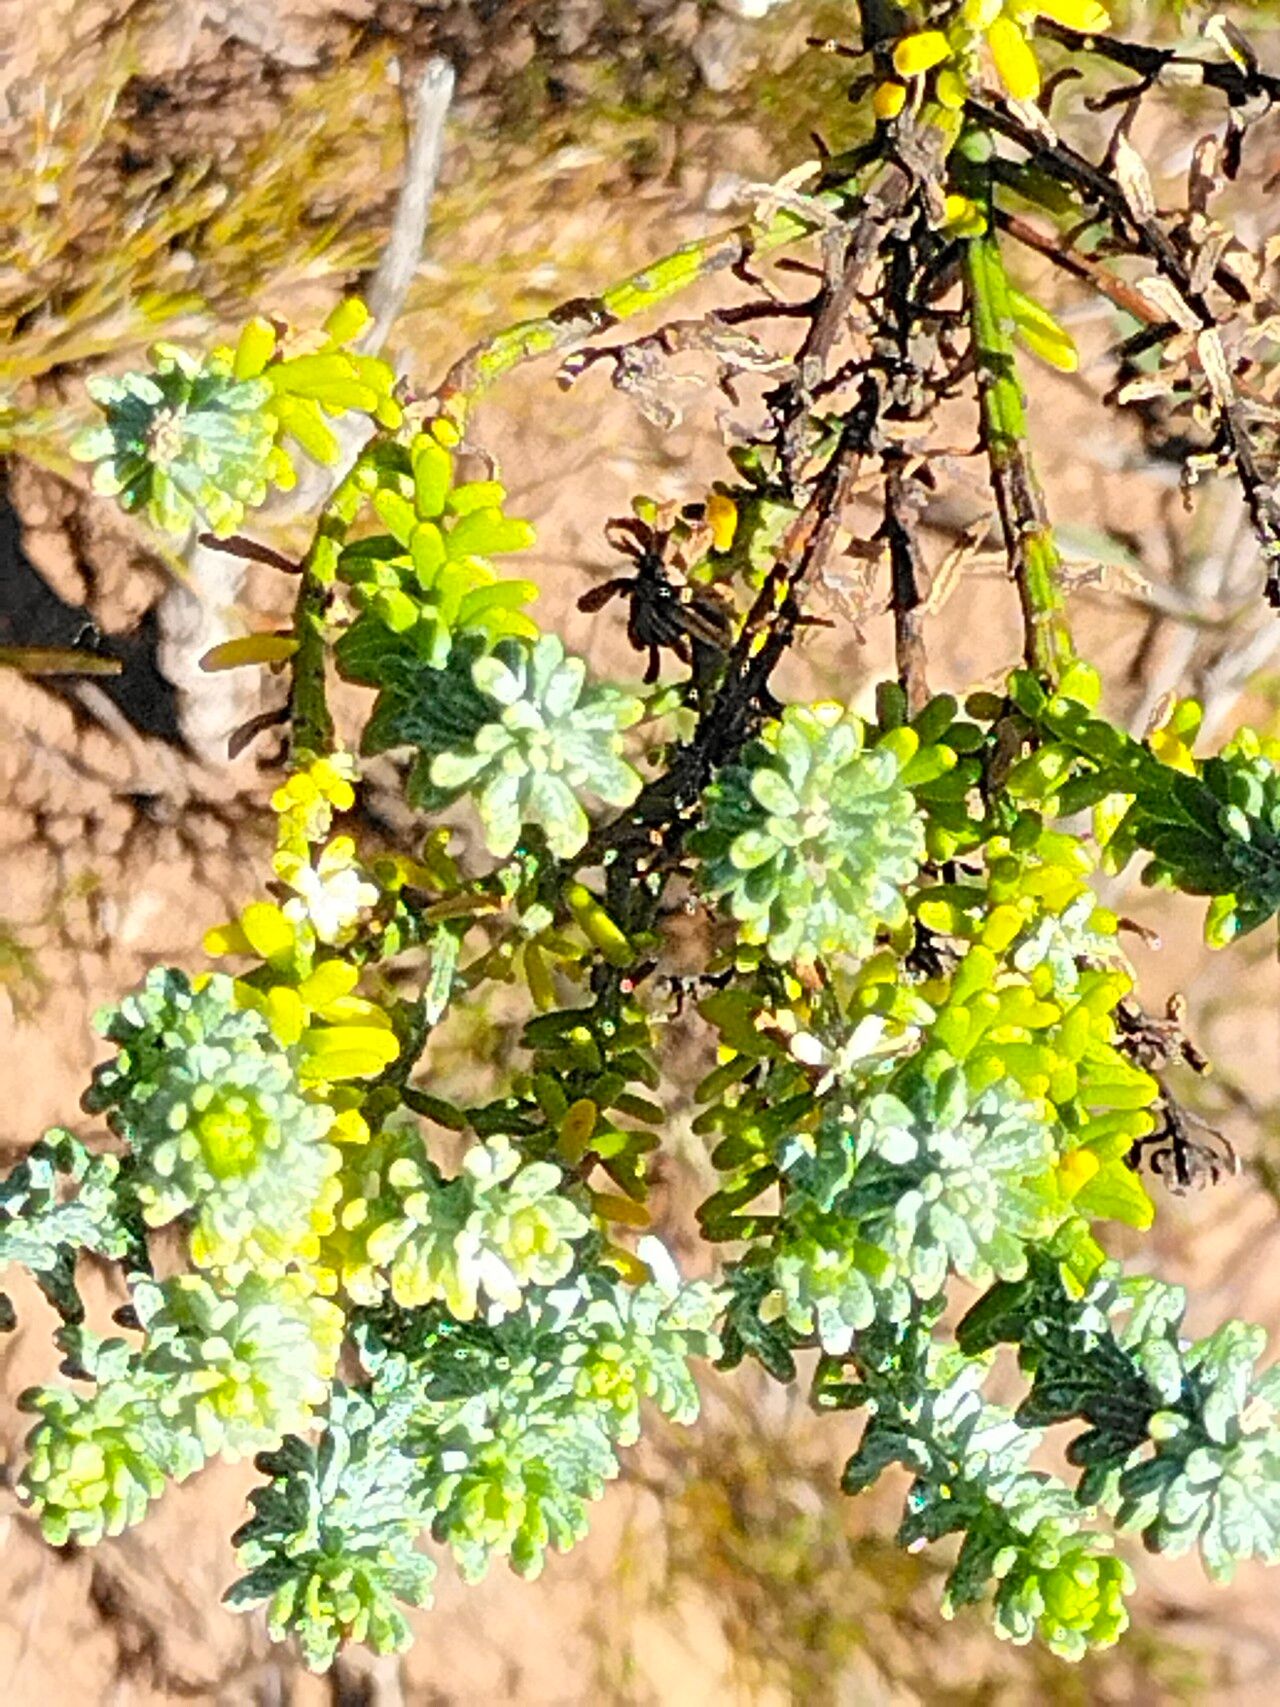
Hey there, fellow plant enthusiasts! Today, we’re diving into the wonderful world of propagating Chrysocoma cernua. This delightful little plant, with its cheerful, daisy-like flowers cascading over silvery foliage, is an absolute joy to have in the garden. And guess what? If you love it as much as I do, you’ll be thrilled to know that multiplying it is surprisingly rewarding and, dare I say, quite achievable for most gardeners. You don’t need years of experience for this one – just a little patience and willingness to get your hands dirty.
The Best Time to Start
For the most bang for your propagation buck, aim for late spring to early summer. This is when Chrysocoma cernua is actively growing and has plenty of energy to put into developing new roots. You’ll want to start with healthy, vigorous stems that haven’t yet flowered. Think of it as taking cuttings from a plant that’s just brimming with life – it’s the perfect donor!
Supplies You’ll Need
Gathering your tools beforehand makes the whole process smoother. Here’s what I always have on hand:
- Sharp pruning shears or a clean, sharp knife: For making clean cuts on your stem cuttings.
- Seed starting mix or a well-draining potting mix: A blend of peat moss and perlite or vermiculite works beautifully. We want good aeration!
- Small pots or seed trays: Whatever you have that can hold your cuttings and allow for drainage.
- Rooting hormone (optional but recommended): This isn’t strictly necessary, but it can give your cuttings a helpful boost.
- A spray bottle: For keeping things nicely misted.
- A plastic bag or clear propagation dome: To create a mini-greenhouse effect.
Propagation Methods
Let’s get propagating! The most reliable method for Chrysocoma cernua is by stem cuttings.
1. Taking Your Cuttings:
Start by selecting a healthy, non-flowering stem. Using your clean shears or knife, make a cut just below a leaf node. A leaf node is that little bump where a leaf grows from the stem. You want your cuttings to be about 4-6 inches long. Remove the lower leaves, leaving just a couple of pairs at the top.
2. Preparing the Cuttings:
If you’re using rooting hormone, dip the cut end of each stem into it. Give it a gentle tap to remove any excess. Don’t be afraid to really coat that cut end!
3. Planting Your Cuttings:
Fill your small pots or trays with your well-draining potting mix. Moisten the soil slightly. Then, using a pencil or your finger, make a small hole in the soil. Gently insert the prepared cutting into the hole, making sure the leaf nodes you removed are buried beneath the soil line. It’s a good idea to plant several cuttings in one pot, spaced a couple of inches apart.
4. Creating the Mini-Greenhouse:
Lightly water the soil after planting. Then, cover the pots with a plastic bag or a clear propagation dome. This traps humidity, which is crucial for cuttings. Make sure the leaves don’t touch the sides of the bag, as this can encourage rot.
The “Secret Sauce” (Pro Tips)
Here are a couple of my tried-and-true tricks that have really helped me along the way:
- Bottom Heat is Your Friend: If you have a heat mat designed for seed starting, popping your pots on top of it can significantly speed up root development. The gentle warmth encourages the plant to put its energy into growing roots.
- Don’t Drown Them! While humidity is essential, soggy soil is the enemy of cuttings. Check the moisture levels regularly. The soil should feel moist, not waterlogged. If you can, let the surface dry out just a tiny bit between waterings.
Aftercare & Troubleshooting
Once your cuttings are planted, give them a good misting and place them in a bright spot, but avoid direct sunlight. Direct sun can scorch those delicate new cuttings.
Now comes the waiting game. Keep the soil consistently moist and the humidity high. The first sign of success will be new leaf growth appearing at the top of the cutting. This usually takes anywhere from 3-6 weeks.
The most common problem you might encounter is rot. If you see your cuttings turning brown and mushy, it’s a sign of too much moisture and not enough air circulation. If this happens, remove the affected cuttings immediately and allow the remaining ones to dry out a bit more. Sometimes, improving air flow by poking a few extra holes in your plastic cover can help.
A Little Patience Goes a Long Way
Propagating Chrysocoma cernua is such a fulfilling way to share the beauty of this plant with friends or simply expand your own collection. Don’t get discouraged if your first attempt isn’t a runaway success! Every gardener has had their share of cuttings that didn’t make it. Just keep trying, observe what your plants are telling you, and enjoy the process. Happy gardening, everyone!
Resource:
https://identify.plantnet.org/k-world-flora/species/Chrysocoma%20cernua%20L./data