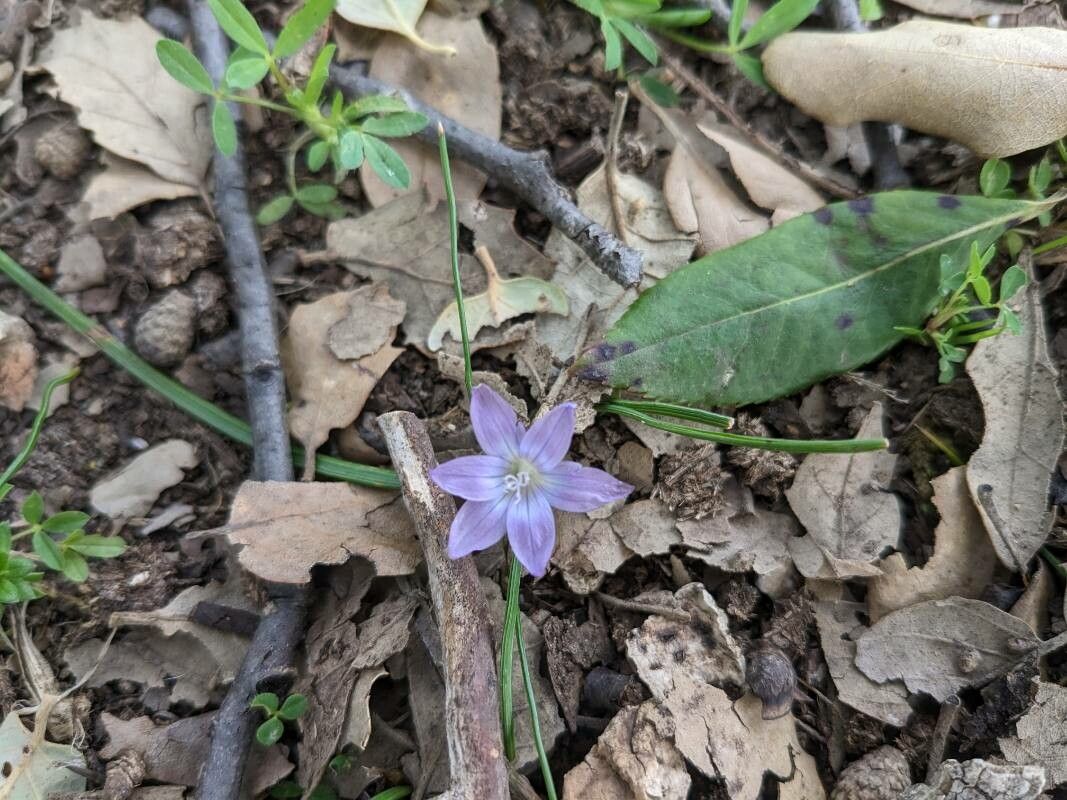
Oh, Romulea ligustica! If you’ve ever seen this little gem gracing a garden, you know that cheerful splash of color it brings. It’s one of those understated beauties that just makes you smile. And the best part? It’s more achievable to grow your own than you might think. Don’t worry if you’re new to the gardening game; propagation can seem a bit daunting, but with Romulea ligustica, we’re looking at a plant that’s generally quite forgiving. It’s wonderfully rewarding to nurture a new plant from a tiny piece of an existing one. Let’s get growing!
When is Your Romulea Ready to Multiply?
For Romulea ligustica, the late summer to early autumn is generally your sweet spot. This is typically when they are finishing up their active growth phase and entering a period of dormancy or semi-dormancy. It’s a bit like giving them a gentle nudge just before they settle down for the cooler months. Trying it too early in the heat of summer can stress them, and waiting too late might mean your new cuttings don’t have enough time to establish before winter.
Your Propagation Toolkit
To make this process as smooth as possible, gather these items:
- Coarse Sand or Perlite: This is crucial for good drainage.
- Peat Moss or Coco Coir: For a bit of moisture retention.
- Small Pots or Trays: Clean, of course!
- Sharp Pruning Shears or a Clean Knife: For making neat cuts.
- Dibber or Pencil: To make planting holes.
- Watering Can with a Fine Rose: For gentle watering.
- Optional: Rooting Hormone: While often not essential for Romulea, it can offer a little boost.
- Optional: Clear Plastic Bag or Dome: To create a mini-greenhouse effect.
Let’s Get Our Hands Dirty: Propagation Methods
Romulea ligustica is primarily propagated by division of its corms. Think of these corms as tiny underground energy storage units, and they often produce little offsets or baby corms.
- Digging Up the Corms: Gently excavate your established Romulea plant. Be careful not to damage the corms. You’re looking for the main central corm and any smaller ones clustered around it.
- Separating the Corms: Once you’ve got them out, it’s time for the delicate part. You’ll see little bulblets or new corms attached to the parent corm. Gently pull or cut these offsets away. Make sure each offset has at least a tiny bit of its own basal plate (where the roots will emerge).
- Allowing to Dry: It’s a good idea to let these separated corms air dry for a day or two in a well-ventilated, shady spot. This helps to heal any cuts and reduces the risk of rot when you replant them.
- Planting Your New Corms: Prepare your pots or trays with your well-draining mix (about 50% coarse sand/perlite and 50% peat moss/coco coir). Plant each corm about 1-2 inches deep, with the pointed tip facing upwards.
- Initial Watering: Water gently but thoroughly. You want the soil to be evenly moist, not soggy.
The Gardener’s Little Secrets
- Pre-Slightly Dehydrate: Before you divide, let the soil around your parent plant dry out a bit. This actually makes the corms easier to handle and less likely to break off cleanly.
- Don’t Overcrowd: Give your new corms a little space. Cramming too many into one pot can lead to competition and a higher chance of fungal issues if air circulation is poor.
- Think About Dormancy: If you’re propagating after they’ve gone fully dormant and are completely dry, you might want to soak the corms for a few hours in water before planting. This can help kickstart them.
Aftercare and What to Watch For
Once your corms are planted, place them in a bright spot, but avoid direct, harsh sunlight initially. Keep the soil consistently moist but never waterlogged. You should start to see new growth emerge within a few weeks.
The main thing to troubleshoot is rot. If your corms turn mushy or black, it’s a sign of too much moisture. Ensure excellent drainage and consider reducing watering frequency. If you see fuzzy mold on the surface, improve air circulation if possible.
Happy Growing!
There you have it! Propagating Romulea ligustica is a beautiful way to extend this charmer’s presence in your garden. Be patient with your new arrivals. Nature works on its own timeline, and celebrating each little bit of new green growth is part of the joy. Enjoy the process, and soon you’ll have even more of these delightful blooms to share!
Resource:
https://identify.plantnet.org/k-world-flora/species/Romulea%20ligustica%20Parl./data