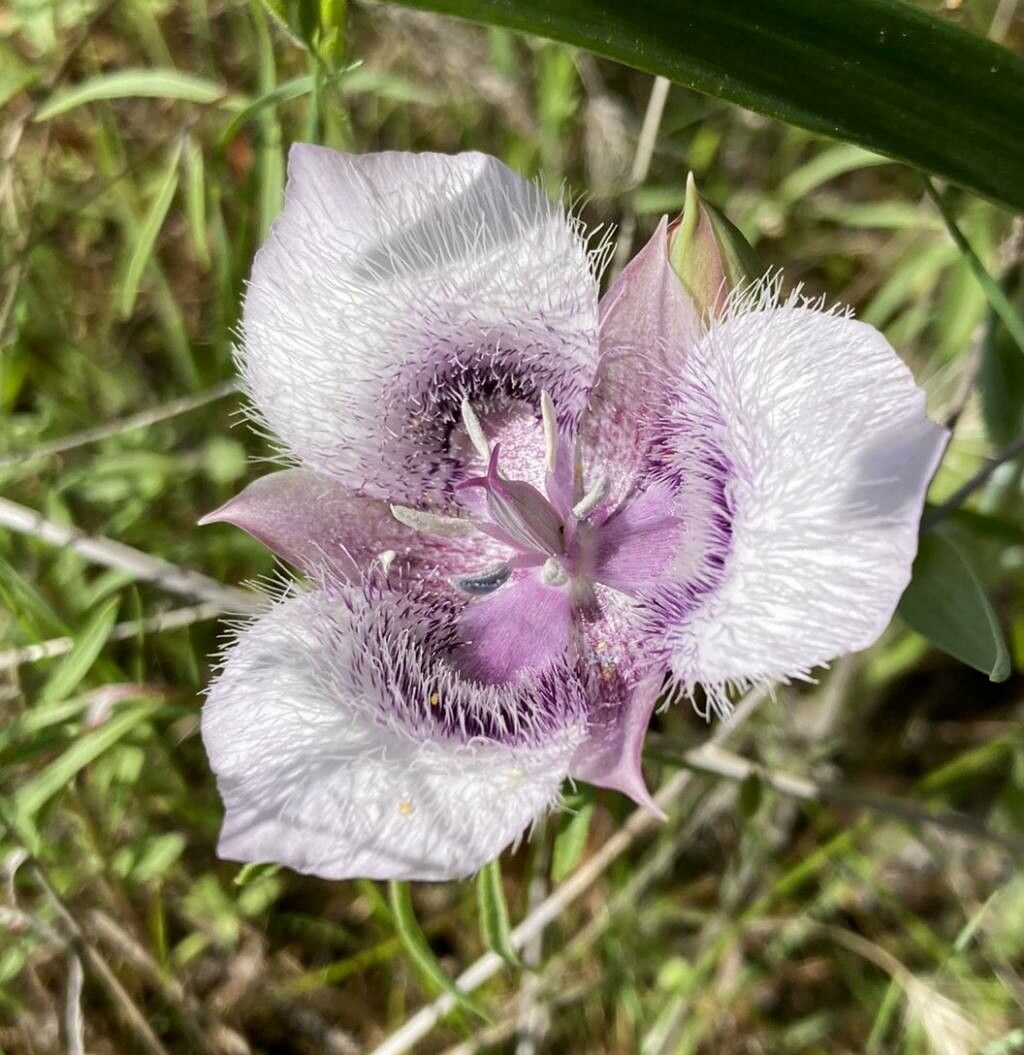
Hello fellow garden enthusiasts! Today, I want to talk about a truly special bloom, Calochortus tolmiei. Often called the Tolmie’s Star-tulip or Cat’s Ear, this native beauty from the West Coast really captures my heart. Its delicate, often fuzzy petals have this ethereal charm that’s simply irresistible. Growing these from seed or starting new plants yourself is incredibly rewarding. Now, I won’t sugarcoat it – Calochortus tolmiei can be a bit of a diva to propagate, especially for absolute beginners. They have specific needs, but with a little patience and the right approach, you too can fill your garden with these unique flowers.
The Best Time to Start
Timing is everything, as any seasoned gardener knows. For Calochortus tolmiei, the absolute best time to look into propagation is when the plant is dormant. This typically means late summer or early fall, after the foliage has died back completely. They’ve finished flowering and are preparing for their rest period. Starting then gives any new divisions or seedlings ample time to establish before the next growing season heats up.
Supplies You’ll Need
Gathering your tools before you begin makes the whole process much smoother. Here’s what I usually have on hand:
- Well-draining potting mix: A mix formulated for cacti and succulents, or you can create your own blend of potting soil, perlite, and coarse sand (about 1:1:1 ratio). Good drainage is paramount!
- Small pots or trays: Clean containers are a must to prevent disease.
- Sharp, sterilized pruning shears or a clean knife: For making clean cuts.
- Rooting hormone (optional but recommended for cuttings): A good quality powder or liquid can give your cuttings a boost.
- Trowel or small shovel: For separating bulbs.
- Labels and a permanent marker: To keep track of what you planted where and when.
- Watering can or spray bottle: For gentle watering.
Propagation Methods
While seeds are an option, they can take a while to germinate and grow. For a quicker path to more plants, division is usually my go-to method for established Calochortus tolmiei.
Division (The Most Reliable Method):
- Dig carefully: When the plant is dormant (late summer/early fall), gently dig around the base of the plant. Use your trowel to loosen the soil and lift the entire clump. Be very careful not to damage the bulbs themselves.
- Gently separate: Once the clump is out of the ground, you’ll see multiple bulbs clustered together. Gently tease them apart with your fingers. If they’re really stuck, a sharp, sterilized knife can be used to slice through tough root connections, but try to keep as much of the root system intact as possible on each division.
- Inspect and trim: Look for any damaged or diseased bulbs. Discard them. You can also trim any excessively long roots, but again, aim to preserve as much as you can.
- Replant immediately: Plant your divisions in your prepared, well-draining pots or directly into a prepared garden bed where they can thrive. Ensure the top of the bulb is just at or slightly below the soil surface.
- Water lightly: Water the newly planted divisions gently. Don’t drench them.
For stem cuttings, Calochortus isn’t as enthusiastic as some other plants. This method is more challenging and often has a lower success rate because they are bulbous plants. If you want to try:
- Select a healthy stem: During the active growing season (spring), look for a healthy, non-flowering stem.
- Make a clean cut: Using sterilized pruners, cut a 4-6 inch section of the stem, usually just below a leaf node.
- Prepare the cutting: Remove the lower leaves from the stem, leaving only the top few. If you’re using rooting hormone, dip the cut end into it, tapping off any excess.
- Plant in moist medium: Insert the cut end into a pot filled with a very gritty, well-draining mix. Keep the medium consistently moist.
- Provide warmth and humidity: This is where it gets tricky. Cuttings need warmth and humidity to root, but Calochortus dislikes soggy feet. A humidity dome or plastic bag can help, but ensure good ventilation to prevent rot.
The “Secret Sauce” (Pro Tips)
Now, for a couple of my tried-and-true tricks that really make a difference:
- When dividing bulbs, even though they’re dormant, I always give them a quick rinse in lukewarm water to wash off excess soil. It helps me see what I’m doing much better and spot any potential issues.
- For newly divided bulbs, I don’t water them heavily. Instead, I mist them lightly every few days until I see signs of new growth. This prevents the bulb from becoming waterlogged and rotting before it has a chance to establish.
Aftercare & Troubleshooting
Once your divisions are planted, the patience journey truly begins. Water sparingly; only water when the top inch of soil feels dry. They hate sitting in wet soil, which is the number one cause of rot for these beauties.
Keep an eye out for signs of trouble. Bulb rot is the most common enemy. If you see a bulb turn mushy, black, or slimy, it’s likely gone. Remove it immediately and be extra careful with watering going forward. Sometimes yellowing leaves can be a sign of too much water, or too little sun for seedlings. Don’t be discouraged if not every attempt is successful!
A Encouraging Closing
Growing Calochortus tolmiei and sharing its beauty through propagation takes a bit of finesse, but it’s such a rewarding endeavor. Embrace the process, learn from each attempt, and celebrate every new sprout. Before you know it, you’ll have a charming collection of these delicate star-tulips to admire. Happy gardening!
Resource:
https://identify.plantnet.org/k-world-flora/species/Calochortus%20tolmiei%20Hook.%20&%20Arn./data