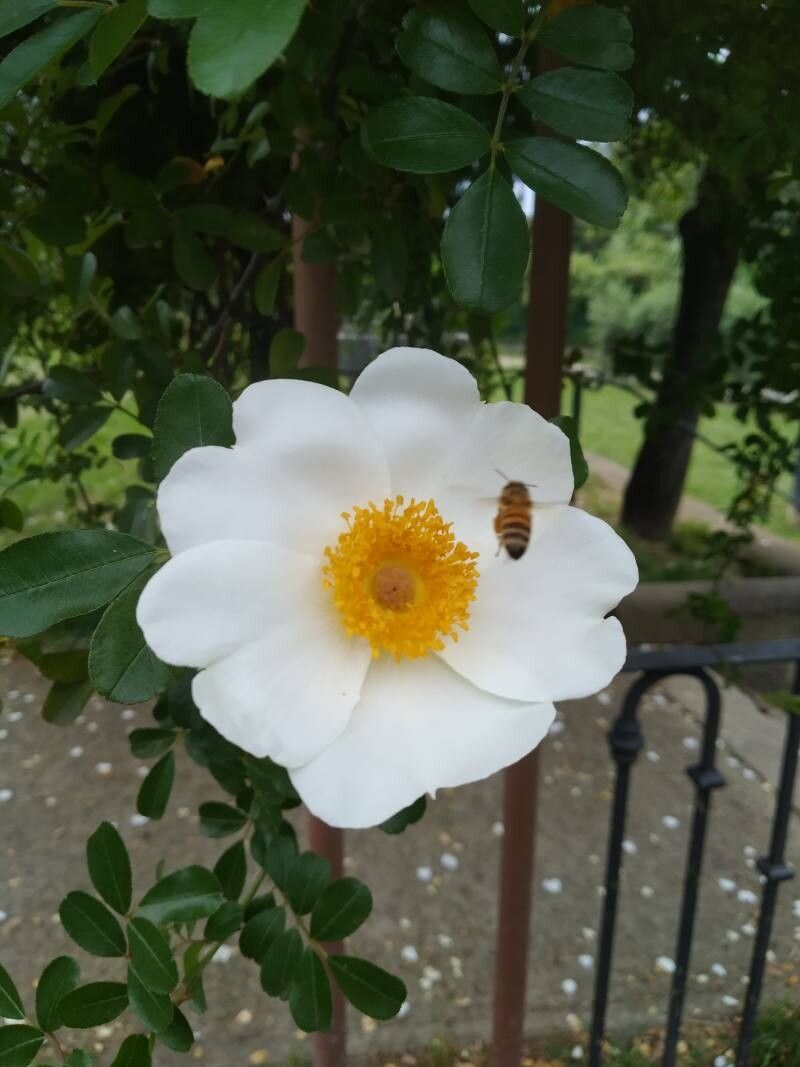
Hello fellow garden enthusiasts! It’s wonderful to connect with you today. If you’ve ever admired the stunning beauty of Rosa bracteata, the Macartney rose, with its glossy, deep green leaves and fragrant, creamy white single blooms, then you’re in for a treat. There’s a special kind of joy in growing a plant from a tiny piece of itself, and Rosa bracteata is a beautiful subject for this rewarding endeavor. While it’s not the absolute easiest rose to propagate for a complete beginner, with a little patience and the right techniques, you’ll be well on your way to enjoying more of these lovely roses in your garden.
The Best Time to Start
For Rosa bracteata, I’ve found that late spring to early summer is your prime window. This is when the plant is actively growing and its stems are supple enough to root, but not yet as hard and woody as they’ll become later in the season. Look for semi-hardwood stems – they should be bendy but not floppy, and the leaves should still be a vibrant green.
Supplies You’ll Need
Gathering your tools beforehand makes the whole process smoother. Here’s what I usually have on hand:
- Sharp pruning shears or a clean knife: For making clean cuts.
- Rooting hormone (powder or gel): This isn’t strictly mandatory, but it significantly boosts your success rate.
- Small pots or seed trays: With good drainage holes.
- A sterile potting mix: I like a blend of equal parts peat moss (or coir), perlite, and a bit of compost.
- Plastic bags or a propagator: To create a humid environment.
- Watering can with a fine rose: For gentle watering.
- Gloves: Roses can be thorny!
Propagation Methods
Let’s get our hands dirty with the most common and effective ways to propagate Rosa bracteata.
Stem Cuttings (The Classic Approach)
This is my go-to method for roses, and it works beautifully for Rosa bracteata.
- Take Your Cuttings: On a healthy plant, select a stem that’s growing vigorously. Avoid flowering stems. Using your sharp shears, cut a piece about 6-8 inches long. Make the cut just below a leaf node (where a leaf attaches to the stem).
- Prepare the Cuttings: Gently strip off the lower leaves, leaving only the top 2-3 to help the cutting photosynthesize. If the leaves are very large, you can even cut them in half horizontally.
- Apply Rooting Hormone: Dip the cut end of the stem into your rooting hormone, tapping off any excess.
- Plant Them Up: Fill your pots or trays with your sterile potting mix. Make a hole with a pencil or your finger and insert the cutting, ensuring the bottom leaf nodes are buried. Firm the soil gently around the stem.
- Water Gently: Water thoroughly but carefully, so you don’t dislodge the cuttings.
Water Propagation (The Observational Method)
While not as universally successful for roses as cuttings in soil, water propagation can be a fun way to watch roots develop.
- Prepare Your Cuttings: Follow steps 1 and 2 above to prepare your cuttings.
- Place in Water: Take a clean jar or glass and fill it with fresh water. Place the cuttings in the water, ensuring that no leaves are submerged below the water line. The leaves above the water are crucial for generating energy.
- Change Water Regularly: Change the water every 2-3 days to keep it fresh and prevent bacterial growth.
- Watch for Roots: You should start to see tiny white root nubs forming from the submerged nodes. Once these roots are about an inch long, it’s time to carefully transplant them into soil (following the planting steps for stem cuttings).
The “Secret Sauce” (Pro Tips)
Here are a few things I’ve learned over the years that make a real difference:
- Bottom Heat is Your Friend: If you have access to a heat mat, placing your pots on it will provide gentle bottom warmth. This encourages root development from the get-go and significantly speeds up the process. It’s like a cozy little incubator for your rose cuttings.
- Don’t Let Those Leaves Touch the Water! I know I mentioned it, but it bears repeating. Any leaf submerged in water will rot rather than contributing to root growth. This is especially critical for water propagation.
- Humidity is Key: Those plastic bags or propagator lids are not just for show. They create a humid microclimate that prevents the cuttings from drying out before they can develop roots. Open them up for a short period each day to allow for some air circulation and prevent fungal diseases.
Aftercare & Troubleshooting
Once roots have formed (you’ll feel some gentle resistance when you tug lightly on the cutting, or see roots peeking from the drainage holes), it’s time for continued care.
- Gradual Acclimation: Before removing the plastic, gradually start to air out your cuttings over a week or so. This helps them adjust to drier air.
- Potting Up: Once they’re acclimated, you can pot them into slightly larger individual pots with your regular potting mix. Keep them in a bright spot, but out of direct, harsh sun, and keep the soil consistently moist.
- Troubleshooting Rot: The most common issue is rot. If you see stems turning black and mushy, or if your cuttings suddenly wilt and die, it’s usually a sign of overwatering or poor air circulation leading to fungal problems. Ensure your soil drains well, and don’t let them sit in soggy conditions. If a cutting rots, remove it immediately to prevent it from spreading.
A Little Patience Goes a Long Way
Propagating plants is a journey, not a race. Don’t get discouraged if not every cutting takes. Some will inevitably fail, and that’s perfectly normal. The satisfaction of seeing those tiny roots emerge and eventually grow into a beautiful new rose bush is absolutely worth the effort. So, grab your shears, get your hands dirty, and enjoy the magic of creating new life! Happy gardening!
Resource:
https://identify.plantnet.org/k-world-flora/species/Rosa%20bracteata%20J.C.Wendl./data