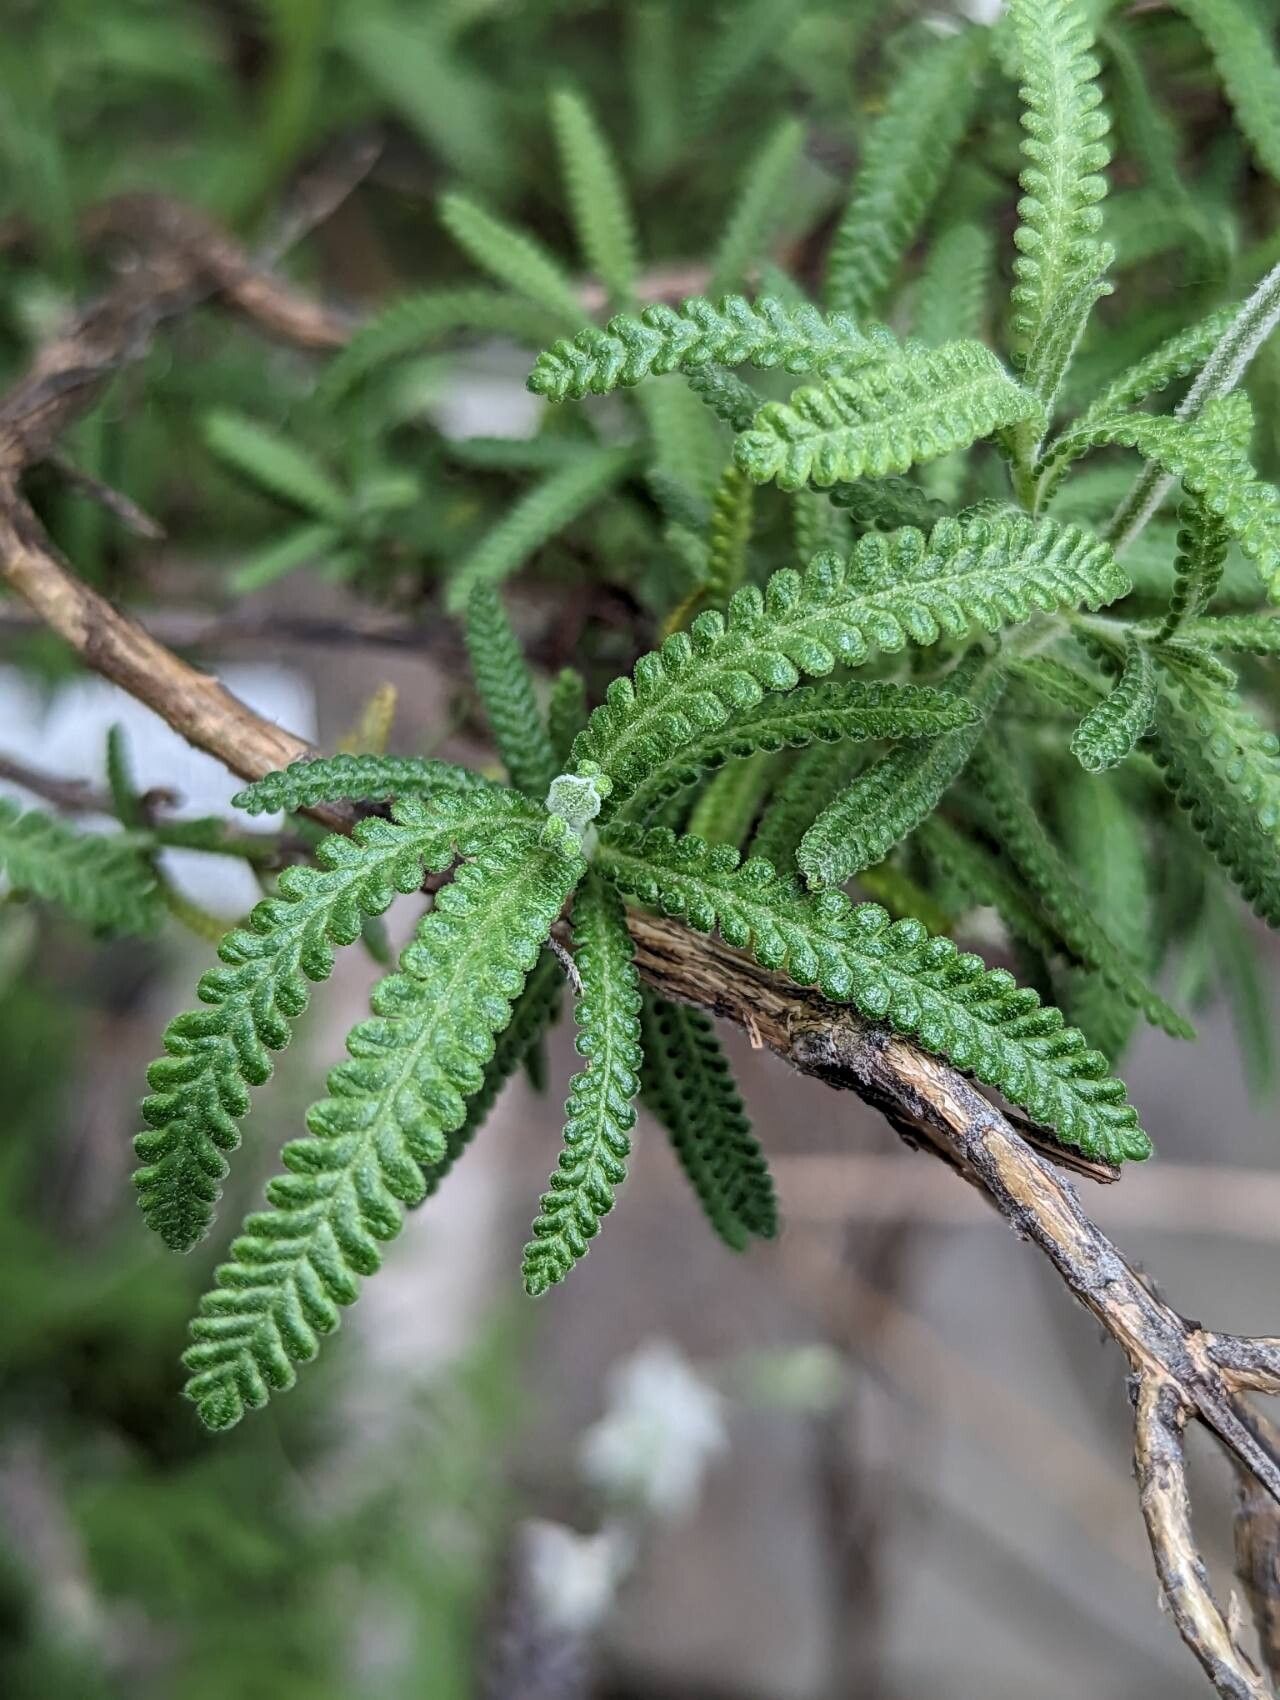
Oh, French Lavender! Isn’t it just a dream? Its beautifully serrated leaves are so unique, and that scent? Pure bliss, especially on a warm day. If you’ve ever found yourself admiring a particularly lovely specimen and wished you had more, you’re in luck! Propagating Lavandula dentata is a wonderfully rewarding process, and honestly, I find it quite beginner-friendly. It’s a fantastic way to expand your lavender collection or share these beauties with friends.
The Best Time to Start
For the highest success rate, I always aim to take cuttings in the late spring or early summer. This is when the plant is actively growing and has plenty of new, semi-hardwood to work with. You can also try in early autumn, but make sure you give them enough time to establish before the colder weather sets in.
Supplies You’ll Need
Here’s what I like to have on hand:
- A clean, sharp pruning shear or craft knife. Seriously, sharp tools make such a difference.
- Rooting hormone (optional, but it can give you a nice boost). I usually go for a powder or gel.
- A well-draining potting mix. A good blend of perlite, peat moss, and vermiculite works wonders, or you can buy a specific seed starting mix that’s nice and airy.
- Small pots or a propagation tray.
- A clear plastic bag or a propagation dome to create a humid environment.
- A marker and plant labels – trust me, you’ll thank yourself later!
Propagation Methods: Taking Stem Cuttings
This is my go-to method for Lavandula dentata. It’s reliable and gives you the best chance of getting strong, healthy new plants.
- Select Your Stems: Look for bright, new growth that has started to firm up – we call this semi-hardwood. It should bend a little but not snap easily. Avoid anything too soft and green, or old, woody stems.
- Take Your Cuttings: Using your clean pruners, take cuttings that are about 3-4 inches long. Make your cut just below a leaf node (where a leaf attaches to the stem).
- Prepare the Cuttings: Gently remove the leaves from the bottom half of each cutting. You want to make sure no leaves will be submerged in water or soil, as this can lead to rot.
- Apply Rooting Hormone (Optional): Dip the cut end of each stem into your rooting hormone, tapping off any excess.
- Plant Your Cuttings: Fill your small pots with your well-draining mix. Make a small hole in the center of the soil with a pencil or your finger. Insert the prepared cutting into the hole, firming the soil gently around it. It’s best to plant at least 2-3 cuttings per pot, spaced a little apart.
- Water Gently: Water the soil thoroughly but gently. You don’t want to wash the cuttings out.
- Create Humidity: Cover the pots with a clear plastic bag or a propagation dome. This traps moisture, which is crucial for the cuttings to root. You can also place them in a larger plastic bag if you have multiple pots. Make sure the leaves aren’t touching the plastic! This can cause fungal issues.
The “Secret Sauce” (Pro Tips)
Here are a couple of things I’ve learned over the years that really help:
- Bottom Heat is Your Friend: If you have it, placing your propagation tray on a heat mat can significantly speed up the rooting process. Lavender roots love a bit of warmth from below.
- Don’t Over-Water: It’s a common mistake! Let the top inch of soil dry out slightly between waterings. Overwatering is the fastest way to invite rot, which is the enemy of new cuttings.
- Location, Location, Location: Place your propagated cuttings in a bright spot, but out of direct, harsh sunlight. A windowsill that gets bright, indirect light is usually perfect.
Aftercare & Troubleshooting
Once you see new growth or feel a gentle tug when you lightly pull on a cutting, it’s a good sign that roots are forming! You can gently increase the watering frequency, but always let the topsoil dry slightly. Gradually acclimatize your new plants to normal air by opening the plastic bag or dome for a little longer each day.
If your cuttings turn yellow and limp, or get mushy and black at the base, it’s usually a sign of rot – likely due to too much moisture or poor drainage. Unfortunately, once rot sets in, it’s very difficult to save them. Don’t get discouraged though; it happens to all of us! Just clean out the pot and try again.
Enjoy the Journey!
Propagating Lavandula dentata is all about patience and observation. It might take a few weeks, or even a couple of months, for roots to establish. Watch them closely, be gentle with your watering, and soon you’ll have a whole new lavender patch to enjoy. Happy gardening!
Resource:
https://identify.plantnet.org/k-world-flora/species/Lavandula%20dentata%20L./data