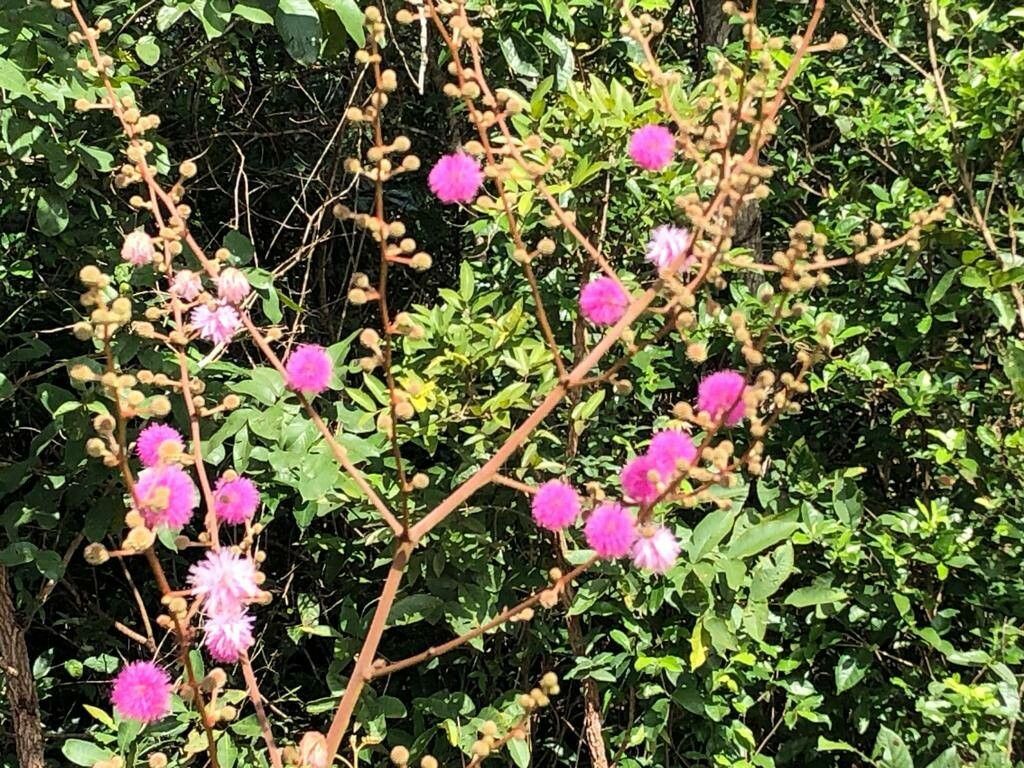
Oh, hello there! Pull up a chair and let’s chat about one of my favorite, most charming little plants: Mimosa albida. You know, the one with those delicate, feathery leaves that fold up when you touch them? It’s absolutely captivating, isn’t it? Propagating these little wonders is such a joy. Watching a tiny cutting transform into a thriving plant feels like pure magic. Now, I won’t lie and say it’s as easy as potting a ZZ plant, but it’s certainly not an impossible feat for a beginner with a bit of patience and the right guidance. Stick with me, and we’ll get you a whole new collection of these delightful Mimosas in no time!
The Best Time to Start
My personal favorite time for propagating Mimosa albida is in late spring or early summer. This is when the plant is in its most vigorous growth phase. You’ll find that stems are plumper, and they’ve got plenty of energy to put into developing new roots. Waiting until the last frost has passed is also a good idea, especially if you plan to do any outdoor propagation.
Supplies You’ll Need
Here’s what you’ll want to have on hand for a successful propagation session:
- Sharp Pruning Shears or a Craft Knife: Cleanliness is key to preventing disease.
- Rooting Hormone: This isn’t strictly essential for Mimosa, but it can give your cuttings a helpful boost. I like a powder form.
- Well-Draining Potting Mix: A good blend for me is 50% potting soil and 50% perlite or coarse sand. This ensures good aeration and prevents soggy roots.
- Small Pots or Seedling Trays: Clean ones, of course!
- Plastic Bag or Dome: To create a humid environment for your cuttings.
- Watering Can with a Fine Rose: To water gently without disturbing the soil.
- Label and Pen: To keep track of what you’ve planted and when.
Propagation Methods
While you can try starting Mimosa from seed, I find stem cuttings to be the most reliable and quickest method for getting new plants.
Stem Cuttings: My Go-To Method
- Select Your Cuttings: Look for healthy, non-flowering stems on your mature Mimosa albida. You want pieces that are about 4-6 inches long. Make your cut just below a leaf node. A leaf node is where a leaf attaches to the stem, and it’s where roots are most likely to form.
- Prepare the Cuttings: Gently remove the leaves from the bottom half of each cutting. Leave just a couple of sets of leaves at the top. If your remaining leaves are very large, you can even snip them in half horizontally. This reduces water loss.
- Apply Rooting Hormone (Optional but Recommended): Dip the cut end of the stem into your rooting hormone, tapping off any excess. This step is like giving your cutting a little “insurance policy” for root development.
- Plant Your Cuttings: Fill your clean pots or trays with your prepared potting mix. Make a small hole in the center with a pencil or your finger. Gently insert the cutting into the hole, making sure the leaf nodes are buried. Firm the soil gently around the stem.
- Water Gently: Water the soil thoroughly but gently. You want the soil to be moist, not waterlogged.
- Create Humidity: This is crucial! Water lost through the leaves needs to be replenished. Cover the pots with a clear plastic bag or a propagation dome. Make sure the leaves aren’t touching the plastic if possible; you can use stakes to prop it up.
- Find a Warm Spot: Place your pots in a bright location, but out of direct, harsh sunlight. A warm spot is ideal; a little bit of bottom heat from a heat mat can really speed things up, but it’s not strictly necessary for Mimosa.
The “Secret Sauce” (Pro Tips)
Here are a couple of things I’ve learned over the years that make a big difference:
- Don’t Overcrowd: When planting multiple cuttings in one pot, give them a little breathing room. This helps with air circulation and reduces the risk of fungal diseases spreading.
- The Leaf Node is Your Friend: Seriously, focus on getting those leaf nodes under the soil. That’s where the magic happens. If you accidentally take a cutting without a node on the lower part, it’s less likely to root.
- Watch for Movement: Sometimes, you can tell your cutting is rooting because you’ll notice it’s a bit more “awake” and less droopy than when you first took it. This is a subtle sign, but experienced eyes catch it!
Aftercare & Troubleshooting
Once your cuttings have been planted, check them every few days. You want to ensure the soil stays consistently moist but not soggy. If the top layer feels dry, water gently.
You’ll know your cuttings are rooting when you see new growth appearing at the tip or even small buds on the stem. This usually takes anywhere from 2 to 6 weeks, but Mimosas can be a bit on the slower side sometimes, so don’t get discouraged if it takes a little longer.
The most common issue you might face is rot. This is almost always due to overwatering and poor drainage. If you see a cutting turning black and mushy at the soil line, it’s likely succumbed to rot. Pull it out immediately to prevent it from affecting any other cuttings nearby.
Once roots have developed and you see solid new growth, it’s time to acclimate your new plant. Gradually remove the plastic bag or dome over a few days to let it get used to the ambient humidity. Then, you can transplant it into its own individual pot with its regular soil mix.
A Encouraging Closing
Propagating plants is a journey, my friends. There will be successes, and sometimes, a cutting or two might not make it. That’s all part of the learning process, and it’s certainly nothing to feel bad about! The rewards of creating new life from a simple stem are immense. So, be patient, enjoy the quiet moments of tending to your little green babies, and celebrate every new leaf and tiny root that appears. Happy propagating!
Resource: