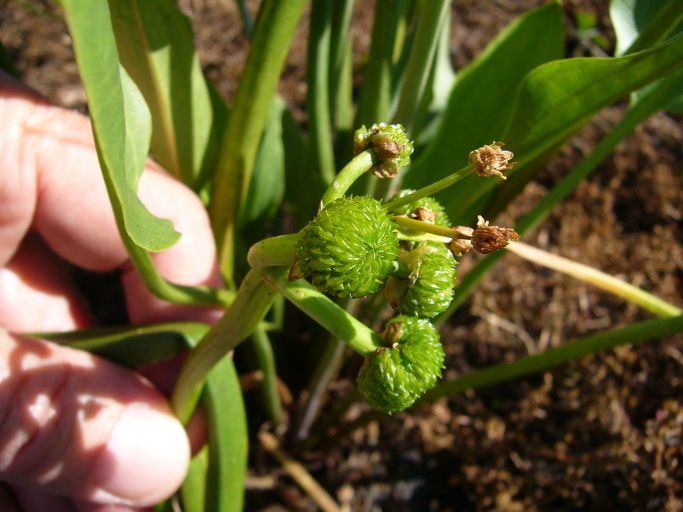
Hello fellow garden enthusiasts! Today, we’re diving into the wonderful world of Sagittaria sanfordii, also known as Sanford’s arrowhead. If you’re looking for a beautiful, native aquatic plant that adds a unique touch to water gardens or even a stylish vase, you’re in for a treat. Its elegant, arrow-shaped leaves are truly lovely, and the small, white flowers are an unexpected delight. I find propogating Sagittaria sanfordii to be a wonderfully rewarding experience, and honestly, it’s quite accessible for most gardeners, even those just dipping their toes into aquatic plant care.
The Best Time to Start
The absolute sweet spot for propagating Sagittaria sanfordii is during its active growing season. Think late spring through early summer. This is when the plant is full of energy, pushing out new growth and producing those delightful runners that make propagation so easy. Trying to propagate when it’s dormant will likely lead to frustration, so patience until the warmer months is key.
Supplies You’ll Need
Gathering your tools beforehand makes the whole process smoother. Here’s what I usually have on hand:
- Sharp pruning shears or a clean knife: For making precise cuts.
- Shallow trays or pots: For placing your cuttings or divisions.
- Aquatic plant soil or a mix of loam and sand: Sagittaria likes a good, sturdy base that holds moisture. Avoid anything too peaty.
- Clean water: Preferably aged tap water or rainwater, especially for initial rooting.
- A small trowel: For dividing larger plants.
- Optional: Rooting hormone: Though Sagittaria is quite vigorous, it can give an extra boost.
Propagation Methods
Sagittaria sanfordii is a pro at making more of itself, primarily throughrunners and division.
1. Harvesting Runners (The Easiest Way!)
This is my go-to method, and it’s incredibly simple.
- Look for the runners: As your Sagittaria grows, you’ll notice slender stems, called runners, emerging from the base of the plant. These are like little plant highways, looking to start a new colony.
- Identify baby plants: At the end of these runners, you’ll see tiny new plantlets forming. They might even have a few small roots already.
- Make the cut: Using your sharp shears, carefully cut the runner about an inch away from the new plantlet. You want to give the baby plant a little bit of stem to work with.
- Pot them up: Gently place the runner cutting into a pot filled with your aquatic soil. Make sure the roots are nestled into the soil. You can even push the cut end of the runner slightly into the substrate too, though it’s not strictly necessary.
- Provide water: Fill the container with clean water so the base of the pot is submerged.
2. Division
If your Sagittaria has become a bit of a clump, or if you’re transplanting it anyway, division is a great way to increase your stock.
- Gently remove from pot: Carefully take the parent plant out of its container. You might need to break away some of the soil to see the root structure clearly.
- Locate natural divisions: Look for points where the roots naturally separate, or where you can see distinct crowns (the base from which leaves emerge).
- Separate with care: Using your hands or a clean knife, gently pull or cut the plant into smaller sections. Ensure each section has healthy roots and at least one or two healthy leaves.
- Replant: Pot each division individually in your chosen substrate and water as you would a runner cutting.
The “Secret Sauce” (Pro Tips)
Here are a couple of things I’ve learned over the years that really help make propagation a breeze:
- Don’t let the leaves float on the water’s surface for too long. While they need to be in water or very moist conditions, fully submerged leaves can start to rot. If you’re water propagating (which is less common for Sagittaria itself but sometimes used for cuttings), just let the roots touch the water. For potted plants, ensure the soil stays consistently moist.
- Think about that “underwater greenhouse” effect. When plantlets are first establishing, they love a bit of humidity and warmth. Placing pots in a shallow tray of water and then perhaps covering them loosely with a clear plastic bag (making sure the bag doesn’t touch the leaves) can create a really beneficial microclimate. Just remember to open it up daily for air circulation.
Aftercare & Troubleshooting
Once your new Sagittaria cuttings or divisions have been potted, the real magic begins! Keep their soil consistently moist – I like to have the water level just covering the soil surface. New growth should appear within a few weeks.
The biggest challenge you might face is rot. This usually happens if the cuttings are kept too wet, or if the water quality isn’t great. Look for leaves that turn yellow and mushy, or a dark, slimy base. If you see this, sadly, that cutting is likely lost. It’s better to remove it to prevent any rot from spreading. Sometimes, a cutting just won’t take; that’s part of gardening! Don’t be discouraged; just try again.
A Little Patience Goes a Long Way
Propagating Sagittaria sanfordii is so satisfying. Watching a tiny runner transform into a robust new plant is truly a gift. Be patient, observe your new plants, and enjoy the process. Happy gardening, everyone!
Resource:
https://identify.plantnet.org/k-world-flora/species/Sagittaria%20sanfordii%20Greene/data