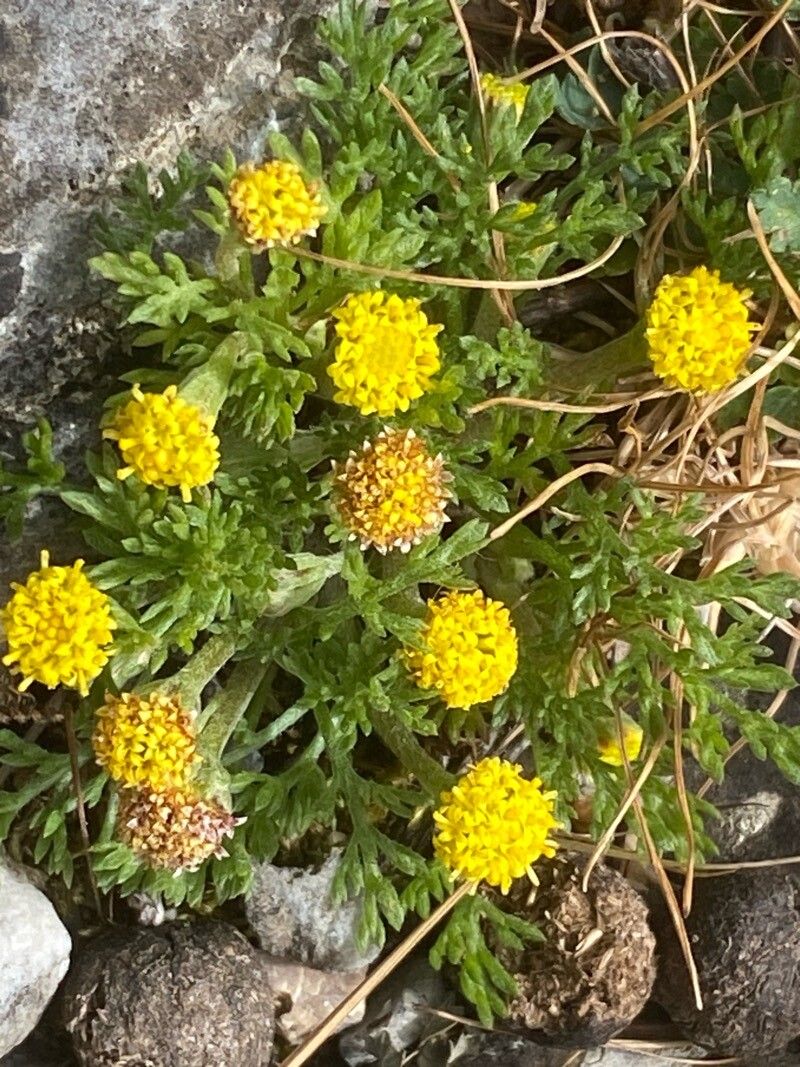
Hello there, fellow plant lovers! I’m so delighted you’ve stopped by my little corner of the internet. Today, we’re diving into the wonderful world of propagating Anthemis rigida. If you’re drawn to plants with that lovely, silvery foliage and cheerful daisy-like flowers, you’re in for a treat. Growing these beauties from cuttings or divisions is incredibly satisfying, and honestly, it’s not as daunting as it might seem. Even if you’re just dipping your toes into the world of plant propagation, I think you’ll find Anthemis rigida to be a forgiving and rewarding plant to work with.
The Best Time to Start
For the highest success rate with Anthemis rigida, spring is your golden ticket. Once the last frost has passed and your plants are actively putting on new growth, that’s the sweet spot. You’re looking for young, vigorous stems that haven’t yet started to flower. Think of it as capturing the plant’s youthful energy! You can also have success with softwood cuttings in early summer, but spring feels like the most reliable time, especially for beginners.
Supplies You’ll Need
Getting your ducks in a row with the right supplies makes the whole process smoother. Here’s what I usually gather:
- Sharp Pruning Shears or a Craft Knife: Clean cuts are crucial to prevent disease.
- Rooting Hormone: A good quality rooting powder or gel will significantly boost your chances.
- Potting Mix: A well-draining mix is essential. I usually use a blend of 50% perlite and 50% peat moss or coco coir. You can also find specialized seed-starting or propagation mixes.
- Small Pots or Trays: Clean containers are a must. Small nursery pots or even repurposed yogurt cups with drainage holes work fine.
- Plastic Bags or a Propagator: This helps maintain humidity around your cuttings.
- Labels: Don’t forget to label your pots! Trust me, you’ll thank yourself later.
- Watering Can or Spray Bottle: For gentle watering.
Propagation Methods
Let’s get our hands dirty! My favorite way to propagate Anthemis rigida is through stem cuttings.
- Select Your Cuttings: Head out to your healthy Anthemis rigida plant and choose some non-flowering, semi-hardwood stems that are about 3-4 inches long. You want stems that are flexible but no longer floppy.
- Make the Cut: Using your clean shears or knife, make a clean cut just below a leaf node. A leaf node is where a leaf attaches to the stem – roots love to form here.
- Prepare the Cuttings: Gently remove the lower leaves from the cutting, leaving just two or three leaves at the top. This helps reduce water loss and prevents leaves from rotting in the soil.
- Dip in Rooting Hormone: Dip the cut end of the stem into your rooting hormone, tapping off any excess.
- Plant the Cuttings: Fill your small pots with your prepared well-draining potting mix. Make a small hole in the center with your finger or a pencil. Insert the cutting into the hole, ensuring the leaf nodes you removed are buried. Gently firm the soil around the stem.
- Water Gently: Water the soil thoroughly but gently. You don’t want to disturb the cuttings.
- Create a Humid Environment: Cover the pot with a plastic bag or place it in a propagator. This traps moisture and creates the humid environment cuttings need to root. You can prop up the bag with sticks to keep it from touching the leaves.
The “Secret Sauce” (Pro Tips)
Now, for a couple of tricks I’ve picked up over the years that really seem to make a difference:
- Bottom Heat is Your Friend: If you have access to a heat mat, placing your pots on it can significantly speed up rooting. The warmth encourages root development. Just make sure the soil isn’t drying out too quickly when you use heat.
- Don’t Overcrowd: Give your cuttings a bit of breathing room in the pot. While it’s tempting to pack them in, overcrowding can lead to poor air circulation and increase the risk of fungal diseases. I usually aim for 3-4 cuttings per small pot, spaced a couple of inches apart.
Aftercare & Troubleshooting
Once your cuttings are planted, patience is key! Keep the soil consistently moist but not soggy. You can test this by gently pressing the surface – it should feel damp. You’ll want to air out the bag or propagator for a few minutes each day to prevent mold.
You’ll know your cuttings have rooted when you see new leaf growth emerging from the top. You can also give them a very gentle tug; if there’s resistance, it means roots have formed. Once they’ve rooted, slowly acclimate them to drier air by gradually opening the bag over a week or so. Transplant them into slightly larger pots once they have a good root system.
The most common issue you’ll encounter is rot. This usually happens if the soil stays too wet or if the air circulation isn’t good. If you see a cutting looking limp and mushy, or developing dark, soft spots, it’s likely gone too far. Unfortunately, there’s not much you can do once this happens, so it’s best to discard it and try again, focusing on that well-draining mix and proper watering.
A Encouraging Closing
Propagating Anthemis rigida is a process that rewards your effort with more of these lovely plants to fill your garden or share with friends. Don’t get discouraged if your first few attempts aren’t perfect. Every gardener has lost a cutting or two! Just keep observing, learning, and enjoying the journey of coaxing new life from your existing plants. Happy propagating, and may your gardens bloom beautifully!
Resource:
https://identify.plantnet.org/k-world-flora/species/Anthemis%20rigida%20Boiss.%20ex%20Heldr./data