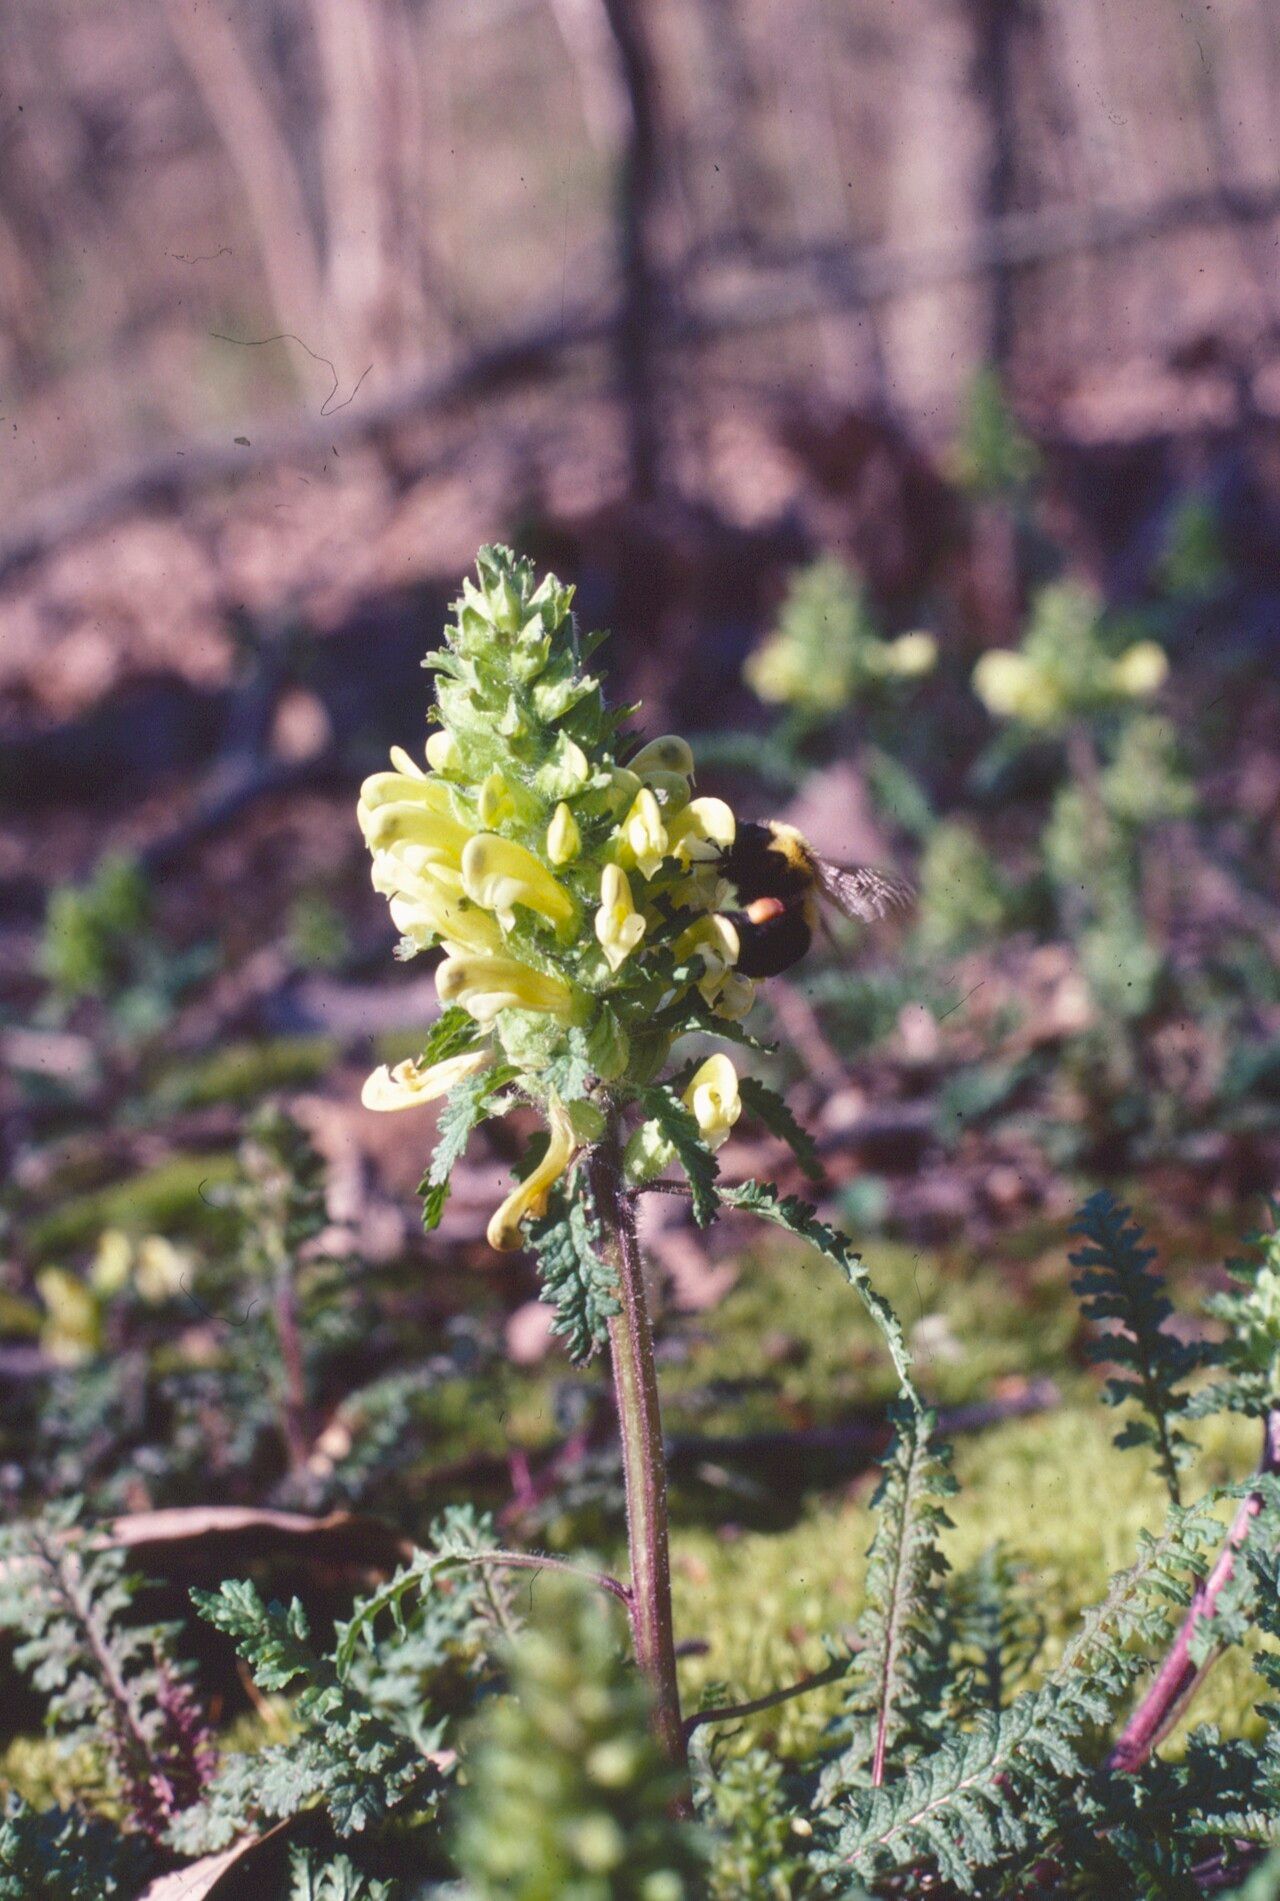
Hello my fellow plant lovers! If you’re anything like me, you’ve probably fallen head over heels for the charm of Wood Betony, or Pedicularis canadensis. This delightful native wildflower, with its fascinating hooded flowers and delicate foliage, brings such a unique beauty to any garden. Plus, it’s a semi-parasitic gem that can actually benefit the plants it grows near! Propagating it myself has been a truly rewarding journey, and I’m so excited to share my secrets with you. Now, is it easy peasy? Honestly, it can be a tad finicky, but with a little patience and these tried-and-true methods, you’ll be celebrating new little betonies in no time.
The Best Time to Start
For Pedicularis canadensis, my go-to time for propagation is late spring to early summer, right after the plant has finished its glorious bloom. This is when the plant has good energy reserves and the stems are firm but not yet woody. You can also have success with divisions in early spring, just as new growth begins to emerge. Pick a cloudy day or an early morning to minimize stress on your cuttings.
Supplies You’ll Need
To give your betony propagations the best shot, gather these essentials:
- Sharp, sterile pruning shears or a sharp knife: Cleanliness is king to prevent disease!
- Well-draining potting mix: I like a blend of equal parts peat moss (or coco coir), perlite, and a little compost. If you’re having trouble finding a good mix, a standard seed-starting mix with added perlite works well.
- Small pots or seed trays: Make sure they have drainage holes.
- Rooting hormone (optional but recommended): A good quality hormone can give your cuttings a helpful boost.
- Spray bottle: For misting.
- Plastic bags or a propagator lid: To maintain high humidity.
- Dibber or pencil: For making planting holes.
Propagation Methods
I’ve found two main ways to successfully propagate Pedicularis canadensis. Let’s dive in!
Stem Cuttings
This is my preferred method for most years.
- Take your cuttings: Look for healthy, non-flowering stems. Snip off sections that are about 4-6 inches long. Make your cut just below a leaf node (the point where a leaf attaches to the stem).
- Prepare your cuttings: Gently remove the lower leaves, leaving just a few at the top. If your cuttings are very long, you can even pinch off the very tip of the stem to encourage branching.
- Dip in rooting hormone (if using): Lightly dip the cut end of each stem into your rooting hormone powder or gel. Tap off any excess.
- Plant your cuttings: Use a dibber or pencil to make holes in your prepared potting mix. Insert the cut end of each cutting into a hole, ensuring the leaf nodes are buried. Gently firm the soil around the base of each cutting.
- Water and cover: Water the potting mix thoroughly but gently. Then, cover the pots with a clear plastic bag or a propagator lid to trap humidity.
Divisions
This method is best done in early spring.
- Gently excavate: Carefully dig around an established Pedicularis canadensis plant. You want to expose the root ball without causing too much damage.
- Identify natural divisions: Look for sections of the plant that appear to have their own root system and at least one or two leafy shoots.
- Separate gently: Using your hands or a clean trowel, gently tease apart the divisions. Try to keep as much of the root system intact as possible for each new piece.
- Replant immediately: Plant each division in its own pot filled with your well-draining potting mix, or back into the garden. Water well.
The “Secret Sauce” (Pro Tips)
Here are a couple of things I’ve learned along the way that often make a big difference:
- Don’t let leaves touch the water: If you’re doing water propagation (which I find less reliable for betony but some have success), make SURE the leaves of your cuttings are not submerged. Rot sets in fast when leaves sit in standing water.
- Bottom heat is your friend: For stem cuttings, placing your pots on a gentle heating mat can significantly speed up root formation. It mimics the warmth of summer soil and encourages those little root hairs to get going.
Aftercare & Troubleshooting
Once your cuttings are planted, the real waiting game begins!
- Maintain humidity: Keep those plastic bags or lids on, and mist the cuttings daily or as needed to keep the soil consistently moist but not waterlogged.
- Provide bright, indirect light: Place your pots in a location that gets plenty of light but avoid direct, scorching sun, especially through the plastic.
- Check for roots: After about 4-6 weeks, gently tug on a cutting. If there’s resistance, you’ve got roots! You can also look for new leaf growth as a sign of success. Once roots have formed, you can gradually remove the plastic cover over a few days to acclimate them to less humid conditions.
- Watch for rot: The biggest enemy is too much moisture. If your cuttings look limp, mushy, or are developing black spots, it’s likely rot. Discard any affected cuttings immediately and ensure your soil is draining well. Sometimes a lack of roots means the cutting just didn’t take, and that’s okay too.
A Encouraging Closing
Propagating Pedicularis canadensis is a little act of faith. There will be times you wonder if anything at all is happening. But don’t get discouraged! Nature moves at its own pace. Be patient, keep your conditions consistent, and celebrate every tiny bit of progress. The joy of watching a new baby betony sprout and grow is simply unmatched. Happy gardening!
Resource:
https://identify.plantnet.org/k-world-flora/species/Pedicularis%20canadensis%20L./data