Hello, fellow garden enthusiasts! Today, we’re diving into the wonderful world of propagating Attalea microcarpa, also known as the small-fruited Attalea or sometimes referred to by its common name, buriti palm (though this can be a bit confusing as there are other palms with similar names!). If you’re drawn to its graceful fronds and the promise of tropical charm, you’re in for a treat. Growing more of these beauties from cuttings or seeds is incredibly rewarding. For beginners, I’d say Attalea microcarpa can be a moderate challenge, but with a little patience and the right approach, you’ll be well on your way to success!
The Best Time to Start
Honestly, the absolute best time to tackle Attalea microcarpa propagation is during its active growing season. For most of us, this means spring and summer. This is when the plant has plenty of energy to put into developing new roots and shoots. Waiting until temperatures are consistently warm and you see signs of new growth on your parent plant will give you the best chance of success.
Supplies You’ll Need
Gathering your tools beforehand makes the whole process so much smoother. Here’s what I usually have on hand:
- Sharp, clean pruning shears or a knife: For making clean cuts.
- Well-draining potting mix: A mix of coco coir, perlite, and a bit of orchid bark works wonders. You want good aeration!
- Small pots or propagation trays with drainage holes: Choose something appropriate for the size of your cuttings or seeds.
- Rooting hormone (optional but recommended for cuttings): A powder or gel form can give your cuttings a helpful boost.
- A watering can with a fine rose or a spray bottle: For gentle watering.
- Clear plastic bags or a humidity dome: To create a humid microclimate.
- A small trowel or spoon: For handling the potting mix.
Propagation Methods
Attalea microcarpa can be a bit finicky, and patience is key. For this particular palm, propagation from seed is often the most successful and common method. While sometimes possible by division of offsets, it’s less reliable for this species. Let’s focus on seeds!
Propagation from Seed:
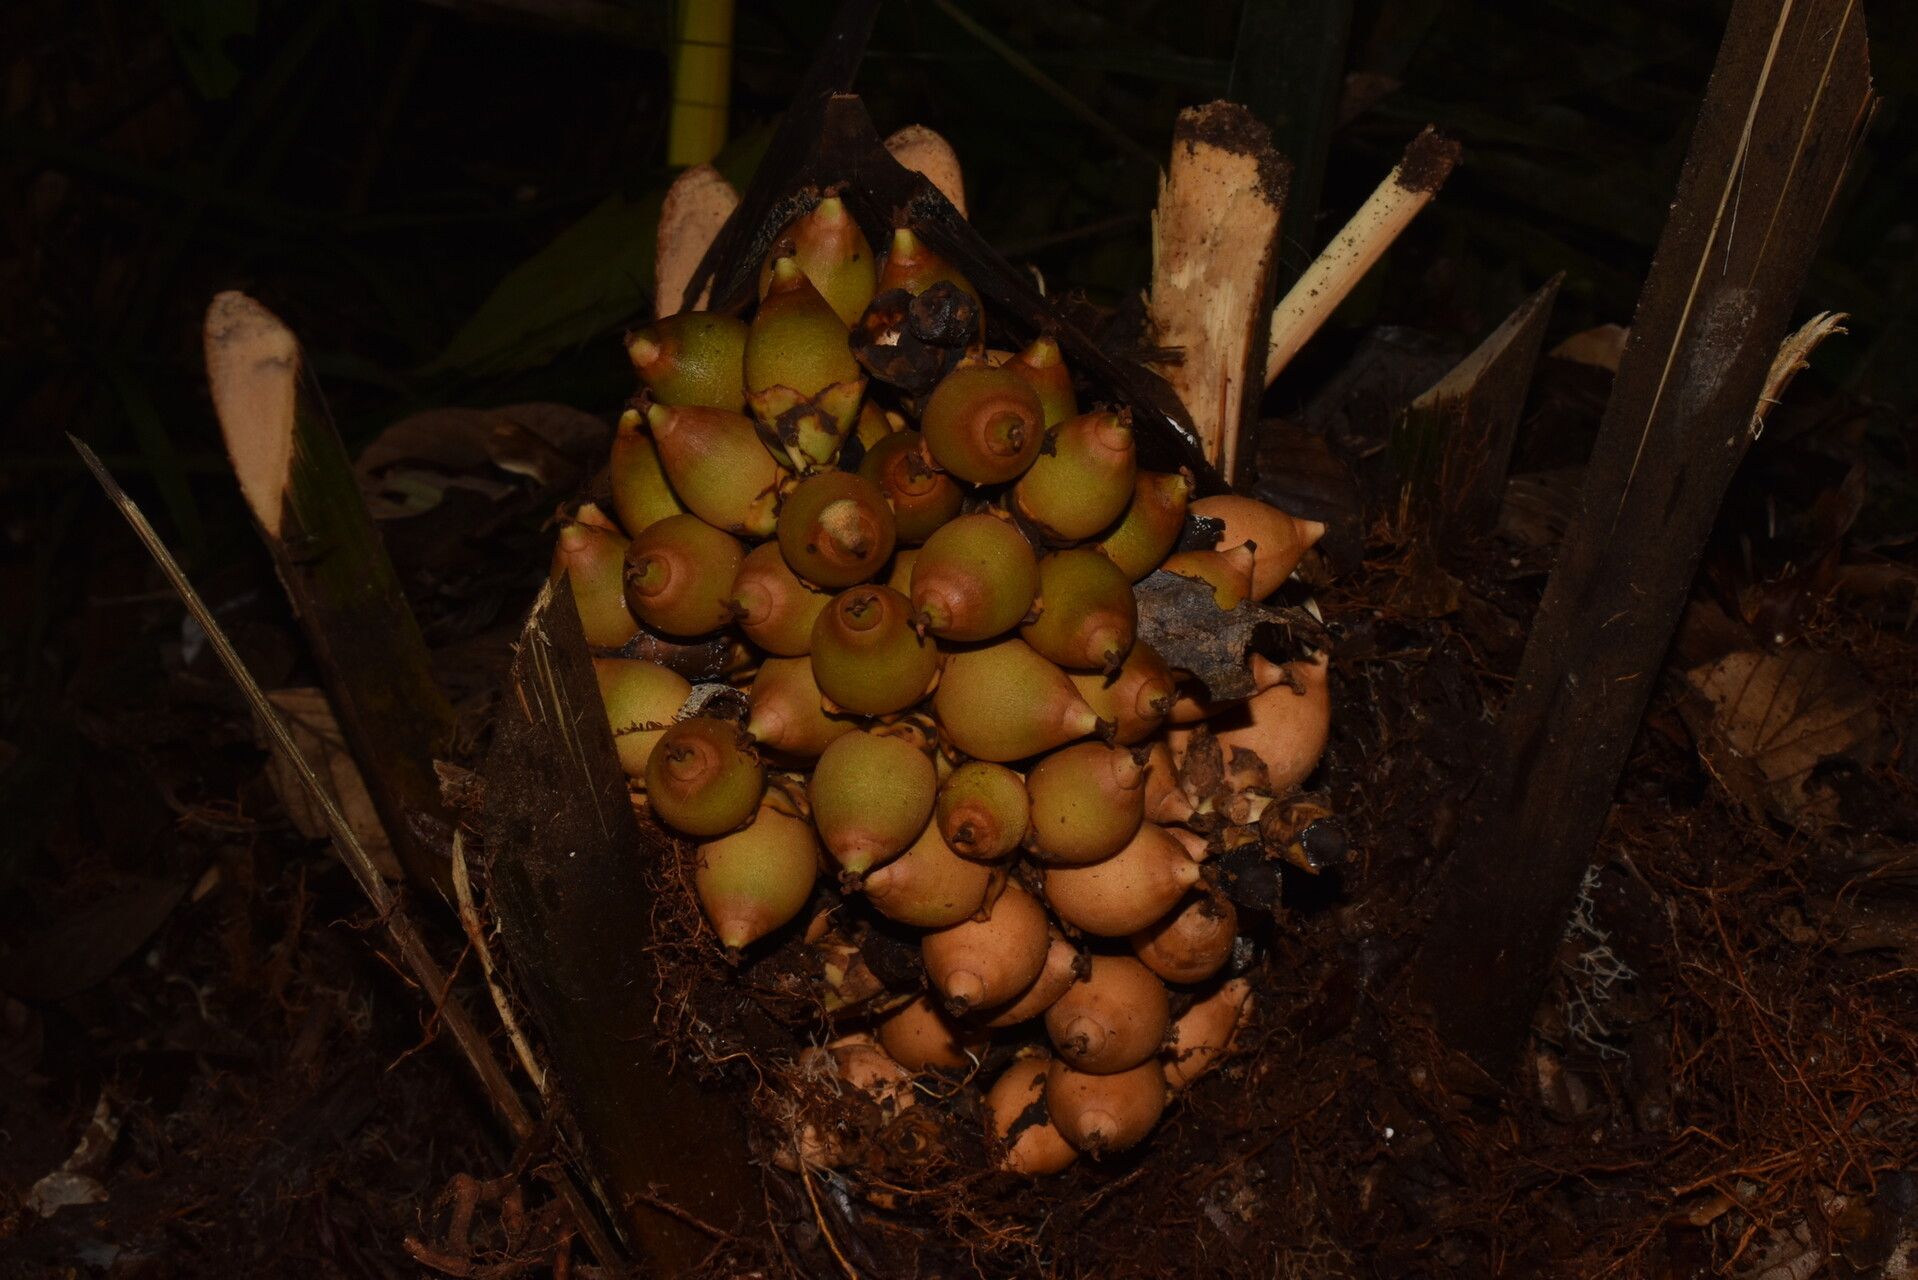
- Source your seeds: Ideally, get fresh seeds from a reputable supplier or, if you’re lucky enough to have a fruiting mother plant, harvest them carefully. The fruit pulp can sometimes inhibit germination, so gently clean off any remaining fleshy material.
- Soak the seeds: I like to soak my Attalea microcarpa seeds in warm water for 24-48 hours. This helps to soften the hard seed coat and encourages germination. You can change the water once during this period.
- Prepare your pots: Fill your chosen pots or trays with moistened, well-draining potting mix. Make sure the mix is evenly damp but not waterlogged.
- Sow the seeds: Plant the seeds about 1-2 cm deep in the soil. Give them a little space, especially if you’re sowing multiple seeds.
- Create humidity: Water gently again, and then cover the pots with a clear plastic bag or a humidity dome. This is crucial for maintaining the high humidity that these seeds love.
- Provide warmth: Place the pots in a warm location. A sunny windowsill can work, but ideally, they’ll be on a heat mat set to around 25-30°C (77-86°F). This consistent warmth is a major factor in germination success.
- Be patient!: This is where the real test of patience comes in. Attalea microcarpa seeds can take anywhere from a few months to even a year or more to germinate. Keep the soil consistently moist (but not soggy) and the humidity high. Don’t give up too soon!
The “Secret Sauce” (Pro Tips)
Here are a couple of things I’ve learned over the years that make a difference:
- Don’t overwater the soil before sowing: It sounds counterintuitive for a tropical plant, but starting with soil that’s too soggy can lead to rot before germination even begins. Aim for the consistency of a wrung-out sponge.
- Bottom heat is your best friend: While a warm spot is good, consistent bottom heat from a propagation mat truly accelerates germination and gives your little seedlings the best start. It mimics the warmth they’d receive from tropical soil.
Aftercare & Troubleshooting
Once you see those first tiny shoots emerge, congratulations! This is an incredibly exciting moment.
- Gradually reduce humidity: As your seedling grows, you can slowly start to introduce it to slightly lower humidity. Gradually open the plastic bag or dome over a week or two.
- Watering: Continue to keep the soil consistently moist. Allow the top layer of soil to dry out slightly between waterings, but never let it become bone dry.
- Light: Provide bright, indirect light. Direct sun can scorch young seedlings.
- Fertilizing: Once your seedling has a few developed leaves and is actively growing, you can start feeding it with a diluted liquid fertilizer formulated for palms, about once a month during the growing season.
The most common sign of trouble is rot. If your seeds don’t germinate and the soil stays damp and smells off, it’s likely rot has set in. This is usually due to overwatering or poor drainage. If a seedling starts to look yellowed and mushy from the base, that’s another sign of rot. If you see this, act fast: remove the affected seedling and soil, and try to improve conditions for the others.
A Word of Encouragement
Propagating Attalea microcarpa is a journey, and like any good garden project, it requires patience and a willingness to learn. Don’t get discouraged if your first attempt isn’t perfect. Each seed and each plant is a unique experience. Enjoy the slow unfolding of new life, and soon you’ll be surrounded by more of these stunning palms. Happy growing!
Resource:
https://identify.plantnet.org/k-world-flora/species/Attalea%20microcarpa%20Mart./data