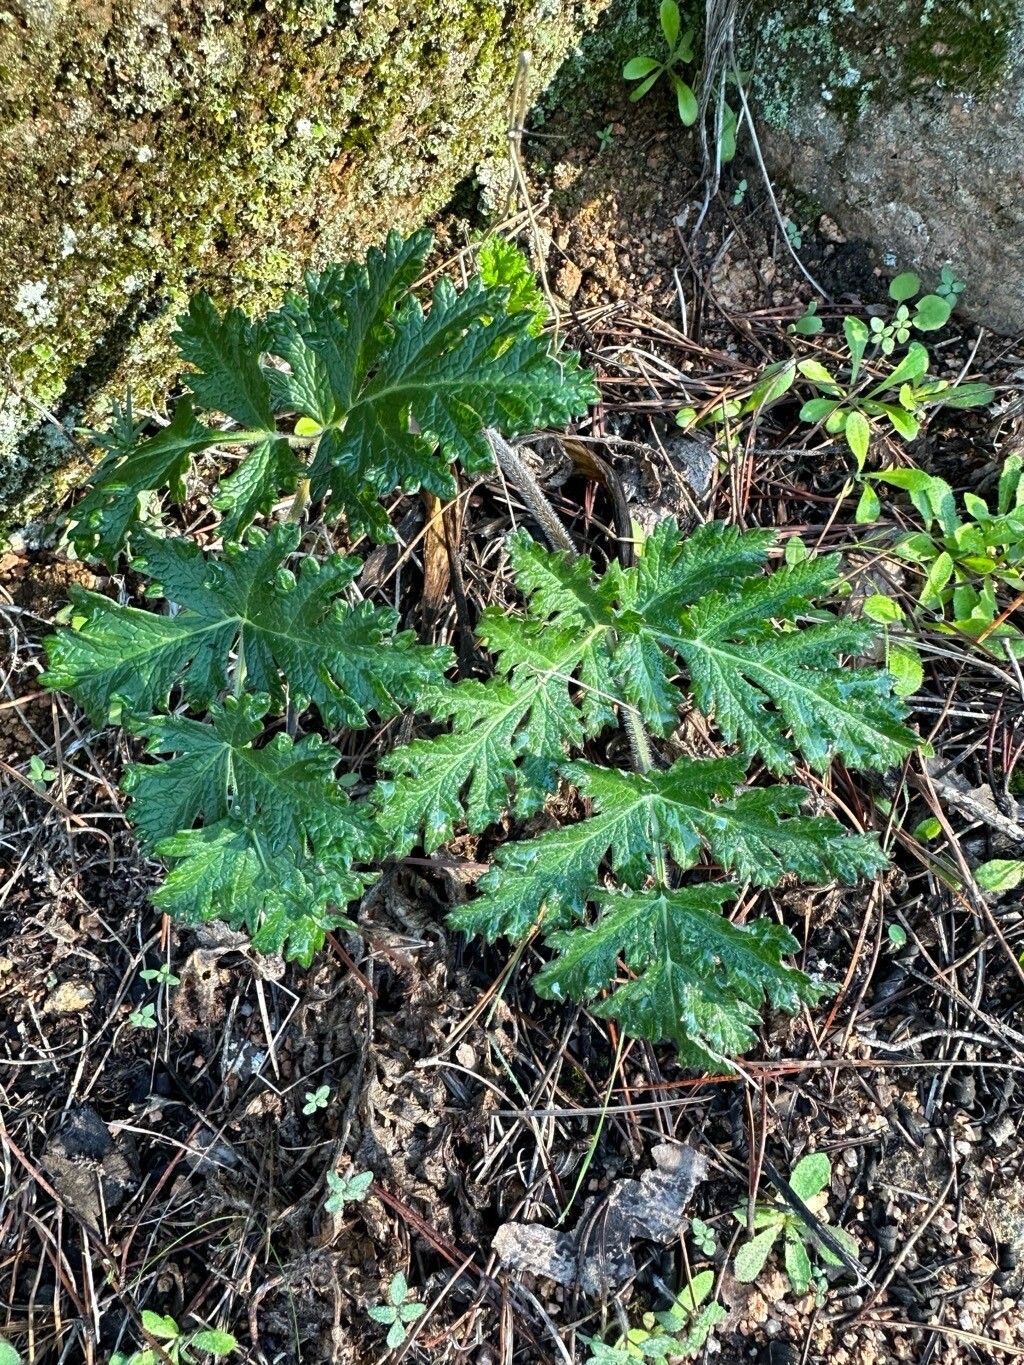
Oh, hello there! Pull up a chair and let’s chat about Thapsia villosa. If you’re looking for a plant that’s a bit of a showstopper with its wonderfully feathery foliage and dramatic umbels of yellow flowers, then you’ve found it. It reminds me of a romantic, wild meadow plant, and it truly brings a unique texture to the garden. Best of all, propagating it is a wonderfully rewarding endeavor, though I’d say it’s moderately challenging for absolute beginners. Don’t let that deter you, though – with a little care and attention, you can easily double or even triple your stock!
The Best Time to Start
For Thapsia villosa, the sweet spot for propagation is generally in the late spring or early summer. This is when the plant is actively growing and has good energy reserves. You’ll want to work with cuttings taken from healthy, new growth. If you’re dividing mature plants, doing it in early spring, just as growth begins, is usually best.
Supplies You’ll Need
Here’s what I find helpful when I’m getting ready to propagate:
- Sharp, clean pruning shears or a sharp knife: Essential for making clean cuts.
- Rooting hormone (optional, but recommended): Helps encourage root development. A powder or gel works well.
- Well-draining potting mix: I like a blend of equal parts perlite, seed-starting mix, and a touch of compost. This ensures good aeration and prevents waterlogging.
- Small pots or seed trays: Clean ones, of course!
- Plastic bags or a propagator lid: to maintain humidity.
- Watering can or spray bottle: for gentle watering.
- Label and pen: To keep track of your precious new plants!
Propagation Methods
Thapsia villosa is best propagated through division or by taking stem cuttings.
Division (My Favorite for This Plant!)
Mature Thapsia villosa plants naturally form clumps. By dividing them, you’re essentially taking a piece of the established root system and crown and giving it its own chance to grow.
- Excavate with Care: In early spring, carefully dig around the base of your Thapsia villosa. You want to gently lift the entire plant from the soil. Try not to damage the main root ball too much.
- Inspect the Crown: Once out of the ground, gently shake off some of the excess soil. You’ll see where the plant has naturally formed divisions or where you can make a clean split.
- Make the Cut: Using your sharp knife or shears, carefully divide the clump into smaller sections. Each section should have at least one healthy bud or growing point and a good portion of the root system.
- Replant Immediately: Don’t let those divisions dry out! Pot each section into its own container filled with your well-draining potting mix. Water them in gently.
Stem Cuttings
This method is best done when you have vigorous, new growth.
- Select Your Cuttings: Look for healthy, non-flowering stems that are about 4-6 inches long. Make sure they have at least a couple of leaf nodes.
- Make a Clean Cut: Using your clean shears, cut the stem just below a leaf node.
- Prepare the Cutting: Remove the lower leaves from the cutting, leaving just a few at the top. If the stem feels a bit soft, you can trim it back to firmer wood.
- Dip in Rooting Hormone (Optional): If you’re using rooting hormone, lightly coat the cut end.
- Potting the Cuttings: Insert the cuttings into pots filled with your prepared potting mix. Gently firm the soil around them.
- Create a Humid Environment: Water the soil gently until it’s moist but not soggy. Then, cover the pots with a plastic bag or propagator lid to trap humidity.
The “Secret Sauce” (Pro Tips)
- For divisions, don’t be afraid to use a bit of force! Sometimes those roots are intertwined, and a firm pull or a well-placed knife is needed to separate them cleanly. Just be gentle with the crown itself.
- When taking stem cuttings, keep them out of direct sunlight. Bright, hot sun will scorch and dry out your delicate cuttings before they have a chance to root. A bright, indirect light is perfect.
- Bottom heat is your friend for cuttings. If you have a propagation mat, placing your pots on it can significantly speed up root development and increase success rates. It mimics the warmth that would naturally encourage roots in the soil.
Aftercare & Troubleshooting
Once your divided plants or cuttings are potted, keep them consistently moist but not waterlogged. For cuttings, the goal is to maintain that humid environment. You’ll know they’ve taken when you see new leaf growth. For divisions, you’ll see your plant perking up and showing signs of vigorous growth.
The biggest issue you might encounter is rot. This usually happens if the soil stays too wet or air circulation is poor. If you see a cutting turning mushy and black, unfortunately, it’s likely a lost cause. Remove it promptly to prevent it from affecting others. Overwatering is the usual culprit, so dial back the watering if this happens.
A Encouraging Closing
Be patient with your Thapsia villosa babies! Propagation takes time, and sometimes not every attempt is successful. But that’s part of the gardening journey. Enjoy the process of nurturing these new plants, and before you know it, you’ll have beautiful additions to share with friends or to simply fill your own garden with their unique charm. Happy propagating!
Resource:
https://identify.plantnet.org/k-world-flora/species/Thapsia%20villosa%20L./data