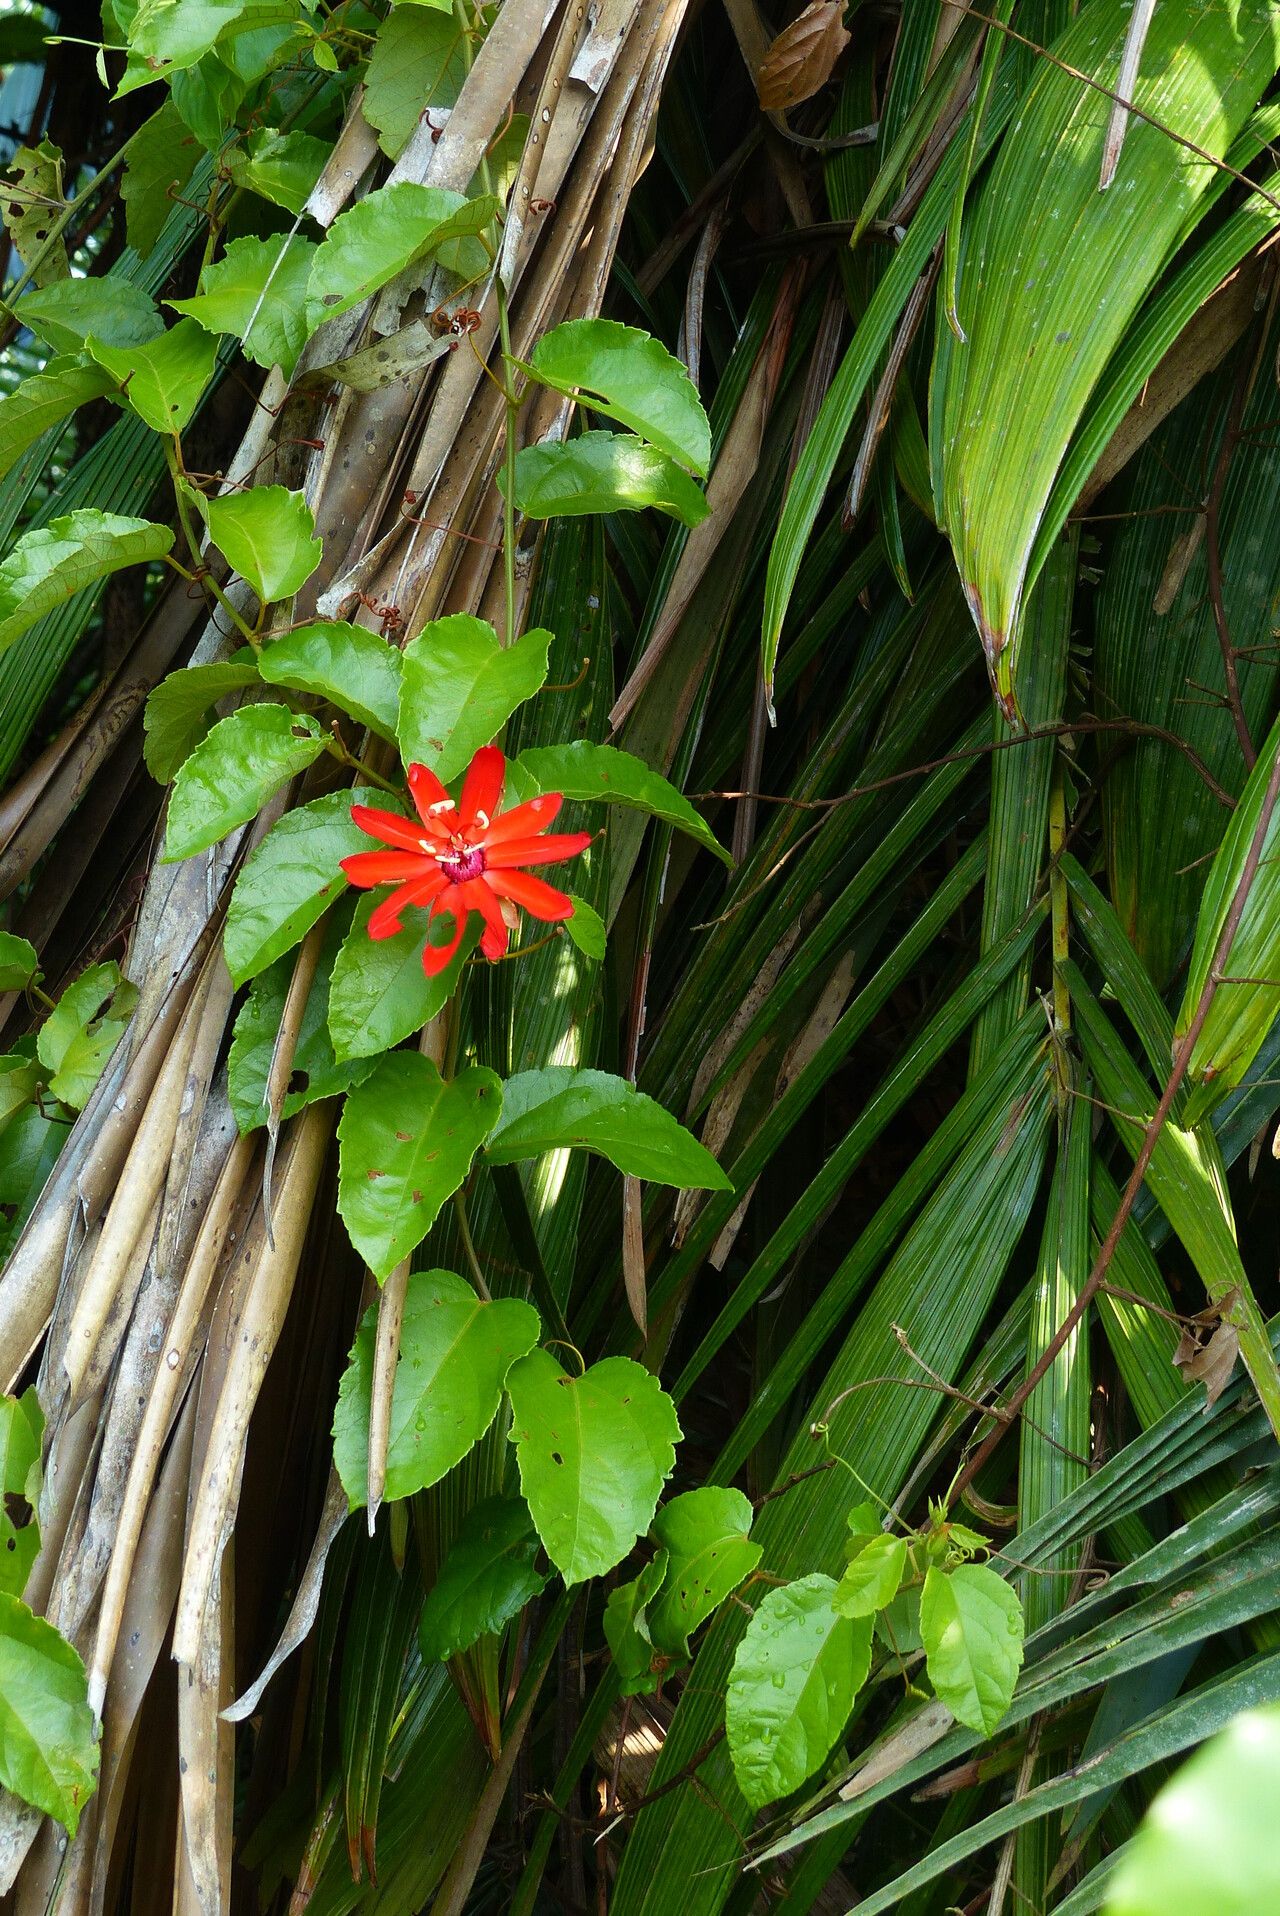
Oh, hello there! Grab a warm mug, will you? Let’s chat about one of my absolute favorite vines: Passiflora coccinea. If you’ve ever seen its fiery scarlet blooms, you know exactly why it’s a showstopper. The intricate beauty of those passionflowers is just mesmerizing, and the idea of getting more of them to grace your garden is wonderfully rewarding. Now, about propagation: Passiflora coccinea can be a little bit fussy sometimes, but with a few good tips, you’ll be amazed at how successful you can be. Don’t let that deter you; it’s definitely achievable for a keen beginner!
The Best Time to Start
When it comes to getting the best results, late spring or early summer is your golden window. This is when the plant is actively growing, and its stems are full of vigor. You’re looking for current season’s growth – stems that are firm but not yet woody. Think of it as taking cuttings when the plant is at its most energetic!
Supplies You’ll Need
Before we dive in, let’s gather our tools. Here’s what you’ll want on hand:
- Sharp Pruning Shears or a Clean Knife: For making clean cuts.
- Rooting Hormone (Optional, but helpful): Look for one designed for softwood or semi-hardwood cuttings.
- A Well-Draining Potting Mix: A blend of perlite, peat moss, and a little bit of coco coir works wonders. You can even buy a specific seed starting mix.
- Small Pots or Seedling Trays: Clean ones are crucial to prevent disease.
- Plastic Bags or a Propagator Lid: To create a humid environment.
- Water: For watering and, if you choose, water propagation.
- A Spray Bottle: For misting.
Propagation Methods
We’ll focus on the most reliable method for Passiflora coccinea: stem cuttings.
Stem Cuttings:
- Take Your Cuttings: On a healthy, actively growing stem, make a clean cut just below a leaf node. A leaf node is where a leaf joins the stem. Aim for cuttings that are about 4-6 inches long. Remove the lower leaves, leaving just one or two at the very top.
- Prepare the Cutting: If you’re using rooting hormone, dip the cut end into it. You don’t need to go too deep, just enough to coat the bottom inch or so. Tap off any excess.
- Potting Up: Fill your clean pots with your well-draining potting mix. Make a small hole in the center with your finger or a pencil.
- Insert the Cutting: Gently place the prepared cutting into the hole, ensuring the leaf nodes that were just below the soil line are now covered by the potting mix. The leaves should be above the soil. Firm the soil gently around the stem.
- Water Gently: Water the potting mix thoroughly but gently so you don’t dislodge the cutting.
- Create Humidity: The trick here is to keep the humidity high. You can place the pot inside a plastic bag, propping it up with stakes so the bag doesn’t touch the leaves. Alternatively, a propagator lid works beautifully.
- Provide Light and Warmth: Place your pots in a bright spot, but out of direct, harsh sunlight. A little warmth from the bottom can be very beneficial – think of placing the pots on a heat mat set to a low temperature, or even on top of your refrigerator.
The “Secret Sauce” (Pro Tips)
Now, for a couple of tricks that have really helped me over the years:
- The “No Leaf Touch” Rule: When using a plastic bag for humidity, or if your leaves are very low, ensure no leaves are touching the soil. This is a common spot for rot to start. If a leaf is very low, you might need to trim it back a little more.
- Bottom Heat is Your Best Friend: Seriously, if you can manage it, bottom heat makes a huge difference in encouraging root development. It mimics nature’s warmth from the soil and gives those little root hairs the encouragement they need to get going.
Aftercare & Troubleshooting
Once you’ve got your cuttings potted, keep the soil consistently moist but not soggy. Mist the leaves occasionally if they look a bit sad.
You’ll know your cutting is rooting when you see new growth appearing from the top or, if you gently tug on the stem, you feel a bit of resistance – that means roots have formed! This can take anywhere from 3 weeks to a couple of months, so patience is key.
The most common issue you’ll face is rot. If your cutting turns black and mushy, it’s usually a sign of too much moisture and not enough air circulation, or a disease introduced by dirty tools. If you see a stem wilting and becoming limp, it might also be rot. Don’t be discouraged; just try again with a fresh cutting and ensure everything is clean.
A Little Bit of Patience Goes a Long Way
There you have it! Propagating Passiflora coccinea is a journey, and like any good garden project, it’s about observation and a little bit of learning along the way. Don’t be disheartened if your first try isn’t a runaway success. Keep at it, enjoy the process, and soon you’ll be surrounded by those glorious scarlet blooms. Happy gardening!
Resource:
https://identify.plantnet.org/k-world-flora/species/Passiflora%20coccinea%20Aubl./data