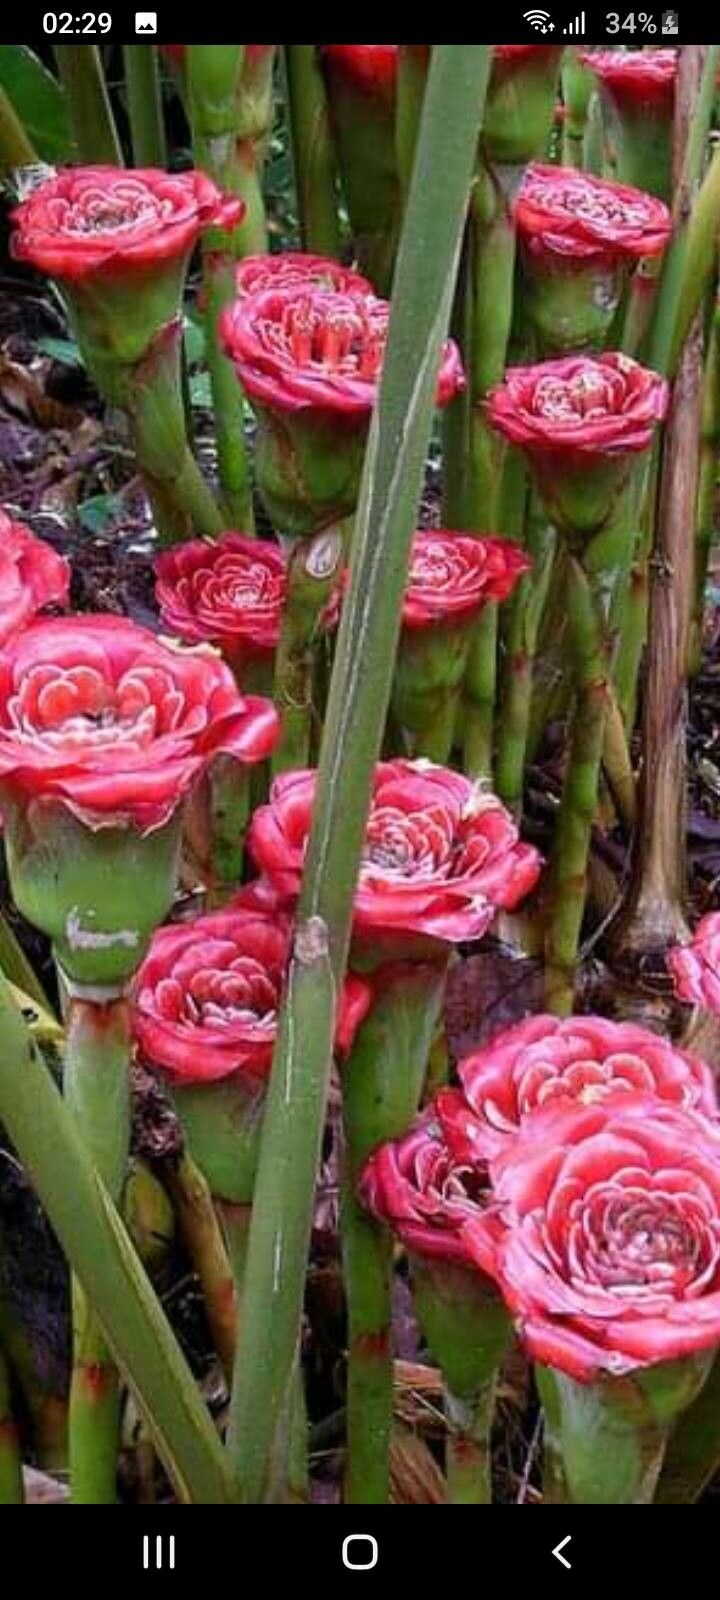
Oh, hello there, fellow plant lover! Grab your favorite mug, because I’m so excited to chat about a really special plant today: Etlingera corneri. If you’ve ever seen one of these beauties, you know what I mean. Their show-stopping, architectural blooms are like something out of a tropical paradise, and the foliage is just lush and gorgeous. Growing them is a joy, and propagating them? Well, that’s a whole other level of garden satisfaction. You get to share your green thumb magic with others, or simply double your own tropical delight!
Now, when it comes to Etlingera corneri, I’d say it’s a moderately challenging plant to propagate. It’s not quite as simple as sticking a Pothos cutting in water, but with a little know-how and patience, you’ll absolutely be successful. Don’t let that deter you – the reward is so worth it!
The Best Time to Start
For the highest success rate with your Etlingera corneri propagation, spring and early summer are your best friends. This is when the plant is actively growing and has plenty of energy to send out those new roots. Look for healthy, vigorous growth on your established plant. Avoid trying to propagate during its dormant period or right after a stressful event for the plant, like a repotting or extreme temperature shift.
Supplies You’ll Need
Here’s what you’ll want to have on hand to make your propagation dreams come true:
- Sharp, clean pruning shears or a sharp knife: For making clean cuts. Sanitation is key to prevent disease!
- Well-draining potting mix: I love a blend of equal parts peat moss (or coco coir), perlite, and coarse sand. A good orchid mix also works wonderfully.
- Rooting hormone powder or gel: This isn’t strictly mandatory, but it can significantly speed up root development and increase your success rate.
- Small pots or starter trays: Clean ones, of course! Terra cotta pots are great as they allow the soil to breathe.
- Clear plastic bags or a propagation dome: To create a humid environment.
- Optional: Heat mat: Especially helpful if your home tends to be on the cooler side.
Propagation Methods
Etlingera corneri is most commonly and successfully propagated through division. This plant forms rhizomes, which are essentially underground stems. As the plant matures, these rhizomes will produce new shoots, each capable of becoming an independent plant.
Here’s how to do it:
- Gently excavate: If your Etlingera corneri is in a pot, carefully unpot it. If it’s in the ground, you might need to do a little careful digging around the base. You want to expose the rhizome system without causing too much damage.
- Identify divisions: Look for sections of the rhizome that have at least one healthy shoot or bud. You’re looking for natural separation points where a new plant could realistically emerge.
- Make the cut: Using your sharp and sterilized pruning shears or knife, carefully cut or break the rhizome sectioned off. Ensure each division has a good chunk of rhizome and a visible bud or shoot. Try to minimize damage to the main rhizome.
- Prepare the division: You can optionally dip the cut end of the rhizome in rooting hormone powder.
- Pot it up: Plant each division in its own small pot filled with your well-draining potting mix. Make sure the top of the rhizome is just at or slightly below the soil surface. Water gently.
- Create humidity: Place the potted division into a clear plastic bag, sealing it loosely, or cover it with a propagation dome. This will trap moisture and create the humid environment the new division needs to establish. Place it in a warm spot with bright, indirect light.
The “Secret Sauce” (Pro Tips)
Here are a couple of things I’ve learned over the years that make a big difference:
- Don’t overwater the rhizomes: While they need moisture, soggy soil is the enemy of new rhizomes. Rot can set in quickly. It’s better to under-water slightly and then mist the foliage if it looks dehydrated. Let the soil dry out just a bit between waterings.
- Bottom heat is your friend: Etlingera corneri loves warmth! Placing your potted divisions on a gentle heat mat (around 70-75°F or 21-24°C) can dramatically speed up root development and help those new shoots emerge much faster.
Aftercare & Troubleshooting
Once you see signs of new growth – usually a tiny shoot emerging from the soil – congratulations! You’re well on your way.
- Gradual acclimatization: Don’t immediately rip off the plastic bag. For the first week or so, gradually introduce your new plant to lower humidity. Open the bag for a few hours each day, slowly increasing the time until it’s fully acclimatized.
- Watering: Continue to water sparingly, allowing the soil to dry out slightly between waterings. As the plant grows, you can water more consistently.
- Light: Keep it in bright, indirect light. Direct sun can scorch those delicate new leaves.
- Troubleshooting:
- Rot: If your rhizome turns mushy and black, it’s likely rot. This is usually due to overwatering. If caught early, you might be able to salvage a healthy section of rhizome. Discard the rotted parts and try again with drier conditions.
- No growth: Be patient! It can take several weeks, sometimes even a couple of months, for a new shoot to emerge. If the rhizome still feels firm and looks healthy after several months, it might just be taking its time.
A Encouraging Closing
Remember, gardening is a journey, and propagation is a beautiful part of that. There will be successes, and there might be a few bumps along the way, but that’s all part of the learning. Just keep at it, be patient with your new plant babies, and most importantly, enjoy the process! Seeing a new Etlingera corneri sprout and grow is incredibly rewarding. Happy propagating!
Resource:
https://identify.plantnet.org/k-world-flora/species/Etlingera%20corneri%20Mood%20&%20Ibrahim/data