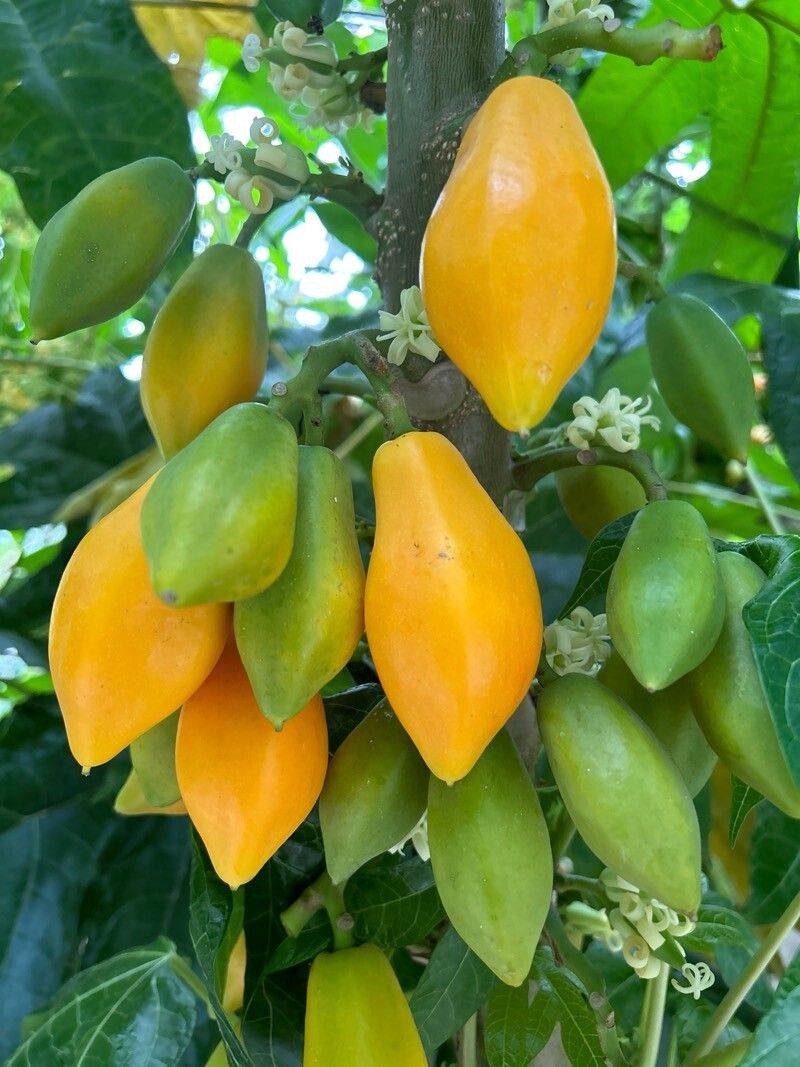
Oh, hello there! I’m so glad you’re curious about Vasconcellea monoica. If you’re looking for a plant that brings a bit of tropical charm and the promise of delicious fruit (yes, fruit!), then this is a wonderful choice. It’s a relative of papaya, but with a more manageable size and often a delightful, subtly sweet, berry-like flavor in its less common, smaller fruits. Watching a little slip of a plant grow into something that will eventually give back to you is just one of the most rewarding things a gardener can do. Now, is it a walk in the park for absolute beginners? I’d say it’s moderately easy, but with a little careful attention, you’ll be well on your way to success.
The Best Time to Start
For Vasconcellea monoica, the sweet spot for propagation is definitely during its active growing season. This typically means late spring or early summer. You want to be taking cuttings when the plant is full of energy, and new growth is readily available. Aim for stems that are healthy and firm, not too woody, and not overly soft and new.
Supplies You’ll Need
Here’s what I always have on hand when I’m ready to get propagating:
- Sharp, sterile pruning shears or a clean knife: Essential for making clean cuts.
- Rooting hormone powder or gel: This really gives your cuttings a head start. Look for one with auxins.
- A well-draining potting mix: I like to use a blend of peat moss, perlite, and a bit of compost. For Vasconcellea, a slightly more acidic mix seems to be preferred.
- Small pots or seed trays: Clean ones, of course!
- A clear plastic bag or propagation dome: To create a humid environment.
- Water: For misting and initial watering.
- Optional: A heat mat: This can speed up root development significantly.
Propagation Methods
Let’s get our hands dirty! I find stem cuttings to be the most reliable method for Vasconcellea monoica.
Stem Cuttings:
- Select your parent plant: Choose a healthy, vigorous Vasconcellea that is actively growing.
- Take the cutting: Using your sterilized shears, cut a section of stem that is about 4-6 inches long. Look for a piece that has at least a couple of sets of leaves. Make the cut just below a leaf node (where a leaf attaches to the stem).
- Prepare the cutting: Gently remove the lower leaves, leaving just 1 or 2 at the very top. This helps prevent them from rotting in the soil. If your leaves are quite large, you can even cut them in half to reduce water loss.
- Apply rooting hormone: Dip the cut end of the stem into your rooting hormone powder or gel. Tap off any excess.
- Plant the cutting: Make a small hole in your prepared potting mix with a pencil or your finger. Insert the cut end of the stem into the hole, ensuring the hormone-covered part is buried. Firm the soil gently around the stem.
- Water and cover: Water the pot gently until the soil is moist but not soggy. Now, cover the pot with a clear plastic bag or propagation dome to create that crucial humid microclimate. You can prop the bag up with skewer sticks if needed to keep it from touching the leaves.
The “Secret Sauce” (Pro Tips)
Now for a couple of things I’ve learned over the years that make a real difference:
- Don’t let those top leaves touch the water in the bag! If they sit in condensation for too long, they’re prone to fungal issues. A little airflow helps here. I’ll often open the bag for a few minutes each day.
- Bottom heat is a game-changer. If you can get your hands on a small, inexpensive heat mat, place your pots on it. This gentle warmth encourages root formation from below, significantly speeding up the whole process. It mimics what happens in tropical soil.
Aftercare & Troubleshooting
Once your cuttings are planted, patience is key! Keep the soil consistently moist but never waterlogged. Place your pots in a bright location, but out of direct, harsh sunlight. The humidity from the plastic cover will do most of the work for the first few weeks.
You’ll know roots are forming when you see new leaf growth. This can take anywhere from 4-8 weeks, sometimes longer. Gently tug on the cutting; if it resists, roots have formed.
The most common problem you might encounter is stem rot. This happens when the cutting is kept too wet, or there isn’t enough airflow. The stem will turn mushy and dark. If you see this, unfortunately, that cutting is likely lost. Discard it immediately to prevent it from affecting other cuttings. Another sign of failure is just a complete lack of any response – no new growth, no signs of rooting for months on end. This can happen if the cutting wasn’t viable to begin with, or if conditions weren’t quite right.
A Warm Closing
Propagating Vasconcellea monoica is a wonderful journey. Don’t be discouraged if your first few attempts aren’t perfect. Each gardener has their own learning curve, and I certainly had my share of early failures! Keep trying, observe your plants closely, and enjoy the magic of creating new life from just a simple cutting. Happy gardening!
Resource:
https://identify.plantnet.org/k-world-flora/species/Vasconcellea%20monoica%20(Desf.)%20A.DC./data