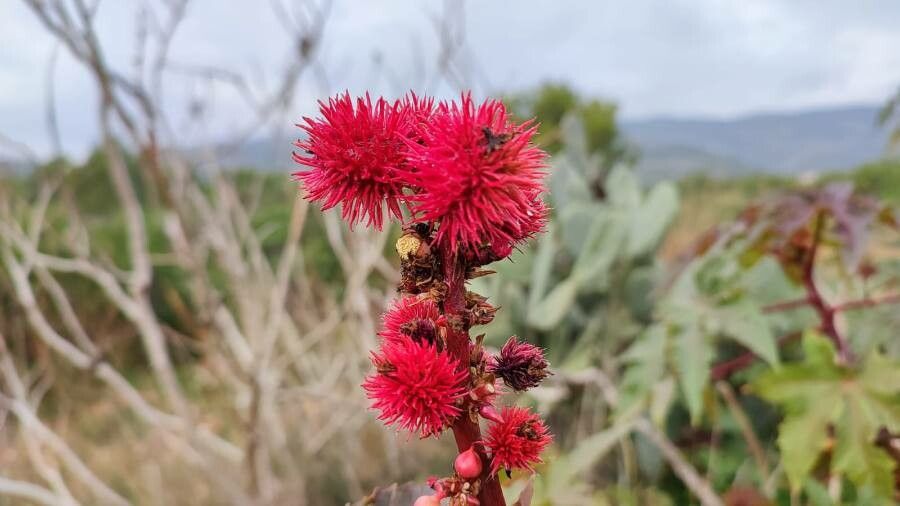
Hello there, fellow garden enthusiasts! If you’ve ever marveled at the dramatic, sculptural beauty of the castor bean plant (Ricinus communis), you’ve probably wondered how to get more of these magnificent specimens into your garden. It’s a plant that truly commands attention with its large, palm-like leaves and striking stems. And guess what? Propagating it is not as daunting as you might think! In fact, for those of you just dipping your toes into the world of plant propagation, castor bean is a surprisingly rewarding and accessible plant. It’s a fantastic way to fill your space with its tropical flair.
The Best Time to Start
For the highest success rate with castor bean propagation, start in late spring or early summer. This is when the plant is in its active growth phase, meaning it has plenty of energy to put into developing new roots. Waiting until after the last frost is crucial, as young cuttings are sensitive to cold. You’ll be looking for healthy, vigorous growth on your parent plant.
Supplies You’ll Need
Gathering your supplies beforehand makes the process so much smoother. Here’s what I always have on hand:
- Sharp pruning shears or a clean knife: For taking clean cuts that heal well.
- Rooting hormone (optional but recommended): A powder or gel that encourages root formation.
- Well-draining potting mix: A blend of peat moss or coco coir, perlite, and a bit of compost works beautifully. You can also buy a good quality seed starting mix.
- Small pots or trays: Clean containers with drainage holes are a must.
- Plastic bags or a propagator: To create a humid environment.
- Water: For misting and watering.
- A warm location: Bottom heat is a game-changer!
Propagation Methods
While castor bean is famously easy to grow from seed, if you want to clone a specific plant or simply enjoy the process of vegetative propagation, stem cuttings are your best bet.
Stem Cuttings
This is my go-to method for multiplying my favorite castor bean varieties.
- Take Your Cuttings: Select a healthy, non-flowering stem from your mature castor bean plant. Look for a piece that’s at least 6-8 inches long. Using your sharp pruning shears or knife, make a clean cut just below a leaf node (where a leaf attaches to the stem). This is where new roots often emerge.
- Prepare the Cuttings: Gently remove the lower leaves from your cutting, leaving just a few at the top to help with photosynthesis. If your cutting is very long, you can trim off the very tip to reduce moisture loss.
- Apply Rooting Hormone (Optional): Dip the cut end of the stem into rooting hormone. Gently tap off any excess. There’s no need to soak it; just a light coating is enough.
- Potting Up: Fill your clean pots with your well-draining potting mix. Make a hole in the center of the soil with your finger or a pencil.
- Plant the Cuttings: Insert the cut end of the stem into the pre-made hole, ensuring that at least one leaf node is buried beneath the soil surface. Gently firm the soil around the cutting.
- Create a Humid Environment: Water the soil thoroughly until it drains from the bottom. Then, cover the pot with a clear plastic bag or place it in a propagator. This traps moisture and humidity, which is vital for cuttings to root. You can use stakes to keep the bag from touching the leaves.
- Provide Warmth: Place the pots in a warm location, ideally with bottom heat. A heat mat designed for propagation is fantastic. A sunny windowsill can work, but consistent warmth is more important than direct light at this stage.
The “Secret Sauce” (Pro Tips)
Here are a few little tricks I’ve picked up over the years that really boost success rates with cuttings:
- Don’t Let the Leaves Touch the Water (Evaporation Alert!): If you’re doing water propagation (which I sometimes do for initial root development, though soil is generally better for castor bean), make sure the leaves of your cutting don’t sit in the water. Any leaves submerged will rot quickly and can introduce disease to your cutting.
- Bottom Heat is Your Best Friend: I can’t stress this enough. Young root tissue grows much more vigorously when it’s warm from below. It tricks the plant into thinking it’s the ideal rooting season, even if your ambient air temperature isn’t perfectly toasty.
- Sterilize Everything: Before you start, make sure your pots, tools, and even your hands are clean. This prevents the transfer of any fungal spores or bacteria that could cause your cuttings to rot before they even have a chance to root.
Aftercare & Troubleshooting
Once your cuttings are happily rooting, the care is simple but requires attention. Keep the soil consistently moist but not soggy. Think of it like a wrung-out sponge – damp, but without standing water. Mist the leaves occasionally if you’re not using a propagator, especially if the air is dry.
You’ll know your cutting has rooted when you see new leaf growth appearing. You might also feel a slight resistance if you gently tug on the cutting. It usually takes anywhere from 3-6 weeks for roots to develop.
The most common problem you’ll encounter is rot. If your stem cutting turns mushy, black, or smells foul, it’s likely rotted. This is often due to overwatering, poor drainage, or lack of air circulation. If you see this, sadly, it’s time to start again and examine what might have gone wrong in your setup. Wilting without any signs of rot could mean it just hasn’t rooted yet and is struggling to take up water – increased humidity might help.
A Encouraging Closing
There you have it – a simple guide to propagating your own stunning castor bean plants! Remember, propagation is a journey. Not every cutting will make it, and that’s perfectly okay. Be patient, enjoy the process of nurturing these new life forms, and celebrate every little success. Soon you’ll have a whole collection of these architectural beauties gracing your garden. Happy growing!
Resource:
https://identify.plantnet.org/k-world-flora/species/Ricinus%20communis%20L./data