Hey there, fellow plant lovers!
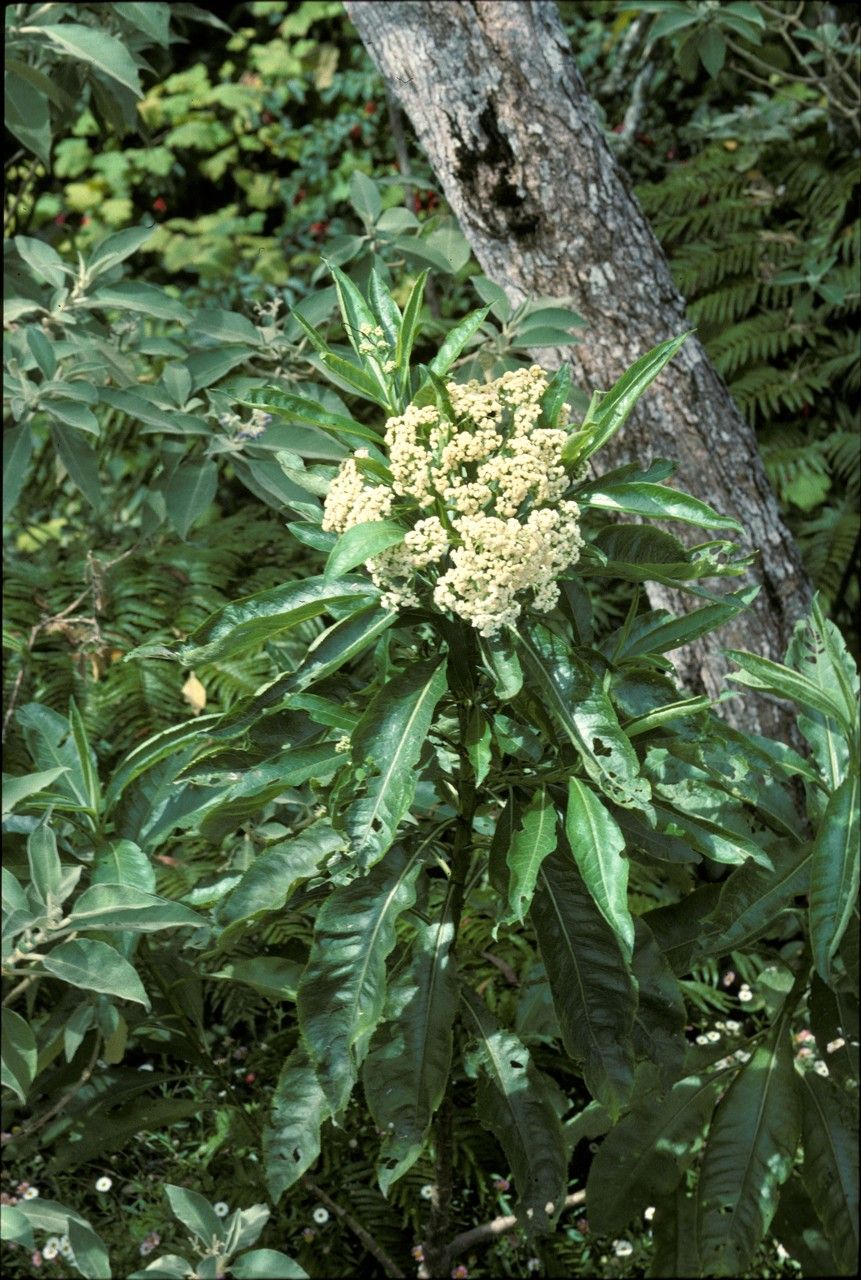
If you’ve ever admired the lovely, often fragrant foliage of Psiadia laurifolia, you’re not alone. This little gem, with its glossy leaves and sometimes delicate flowers, brings a touch of the Mediterranean right into our gardens and homes. And the joy of being able to create more of these beauties from a parent plant? Well, it’s one of my very favorite garden triumphs. It might sound a bit fancy, but propagating Psiadia laurifolia is actually quite approachable, even for those of you just dipping your toes into the world of plant multiplication. Think of it as gaining a superpower for your green thumb!
The Best Time to Start
For the best shot at success with Psiadia laurifolia, I always reach for my pruning shears in late spring or early summer. This is when the plant is actively growing, pushing out new, tender stems. These young, semi-hardwood cuttings are more pliable and typically root much faster and more reliably than older, woody bits. Waiting until the plant has finished its main flush of growth means you’re working with material that’s ready to get down to business.
Supplies You’ll Need
Here’s a little arsenal that will make your propagation adventures a breeze:
- Sharp pruning shears or a clean knife: For making clean cuts on your stems. A dull tool can crush the delicate tissues.
- Rooting hormone: While Psiadia laurifolia can root without it, a rooting hormone powder or gel can significantly speed up the process and increase your success rate.
- A well-draining potting mix: I like to use a blend of perlite and peat moss or coco coir. You want something airy that won’t hold too much moisture. A commercial seed-starting mix also works wonders.
- Small pots or a propagation tray: Clean containers are key to preventing disease. Small ones are perfect for cuttings.
- Plastic bag or humidity dome: To create a mini greenhouse effect around your cuttings.
- Watering can or spray bottle: For gentle watering.
- Labels and a marker: So you don’t forget what you’ve planted where!
Propagation Methods
Let’s get our hands dirty! Stem cuttings are my go-to for Psiadia laurifolia.
Stem Cuttings:
- Take your cuttings: Select a healthy, vigorous stem that’s about 4-6 inches long. Make a clean cut just below a leaf node (the point where a leaf attaches to the stem). This is where the magic of root development happens. Remove a couple of the lower leaves, leaving about 2-3 sets of leaves at the top.
- Prepare the cutting: If you’re using rooting hormone, dip the cut end into the powder or gel. Gently tap off any excess.
- Plant the cutting: Moisten your potting mix lightly. Make a small hole in the center of your pot with your finger or a pencil. Carefully insert the cutting, ensuring the leaf nodes you removed are below the soil surface. Gently firm the soil around the stem.
- Water gently: Give your newly planted cutting a light watering. You want the soil to be moist but not soggy.
- Create the humidity: Place your pots into a clear plastic bag, sealing it loosely, or cover them with a humidity dome. This traps moisture, which is crucial for cuttings to root. Place them in bright, indirect light.
The “Secret Sauce” (Pro Tips)
Here are a few things I’ve learned over the years that can really give your propagation efforts a boost:
- Don’t let those leaves touch the water! If doing water propagation (though I prefer soil for Psiadia laurifolia and find it less prone to rot), never let the leaves dip below the water line. Any submerged leaves are likely to rot, which can then infect the stem and prevent rooting.
- Bottom heat is your friend. If you have a seedling mat or a warm spot in your house (like on top of a refrigerator), placing your pots on it can significantly speed up root formation. Warmer soil encourages faster root development.
- Patience is a virtue (and a necessity). Some plants are quick to root, others take their sweet time. Psiadia laurifolia is usually pretty good, but don’t despair if you don’t see roots in a week. Give it at least 3-4 weeks, sometimes longer, before you start to worry.
Aftercare & Troubleshooting
Once you start to see new growth, that’s a great sign that roots are forming! You can gently tug on the cutting; if there’s resistance, roots have likely developed.
- Acclimate slowly: Once roots are established, begin to gradually acclimate your new plant to normal conditions. Open the plastic bag or humidity dome for a few hours each day, increasing the time until you can remove it entirely.
- Water carefully: Continue to water when the top inch of soil feels dry. Avoid overwatering, as this is the most common cause of failure.
- Troubleshooting: The biggest enemy is rot. If your cuttings turn black and mushy, it’s usually a sign of too much moisture and poor air circulation. If you see this, remove the affected cutting immediately and adjust your watering and humidity levels for the remaining ones. Yellowing leaves can sometimes indicate too little light or an underwatering issue.
A Warm Hug for Your New Plants
So there you have it! Propagating Psiadia laurifolia is a wonderfully rewarding way to multiply your enjoyment of this plant. Don’t be discouraged if your first attempt isn’t perfect. Every gardener learns through doing, and every new plant you successfully nurture is a testament to your nurturing spirit. Be patient, enjoy the process, and soon you’ll have a whole family of these lovely Psiadia laurifolia to share! Happy growing!
Resource:
https://identify.plantnet.org/k-world-flora/species/Psiadia%20laurifolia%20Cordem./data