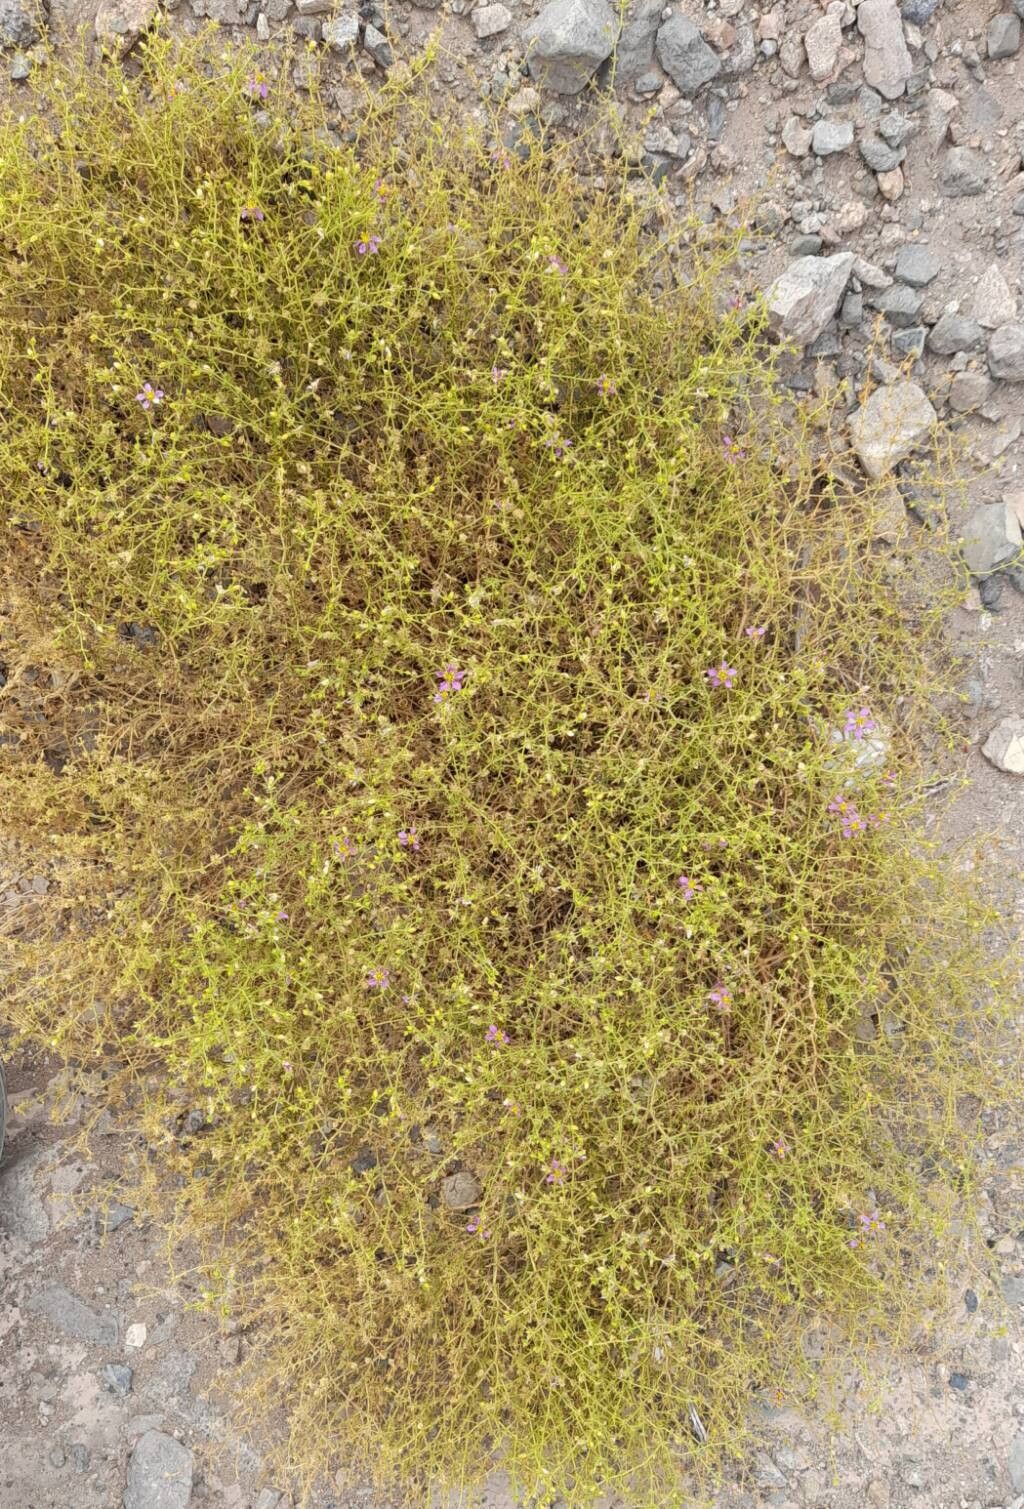
Hey there, fellow plant lovers! I’m so excited to chat with you today about a real gem in the succulent world: Zygophyllum chilense. Sometimes called “creosote bush” or “chaparral,” this tough, attractive desert dweller is just bursting with character. Its small, shrubby form and intriguing, resinous leaves make it a standout in any arid garden or collection. And let me tell you, propagating it is a journey that’s incredibly rewarding. You get to witness new life springing from something you already cherish, and it’s a fantastic way to share this unique plant with friends or expand your own collection. For those just starting out, I’d say Zygophyllum chilense is moderately easy to propagate. It’s got a bit of a wild spirit, but with a few key steps, you’ll be well on your way!
The Best Time to Start
When it comes to getting these little guys going, timing is everything. I find the absolute best time to take cuttings is during the active growing season. For Zygophyllum chilense, this usually means from late spring through early summer. The plant is full of energy then, and the cuttings are much more likely to root and establish themselves quickly. Avoid trying to propagate during very hot, dry spells or during the plant’s dormancy in winter.
Supplies You’ll Need
Before we get our hands dirty, let’s gather our toolkit. Having everything ready makes the process so much smoother.
- Sharp, clean pruning shears or a knife: Essential for making clean cuts.
- Rooting hormone (optional but recommended): This can give your cuttings a helpful boost. Look for a powder or gel.
- Well-draining potting mix: A cactus and succulent mix is perfect. You can also make your own by combining equal parts potting soil, perlite, and coarse sand.
- Small pots or trays: Clean containers with drainage holes are a must.
- Watering can or misting bottle: For gentle watering.
- Labels and a marker: To keep track of your projects!
Propagation Methods
Let’s dive into the how-to! Stem cuttings are my go-to for Zygophyllum chilense.
Stem Cuttings (The Most Reliable Way!)
- Select Your Cuttings: Look for healthy, semi-hardwood stems on your mature plant. These are stems that are growing vigorously but aren’t brand new and flimsy, nor are they old and woody. Aim for pieces about 4-6 inches long.
- Make the Cut: Using your sharp shears, make a clean cut just below a leaf node. The node is where a leaf attaches to the stem; this is where roots tend to form. Remove any lower leaves, leaving just a few at the top.
- Apply Rooting Hormone (Optional): If you’re using rooting hormone, dip the cut end of the stem into the powder or gel. Tap off any excess.
- Plant Your Cuttings: Fill your small pots with your well-draining mix. Make a small hole with your finger or a pencil. Insert the cut end of the stem into the hole, pushing it in deep enough so it’s well-supported. Gently firm the soil around it.
- Water Gently: Water the soil lightly to settle it. Avoid drenching it.
The “Secret Sauce” (Pro Tips)
Now for a couple of insider tricks that have always worked wonders for me:
- Let Cuttings “Callus Over”: This is a big one! After you take your cuttings, I like to let them sit out in a dry, shaded spot for a day or two. This allows the cut end to form a callus. This “healing” step significantly reduces the risk of rot when you plant them, as it creates a barrier.
- Bottom Heat is Your Friend: If you can provide a gentle warmth from below, your cuttings will be much happier. A seedling heat mat placed under the pots will encourage root development much faster than ambient room temperature alone. It really speeds things up!
Aftercare & Troubleshooting
Once your cuttings are planted, patience is key!
- Keep Them Warm and Bright: Place your pots in a bright location, but out of direct, harsh sunlight. Consistent warmth is also important.
- Water Sparingly: Your goal is to keep the soil barely moist, not wet. Overwatering is the quickest way to invite rot. I usually water every week or so, or when the top inch of soil feels dry to the touch. A light misting of the leaves can also be beneficial, but again, don’t let them sit in water.
- Checking for Roots: After about 4-8 weeks, you can gently tug on a cutting. If you feel resistance, you have roots! You can also look for new leaf growth as a sign of success.
- Troubleshooting Rot: The most common problem is rot. If you see your cuttings turning mushy or black at the base, it’s usually a sign of too much moisture. Unfortunately, a rotted cutting is usually a goner. Learn from it and try again, ensuring better drainage and less water next time.
Propagating Zygophyllum chilense is a wonderful way to connect with nature and grow something beautiful. Don’t be discouraged if your first attempt isn’t perfect. Gardening is all about learning and experimenting. Be patient, observe your plant, and enjoy the rewarding process of bringing new life into your garden. Happy growing!
Resource: