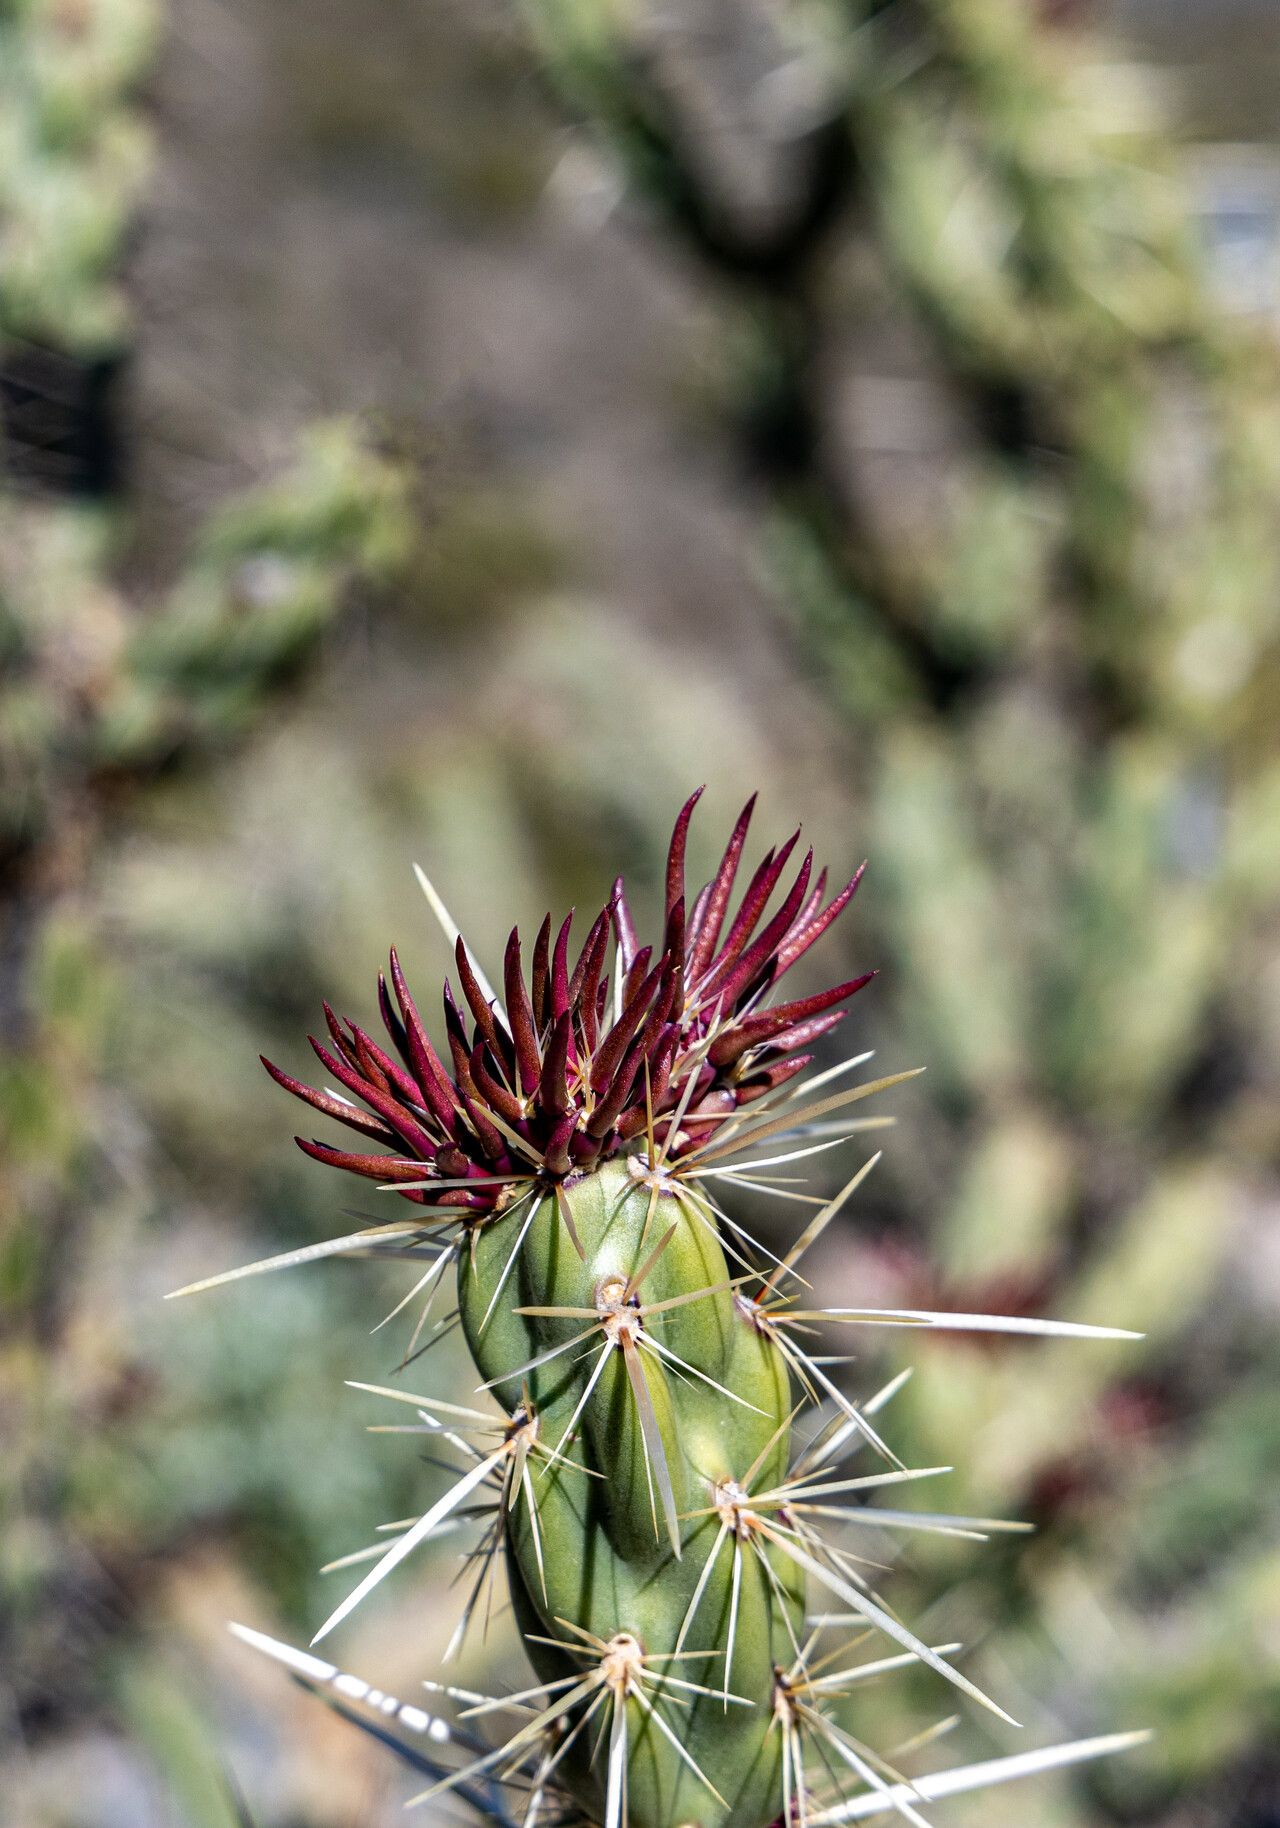
Oh, hello there! It’s wonderful to have you join me for a chat about one of my absolute favorites in the cactus world: Cylindropuntia acanthocarpa, also known as the Buckhorn Cholla.
Your Own Buckhorn Cholla: A Rewarding Venture
There’s something truly special about seeing a new plant sprout from a piece of its parent. With the Buckhorn Cholla, it’s not just about the prickly, segmented stems that give this cactus its charm. It’s about the satisfaction of knowing you’ve helped a new life begin. These cacti are wonderfully sculptural and can add a unique, desert-chic vibe to any sunny spot. Propagating them is a fantastic way to share these beauties with friends or simply expand your own collection. For many, I’d say this is a moderately easy cactus to propagate, but it does require a little understanding of its needs.
When to Get Your Hands Dirty
The absolute best time to start propagating your Buckhorn Cholla is during its active growing season. Think late spring through summer. This is when the plant has plenty of energy to put into rooting and developing. Trying to propagate too early or too late in the year, when growth is slow or dormant, will significantly lower your chances of success.
Your Propagation Toolkit
Here’s what you’ll want to gather to give your new Cholla the best start:
- Sharp, Clean Pruning Shears or a Knife: Absolutely essential for making clean cuts. I recommend sterilizing them with rubbing alcohol between cuts to prevent disease.
- Rooting Hormone: While not strictly mandatory for Cylindropuntia (they are quite determined!), it can give your cuttings a helpful boost. Look for one specifically for succulents or cacti.
- Well-Draining Soil Mix: This is crucial! A cactus/succulent potting mix is a good start, but I like to amend mine with extra perlite or pumice (about a 50/50 ratio) to ensure sharp drainage.
- Terra Cotta Pots: These pots breathe, which is great for cacti and helps prevent waterlogging.
- Gloves or Tongs: Those glochids (the fine, almost invisible spines) are no joke! Protect your hands. Tongs can be super helpful for handling the segments.
- A Sunny Spot: Your cuttings will need plenty of bright, indirect light.
Bringing New Chollas to Life: Propagation Methods
The most common and successful way to propagate Buckhorn Cholla is through stem cuttings. It’s wonderfully straightforward!
- Select Your Cutting: Look for a healthy, mature stem segment. You want one that looks plump and vibrant.
- Make the Cut: Using your sterilized shears or knife, make a clean cut at a joint between segments. Think of it like snapping off a piece of a chain. Avoid cutting a segment in the middle – always at a natural junction.
- Allow it to Callus: This is the MOST important step. You absolutely must let the cut end dry out and form a callus. Place your cutting in a dry, airy spot away from direct sunlight for anywhere from a few days to a week or even two. The cut end should look dry and sealed. This prevents rot, which is the biggest enemy of cuttings.
- Planting Your Cutting: Once callused, you can plant. Gently press the callused end into your prepared, dry potting mix. You can insert it about an inch or so deep. I usually plant several cuttings in the same pot, leaving a little space between them.
- Be Patient! Resist the urge to water immediately. Wait at least a week, and even then, only water sparingly. You want the soil to be barely moist.
Water Propagation (Less Common for Cholla, but Possible):
Occasionally, I’ll have a small, detached segment. If you want to try water propagation, make sure the stem has callused as described above. Then, place it so that only the very bottom touches the water. If the fleshy part of the stem sits in the water, it will almost certainly rot. Change the water every few days to keep it fresh. When you see tiny roots forming, you can then transplant it into soil.
The “Secret Sauce”: My Insider Tips
- The Air Fryer Trick (Not Literally!): After making your cut and before letting it callus, I sometimes place the cutting in an empty, clean oven or dehydrator turned off but still warm from recent use, or just a well-ventilated, warm, dry spot for a few hours. This helps to begin the drying process and can speed up callus formation. It’s a subtle trick, but it works!
- Bottom Heat is Your Friend: If you’re propagating during a cooler spell, or just want to give it an extra boost, placing your pot on a gentle seed starting heat mat can work wonders. It encourages root development without drying out the soil too quickly. Keep the soil barely moist, not wet, even with bottom heat.
Aftercare and Keeping Your New Cholla Happy
Once you start to see signs of new growth – a tiny offset, or the cutting feeling a bit more solid when you gently tug – you know it’s rooting!
What to do:
- Watering Wisely: Begin watering more regularly, but always allow the soil to dry out completely between waterings. This might mean watering every 1-3 weeks depending on your climate and the pot size.
- Sunlight: Gradually introduce your new plant to more direct sunlight. They love it!
Troubleshooting:
- Rot: If your cutting turns mushy, brown, or black, especially at the cut end, it’s likely rotting. This is usually due to too much moisture or not allowing a proper callus. If you catch it early, you might be able to cut away the rotten part and re-callus. Sadly, severe rot is often fatal.
- No Roots: If you’re seeing no signs of rooting after several weeks, don’t despair! Some cacti are just slower starters. Ensure it’s getting enough light and hasn’t been overwatered.
A Little Patience Goes a Long Way
Propagating plants, especially cacti, is an exercise in patience. It’s not always instant gratification, but with these steps, and a little bit of understanding, you’ll be well on your way to growing your own beautiful Buckhorn Chollas. Enjoy the journey, and don’t be afraid to experiment! Happy gardening!
Resource: