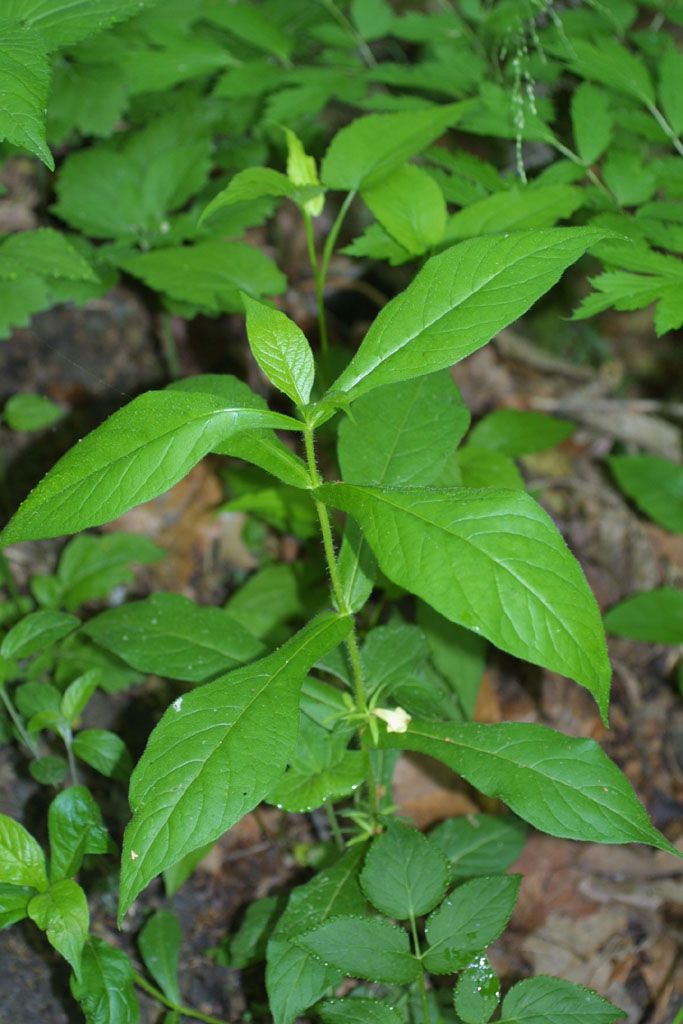
Oh, hello there, fellow garden enthusiast! Have I got a treat for you today. We’re diving into the wonderful world of Triosteum angustifolium, also known as slender-leaved horse-sugar. If you’re looking for a woodland charmer with delicate, bell-shaped flowers and a lovely, airy presence, this is your plant. And the best part? It’s surprisingly rewarding to multiply!
Why Propagate Triosteum Angustifolium?
I find propagating beloved plants one of the most satisfying parts of gardening. It’s like making little bits of living history to share or expand your own patch. Triosteum angustifolium is a bit of a hidden gem, and honestly, it’s not the most common plant you’ll find at your local nursery. This makes propagating it extra special. For beginners, I’d say it’s moderately easy. It’s not as foolproof as some, but with a little attention, you’ll be successful.
The Best Time to Start
For Triosteum angustifolium, the late spring to early summer is your sweet spot. This is when the plant is actively growing, and its stems are tender enough to root easily. You want to catch it just as it’s putting on new growth, but before it gets too woody.
Supplies You’ll Need
Here’s what I usually gather before I get started:
- Sharp, clean pruning shears or secateurs: Clean cuts are crucial for preventing disease.
- Potting mix: A well-draining mix is essential. I often use a blend of peat moss, perlite, and a bit of compost. You can also find specialized seed-starting or cutting mixes.
- Small pots or trays: Clean those thoroughly!
- Rooting hormone (optional but recommended): A good quality rooting powder or gel can give your cuttings a real boost.
- Labels and a permanent marker: Don’t skip this, trust me! You’ll forget what you planted and when.
- Plastic bags or a propagation dome: This helps create a humid environment for your cuttings.
- Watering can with a fine rose: Gentle watering is key.
Propagation Methods
There are a couple of reliable ways to get more Triosteum angustifolium.
Stem Cuttings
This is my go-to method for this plant.
- Take fresh cuttings: In late spring or early summer, select healthy, non-flowering stems. Look for stems that are about 4-6 inches long and feel somewhat firm but bendy – not brittle.
- Prepare the cuttings: Using your clean shears, make a clean cut just below a leaf node (where a leaf attaches to the stem). This is where rooting hormones tend to be most effective.
- Remove lower leaves: Gently strip off the leaves from the bottom half of the cutting. You want to expose at least one or two nodes.
- Dip in rooting hormone: If you’re using it, dip the cut end of the stem into the rooting hormone, tapping off any excess.
- Plant the cuttings: Gently poke a hole in your prepared potting mix with a pencil or finger. Insert the cutting so that at least one leaf node is below the surface of the soil. Firm the soil gently around the stem.
- Water gently: Water the soil thoroughly but don’t make it soggy.
- Create humidity: Cover the pot with a plastic bag or place it in a propagation dome. Make sure the leaves don’t touch the sides of the bag, as this can encourage rot.
Division
If your Triosteum angustifolium plant is already established and looking a bit crowded, division is a great option.
- Dig up the plant: In early spring, before new growth really takes off, carefully dig up the entire clump. Try to disturb the roots as little as possible.
- Separate the divisions: Gently shake off excess soil. You can usually tease apart larger clumps with your hands. For more stubborn clumps, you might need to use a clean trowel or even a sharp knife to cut through the root ball. Make sure each division has plenty of healthy roots and at least one or two shoots.
- Replant immediately: Pot up the divisions into fresh, well-draining soil and water them in well.
The “Secret Sauce” (Pro Tips)
Here are a few little tricks I’ve learned over the years that make a big difference:
- Don’t overwater new cuttings: This is probably the most common mistake. Cuttings don’t have roots yet to absorb much water, so too much can lead to rot. Keep the soil consistently moist, but not waterlogged. You can test this by sticking your finger about an inch into the soil. If it feels dry, it’s time to water.
- Bottom heat is your friend: If you have the ability, placing your pots on a gentle seedling heat mat can significantly speed up rooting. This warmth encourages root development from below. Just a little gentle warmth makes a world of difference.
- Watch for callus formation: Before roots appear, you might notice a little swelling or a callus forming at the cut end of your stem cutting. This is a great sign that the plant is preparing to root!
Aftercare & Troubleshooting
Once you start seeing new leaf growth on your cuttings, that’s a wonderful sign that roots have formed!
- Gradually acclimate: If you’ve been using a plastic bag or dome, start removing it for a few hours each day to let the plant get used to the drier air.
- Water consistently: Water your new, rooted plants whenever the top inch of soil feels dry.
- Nurture gently: Don’t rush to fertilize. Once the plants are established (after a few weeks of new growth), you can give them a dilute liquid feed.
The main thing to watch out for is rot. If your cuttings start to look mushy, turn black, or wilt dramatically despite moist soil, it’s likely rot. This is often caused by overwatering or poor air circulation. If you spot it, remove the affected cutting immediately to prevent it from spreading.
A Little Patience Goes a Long Way
Propagating plants is a journey, and sometimes it takes a little patience. Don’t be discouraged if your first attempt isn’t perfect. Every gardener has had failures – it’s all part of the learning process! Enjoy the quiet satisfaction of nurturing something new into existence. Happy gardening!
Resource:
https://identify.plantnet.org/k-world-flora/species/Triosteum%20angustifolium%20L./data