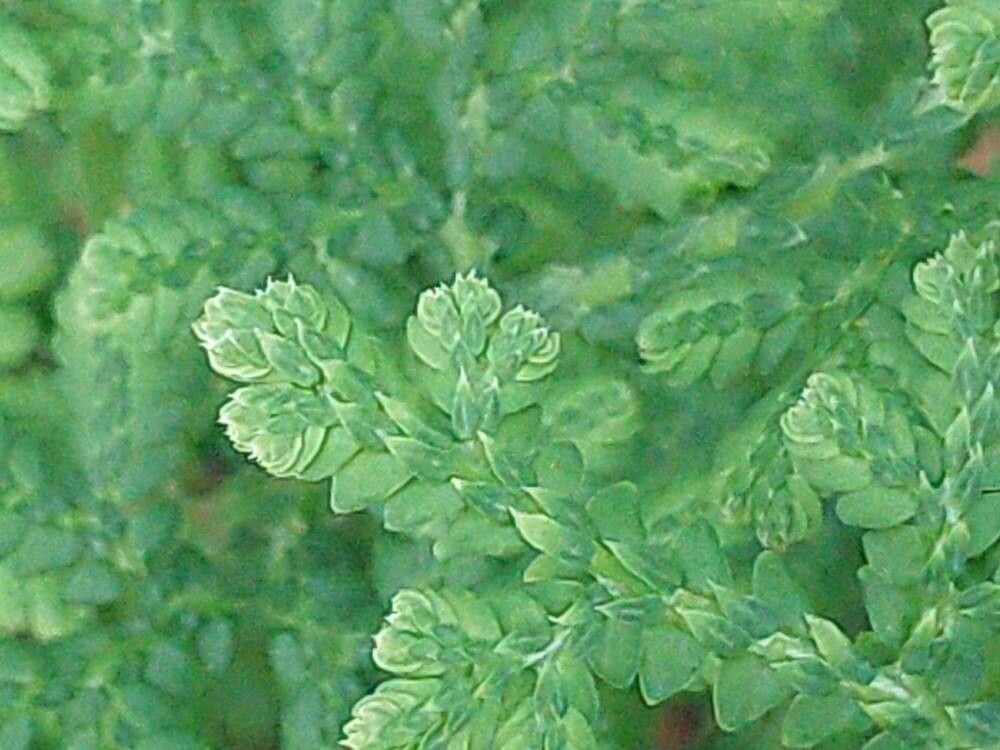
Hello fellow plant lovers! Today, we’re diving into the delightful world of Selaginella braunii, also known as the Spikemoss. If you’re drawn to its delicate, fern-like foliage and the way it brings a touch of the rainforest floor into your home, you’re not alone. Growing these beauties is a joy, and propagating them is incredibly rewarding. It’s a fantastic way to fill your space with more of their ethereal charm, or even share them with friends. Honestly, for someone who enjoys a bit of gentle nurturing, Selaginella braunii is quite amenable and offers a good chance of success.
The Best Time to Start
For the best results with Selaginella braunii, I always reach for my propagation tools in the late spring or early summer. This is when the plant is actively growing, full of vigor, and has the energy to put out new roots. You can also have success in the early autumn, but spring truly feels like the sweet spot. Look for healthy, new growth on your existing plant – these are the best candidates for cuttings.
Supplies You’ll Need
Gathering your supplies beforehand makes the whole process so much smoother. Here’s what I usually have on hand:
- Sharp, clean pruning shears or a craft knife: For making clean cuts.
- Well-draining potting mix: I prefer a blend of peat moss, perlite, and a little bit of orchid bark. A standard houseplant mix with added perlite works too.
- Small pots or seed trays: With drainage holes, of course!
- Misting bottle: For keeping humidity levels high.
- Clear plastic bag or propagation dome: To create a mini-greenhouse effect.
- Rooting hormone (optional but recommended): A powdered or gel form can give your cuttings a helpful boost.
- Water: Let it sit out for 24 hours to allow chlorine to dissipate.
Propagation Methods
Selaginella braunii is wonderfully responsive to a couple of straightforward propagation methods.
Stem Cuttings
This is my go-to for Selaginella. It’s quick, and you can get quite a few new plants from a single mature specimen.
- Select your cuttings: Look for healthy stems that are about 3-4 inches long. Gently twist or snip them from the main plant.
- Prepare the cuttings: Remove the lower leaves from the bottom inch or so of each stem. This prevents them from rotting when buried in the soil. If the leaves are very dense, you can carefully trim some of the lower ones to reduce water loss.
- Apply rooting hormone (optional): Dip the cut end into your rooting hormone, tapping off any excess.
- Plant the cuttings: Make small holes in your prepared potting mix with a pencil or your finger. Insert the cut ends into the holes, firming the soil gently around them. Aim for at least one or two nodes (where leaves emerge) to be below the soil surface.
- Water gently: Water the soil thoroughly but avoid waterlogging. A good soak is best.
- Create a humid environment: Place the pots inside a clear plastic bag, sealing it loosely, or cover them with a propagation dome. Keep them out of direct sunlight.
Water Propagation
This method is a bit more visual and can be very satisfying to watch.
- Prepare your cuttings: Follow steps 1 and 2 from the stem cutting method.
- Place in water: Put the prepared cuttings into a clean jar or glass filled with water. Make sure absolutely no leaves are submerged in the water. This is crucial to prevent rot.
- Find a suitable spot: Place the container in bright, indirect light, away from drafts.
- Change the water regularly: Refresh the water every 2-3 days to keep it clean and oxygenated.
- Watch for roots: You should start to see tiny white roots emerging within a few weeks. Once the roots are about an inch long, you can carefully transplant them into your potting mix, following steps 4-6 from the stem cutting method.
The “Secret Sauce” (Pro Tips)
Here are a few things I’ve learned over the years that really make a difference:
- Humidity is King: Selaginella absolutely thrives in high humidity. That plastic bag or dome isn’t just for show; it’s creating a tropical microclimate. If you find the air in your home is very dry, you might need to mist more frequently, or even place the pots on a pebble tray filled with water.
- Gentle Bottom Heat: A propagation mat set to a low temperature can work wonders for encouraging root development, especially if your home tends to be on the cooler side. It mimics the warmth of spring soil and really gives those roots a nudge.
- Don’t Disturb Too Soon: Patience is a virtue here! Resist the urge to yank on your cuttings to check for roots. Wait until you see new growth appearing above the soil, or the stems feel firmly anchored. This is a sure sign they’ve established themselves.
Aftercare & Troubleshooting
Once your cuttings have developed roots, it’s time to start treating them like their parent plant.
- Gradually Acclimate: If you used a plastic bag, start opening it for longer periods each day to let the cuttings adjust to the lower humidity before removing it entirely.
- Watering: Water when the top inch of soil feels dry. Selaginella prefers consistently moist soil, but never soggy. Use filtered or distilled water if your tap water is very hard.
- Light: Continue to provide bright, indirect light. Avoid harsh, direct sun, which can scorch their delicate leaves.
Now, what if things don’t go as planned? The most common issue you might encounter is rot. This usually happens when the soil is too wet, or if leaves are sitting in water. You might see stems turn mushy and black. If you spot this, it’s best to discard the affected cuttings. Other signs of stress can be wilting or yellowing leaves, which could indicate too much direct light, not enough humidity, or inconsistent watering. Just reassess your conditions and adjust.
A Little Encouragement
Propagating Selaginella braunii is a beautiful way to connect even more deeply with your plants. It’s a journey of patience and observation. Don’t be discouraged if your first attempt isn’t perfect; each try is a learning experience. So, gather your supplies, get your hands in the soil, and enjoy the magic of watching new life emerge. Happy propagating!
Resource:
https://identify.plantnet.org/k-world-flora/species/Selaginella%20braunii%20Baker/data