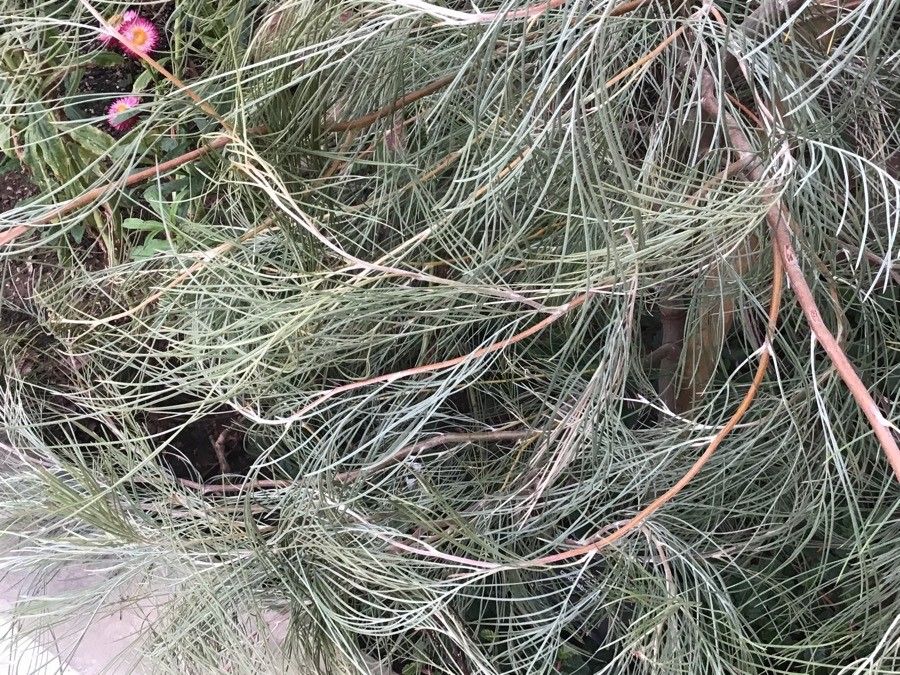
Oh, Grevillea candelabroides! If you’ve ever been captivated by those dramatic, candle-like flower spikes, you’re not alone. I’ve spent years admiring them, and let me tell you, bringing a new one to life from a clipping is an incredibly satisfying journey. It’s a plant with a bit of a reputation, and while it might not be the absolute easiest for a total beginner, with a little care and the right approach, you can absolutely succeed. Think of it as a slightly more challenging but utterly rewarding pet project.
The Best Time to Start
For Grevillea candelabroides, the sweet spot is always during active growth. That usually means late spring and throughout the summer. You’re looking for semi-hardwood cuttings. What does that mean? It’s that stage where the stem is no longer floppy and green, but not yet woody and brittle. It should snap cleanly when bent, rather than just bending. Gathering cuttings after a flowering flush is often a good idea, as the plant is putting its energy into growth then.
Supplies You’ll Need
Gathering your tools beforehand makes the whole process much smoother. Here’s what I always have on hand:
- Sharp pruning shears or a clean craft knife: For making precise cuts.
- Rooting hormone powder or gel: This is a big help, especially for trickier propagations.
- A well-draining potting mix: I like a blend of perlite, coarse sand, and peat moss or coco coir. A commercial succulent or cactus mix is also a good base, often needing a bit of extra perlite added.
- Small pots or seed trays with drainage holes: Clean is key!
- A clear plastic bag or a propagation dome: To create a humid environment.
- Watering can or spray bottle: For gentle watering.
- Labels and a permanent marker: You’ll thank yourself later!
Propagation Methods
We’ll focus on stem cuttings, as this is generally the most reliable method for Grevillea candelabroides.
-
Take Your Cuttings: On a bright morning, when the plant is well-hydrated, select healthy, vigorous shoots from your mother plant. Using your sharp shears or knife, take cuttings that are about 10-15 cm (4-6 inches) long. Make the cut just below a leaf node. Remove the lower leaves, leaving just a couple at the very top to reduce water loss.
-
Prepare the Cuttings: Dip the cut end of each cutting into your rooting hormone. Gently tap off any excess.
-
Potting Up: Fill your clean pots with your prepared, moistened potting mix. Make a small hole in the center of the mix with your finger or a pencil.
-
Planting: Gently insert the prepared cutting into the hole, ensuring the hormone-coated end is in contact with the soil. Firm the soil gently around the base of the cutting.
-
Create a Humid Environment: Water everything gently. Then, cover the pot with a clear plastic bag (supported by stakes so it doesn’t touch the leaves) or place it under a propagation dome. This creates a mini-greenhouse effect, keeping the humidity high, which is crucial for preventing the cuttings from drying out before they root.
-
Placement: Place the pots in a bright location, but out of direct, scorching sunlight. A spot on a windowsill that gets filtered light is perfect.
The “Secret Sauce”
Here are a few things I’ve learned over the years that make a real difference:
- Don’t let the leaves touch the water. If you’re doing a simple water propagation (which can work, but is less reliable for Grevilleas), ensure the leaves are well above the water line. Rot can set in very quickly when they are submerged. For cuttings in soil, this is less of an issue, but still, keep the foliage dry when possible.
- Bottom heat is your friend. Grevilleas really appreciate a little warmth from below. A small heated propagation mat placed under your pots can significantly speed up root development. It mimics the warmth of summer soil wonderfully.
- Be patient with sanitation. I can’t stress this enough. Sterilize your tools between each cut and make sure your pots are squeaky clean. Fungal diseases are the biggest enemy of new cuttings, and they love to take hold in less-than-ideal conditions.
Aftercare & Troubleshooting
Once your cuttings have been potted, keep the soil consistently moist but not waterlogged. Check the humidity under the plastic regularly – you don’t want condensation pooling so much that it drips, but you do want it to be noticeably steamy inside.
After a few weeks, gently tug on a cutting. If you feel resistance, congratulations! Roots are forming. You can also look for new leaf growth as a sign of success.
Signs of failure usually come in two flavors:
- Shriveling and drying: This means the cutting didn’t establish roots and lost too much moisture. Lack of humidity or too much direct sun are common culprits.
- Softening and turning mushy (rot): This is often due to overwatering or poor drainage. Ensure your soil mix is airy and that the pots drain freely. The bottom heat can also sometimes cause wilting if the heat is too high, so keep an eye on that.
Once roots are well established, you can gradually acclimatize your new Grevillea to normal conditions by opening the plastic bag or dome for increasing periods over a week. Then, you can transplant it into a slightly larger pot with its own well-draining soil.
Enjoy the Journey!
Propagating Grevillea candelabroides is a wonderful way to get more of these stunning plants and to deepen your connection with the gardening process. Don’t be discouraged if your first few attempts aren’t perfect. Every gardener has their share of experiments that don’t quite work out! With a little practice and by following these steps, you’ll be rewarded with beautiful new plants to nurture and enjoy. Happy propagating!
Resource:
https://identify.plantnet.org/k-world-flora/species/Grevillea%20candelabroides%20C.A.Gardner/data