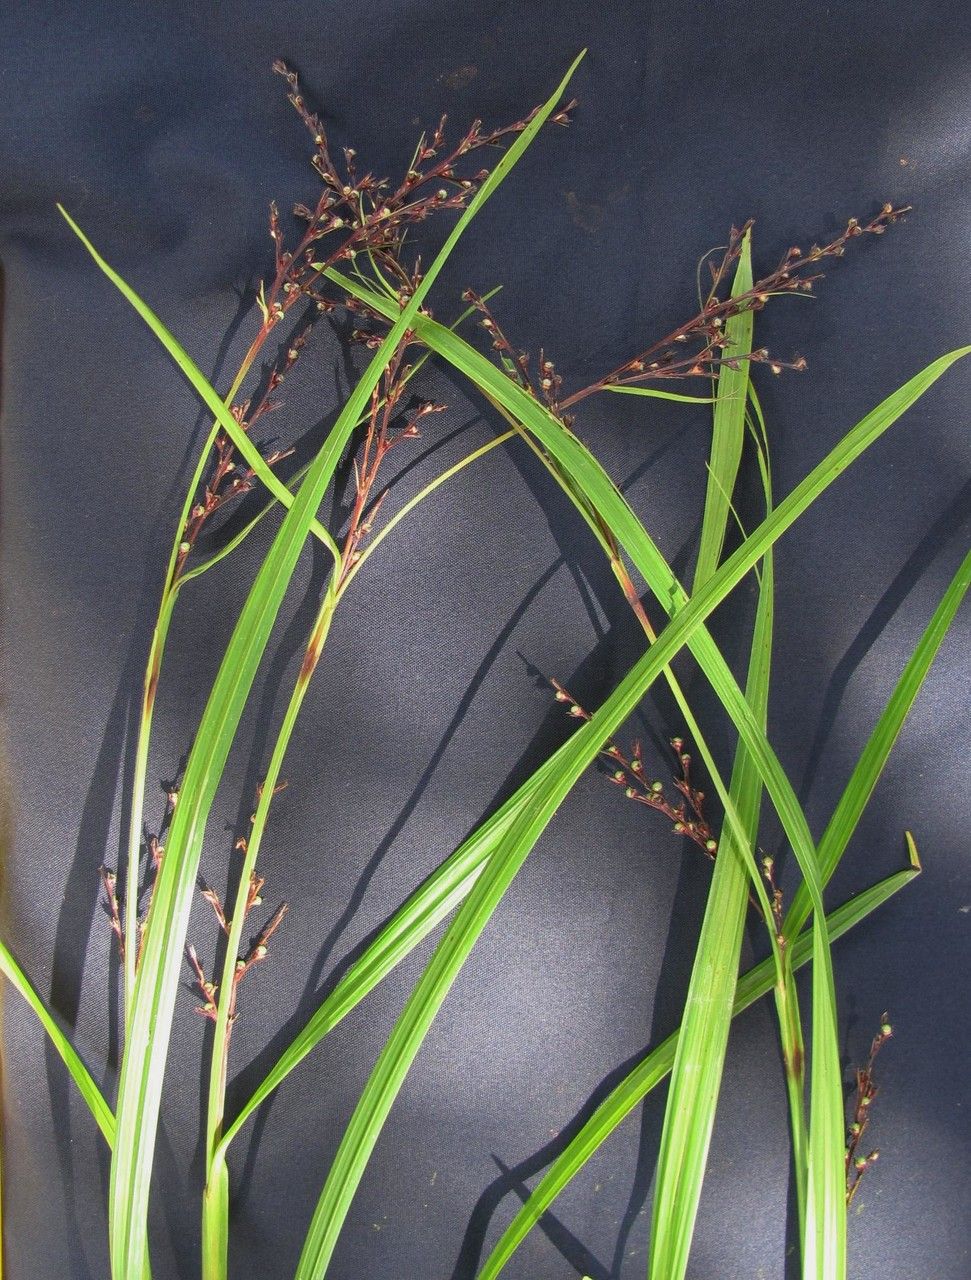
Hello, fellow plant lovers! I’m so excited to talk to you today about a plant that’s really captured my heart over the years: Scleria anceps. If you’re looking for a bit of textural interest and a unique touch in your garden or indoor plant collection, this is a fantastic choice. It’s got these wonderfully architectural, arching leaves that add such a dynamic feel.
Propagating Scleria anceps can feel a little daunting at first, and I’ll be honest, it’s not the absolute easiest plant for a complete beginner to start with. But with a little care and attention, you’ll be rewarded with plenty of new plants to share or expand your own collection. The satisfaction of watching a tiny cutting grow into a robust plant is truly something special.
The Best Time to Start
When it comes to getting the best results, spring is generally your golden ticket. This is when Scleria anceps is actively growing and has the most energy to put into rooting. Waiting until the plant has fully woken up from any winter dormancy is key. You want to see new, vigorous growth on your parent plant before you take any cuttings.
Supplies You’ll Need
To give your cuttings the best fighting chance, gathering the right supplies will make all the difference. Here’s what I always have on hand:
- Sharp Pruning Shears or a Clean Knife: For making clean cuts.
- A Well-Draining Potting Mix: I like a blend of regular potting soil, perlite, and a bit of coco coir. You want it to hold some moisture but drain freely.
- Small Pots or Propagation Trays: With good drainage holes, of course.
- Rooting Hormone (Optional but Recommended): A powder or gel can significantly speed up root development.
- A Watering Can with a Fine Rose or a Mister: For gentle watering.
- Enclosed Propagator or Plastic Bag (Optional): To maintain humidity.
- Labels and a Marker: To keep track of what you’ve planted and when.
Propagation Methods
The most reliable way I’ve found to propagate Scleria anceps is through stem cuttings and division.
Stem Cuttings:
- Select your stem: Look for healthy, non-flowering stems on your mature plant. Aim for stems that are about 4-6 inches long.
- Make the cut: Using your clean shears, make a clean cut just below a leaf node. A node is where a leaf attaches to the stem. This is where the magic happens, where roots are most likely to form.
- Prepare the cutting: Gently remove the bottom leaves, leaving just a couple of leaves at the top. This reduces water loss and prevents leaves from rotting when buried. If the remaining leaves are very large, you can even cut them in half.
- Apply rooting hormone (if using): Dip the cut end of the stem into your rooting hormone, tapping off any excess.
- Plant your cutting: Fill your small pots with your prepared potting mix. Make a small hole with your finger or a pencil, and gently insert the cut end of the stem. Firm the soil gently around the base.
- Water and cover: Water the soil lightly. If you have a propagator or plastic bag, place it over the pot to create a humid environment. Make sure the leaves aren’t touching the plastic.
Division:
This is a great option if you have a larger, established plant.
- Remove the plant from its pot: Gently ease your Scleria anceps out of its container.
- Examine the root ball: Look for distinct clumps or sections of the plant. You’ll often see where new growth is emerging from the base.
- Divide carefully: Using a clean, sharp knife or even your hands, gently pull or cut the root ball apart into smaller sections. Aim for sections with both roots and leafy shoots. Discard any mushy or rotten parts.
- Pot up the divisions: Pot each division into its own small pot filled with your well-draining mix.
- Water: Water each division thoroughly.
The “Secret Sauce” (Pro Tips)
Here are a couple of tricks I’ve learned over the years that really boost success rates:
- Bottom Heat is Your Friend: For stem cuttings, placing the pots on a heated propagation mat can make a huge difference. It encourages root development from below, mimicking the warmth of spring soil.
- Humidity, Humidity, Humidity: While we don’t want soggy soil, consistent high humidity is crucial for cuttings to root. Regularly misting the leaves (if not using a propagator) or ensuring your bagged cuttings aren’t in direct, hot sun will help keep them plump and ready to root.
Aftercare & Troubleshooting
Once your cuttings have rooted – you’ll know because they’ll start to show new leaf growth and resist a gentle tug – it’s time for aftercare. Gradually acclimatize them to lower humidity if they were in a propagator by lifting the lid for increasing periods. Continue to water consistently, allowing the top inch of soil to dry out between waterings.
The most common issue you’ll encounter is rot. If you see your cutting turning black and mushy, it’s usually a sign of too much moisture combined with poor drainage. If you’re dividing, any mushy roots are also a bad sign. At that point, it’s often best to discard the affected piece and learn from the experience for your next attempt.
A Encouraging Closing
Propagating plants is a journey, not a race. There will be times you have amazing success and times when things just don’t work out. Don’t get discouraged! Every plant you try to propagate teaches you something. Be patient, enjoy the process of nurturing these new life forms, and soon you’ll be surrounded by beautiful Scleria anceps! Happy gardening!
Resource:
https://identify.plantnet.org/k-world-flora/species/Scleria%20anceps%20Liebm./data