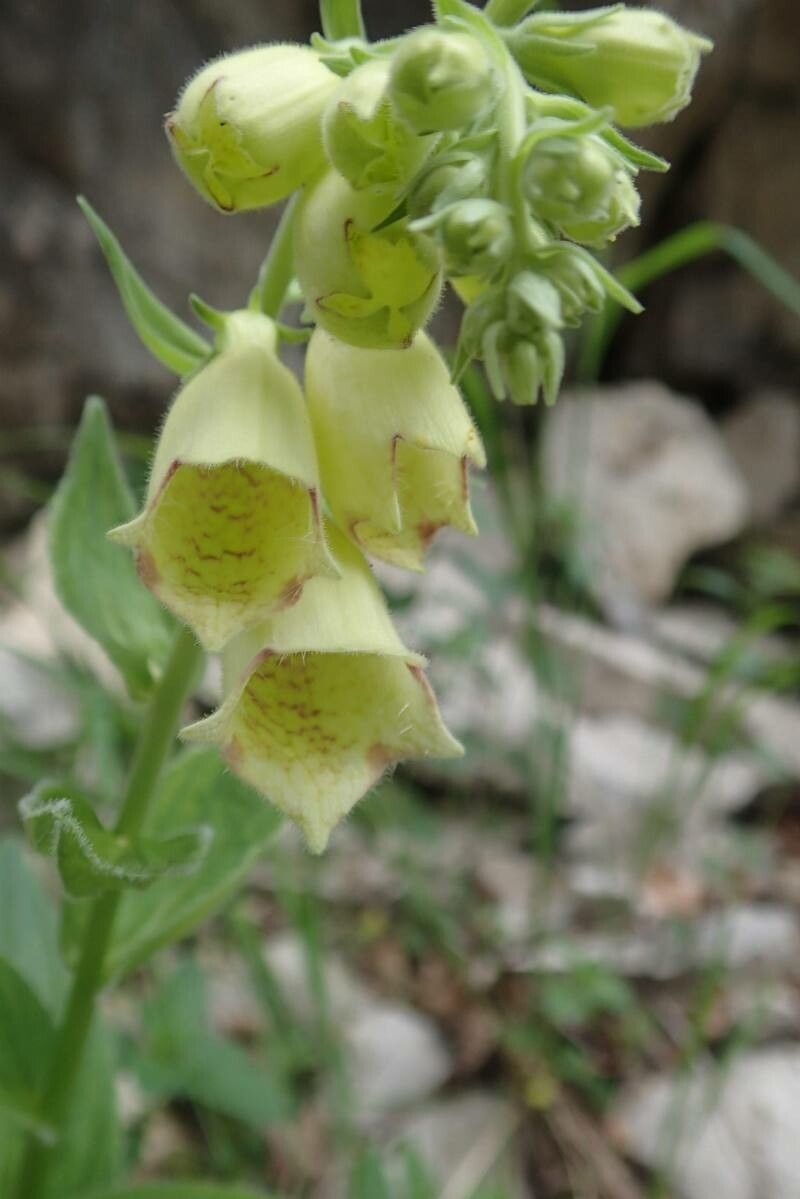
Oh, hello there! Pull up a chair, let’s chat plants. Today, we’re diving into the wonderful world of propagating Digitalis grandiflora, or what we affectionately call the Yellow Foxglove. Isn’t she a beauty? I just adore the graceful, bell-shaped blooms of soft yellow, often with delicate markings inside. They bring such a lovely, understated elegance to any garden border.
Now, if you’re new to the propagation game, I’ve got good news! Digitalis grandiflora is a pretty forgiving plant to work with. You’ll find yourself with more of these charming spires to fill your garden or share with friends in no time. It’s incredibly rewarding to watch a little cutting or division transform into a flourishing plant.
The Best Time to Start
For the highest success rate, I’ve found that late spring to early summer is just about perfect for propagating Digitalis grandiflora. You want to work with healthy, actively growing stems. If you’re thinking about dividing existing plants, doing it in early spring as soon as the soil can be worked is also a fantastic time. The plant is waking up and has all that energy to recover and put down new roots.
Supplies You’ll Need
Here’s a little toolkit to make your propagation journey smooth sailing:
- Sharp Pruning Shears or a Knife: For clean cuts, which are crucial.
- Rooting Hormone: While not strictly necessary for Digitalis grandiflora, it can give cuttings a nice boost. I prefer a powder form.
- Perlite and Potting Mix: A good blend for drainage is key. I’ll often use a 50/50 mix.
- Small Pots or Seed Trays: Clean ones, please!
- Watering Can with a Fine Rose: To water gently without disturbing your new babies.
- Labels and a Marker: To remember what you planted where!
- Plastic Bags or a Propagator: To create a humid environment for cuttings.
Propagation Methods
Digitalis grandiflora is most commonly and successfully propagated by division and stem cuttings.
Division
This is a wonderfully straightforward method, especially for established plants.
- Dig Gently: In early spring, carefully dig around the base of your mature Digitalis grandiflora. You don’t want to damage the roots too much.
- Inspect the Clump: Gently shake off excess soil to see the root system. You’ll notice clumps or sections of the plant.
- Separate the Divisions: Using your hands or a sharp trowel, carefully divide the clump into smaller sections. Each section should have healthy roots and at least one strong shoot or stem.
- Replant Immediately: Get these divisions into their new homes as soon as possible. Plant them at the same depth they were growing before and water them in well.
Stem Cuttings
This method is great for multiplying your plants when you don’t have an established clump to divide.
- Take Cuttings: From healthy, non-flowering stems in late spring or early summer, take cuttings that are about 4-6 inches long. Make your cut just below a leaf node (where a leaf attaches to the stem).
- Prepare the Cuttings: Remove the lower leaves from the cutting, leaving just the top couple of leaves. If the cutting is very leafy, you can even snip a bit off the top leaves to reduce water loss.
- Apply Rooting Hormone (Optional): Dip the cut end of the stem into rooting hormone, tapping off any excess.
- Insert into Medium: Make a small hole in your well-draining potting mix (perlite and potting soil blend). Gently insert the cutting, ensuring the leaf nodes are buried.
- Add Humidity: Water the soil lightly, then cover the pot or tray with a plastic bag or place it in a propagator. This creates a mini-greenhouse.
- Provide Light and Warmth: Place the cuttings in a bright spot but out of direct sunlight. A little warmth from below can speed things up, but it’s not essential.
The “Secret Sauce” (Pro Tips)
Here are a couple of things I’ve learned that really make a difference:
- When taking stem cuttings, don’t let the leaves touch the soil surface. They can rot and spread that rot to the cutting. Just let the stem end sit in the soil.
- For stem cuttings, bottom heat is a game-changer. A gentle warming mat underneath your propagator can significantly encourage root development, especially if your ambient temperatures aren’t consistently warm. It mimics what happens naturally in the soil.
- If you’re a bit impatient like me and want to speed up the rooting process for stem cuttings, try taking cuttings from the side shoots that emerge after the main flower stalk has been cut back. They often root faster.
Aftercare & Troubleshooting
Once your divisions are planted or your cuttings show signs of rooting (usually little white bumps or new leaf growth), continue to water them gently. Keep them out of direct, harsh sun for a few weeks. As they grow stronger, you can transplant them into slightly larger pots or their permanent garden homes.
The most common issue you might encounter is rot. If a cutting looks limp, black, or mushy, it’s likely succumbed to rot. This is usually due to too much moisture and not enough air circulation. If you see this, discard the affected cutting and try to improve your watering and ventilation. Overwatering is the biggest culprit.
A Little Encouragement to Close
Propagating plants is a journey, not a race. Be patient with your Digitalis grandiflora. Some things take their sweet time, and that’s perfectly okay. Enjoy the process of nurturing these new plants, and don’t be discouraged if you have a few setbacks. Every gardener has them! Happy propagating, and may your yellow foxgloves bloom beautifully!
Resource:
https://identify.plantnet.org/k-world-flora/species/Digitalis%20grandiflora%20Mill./data