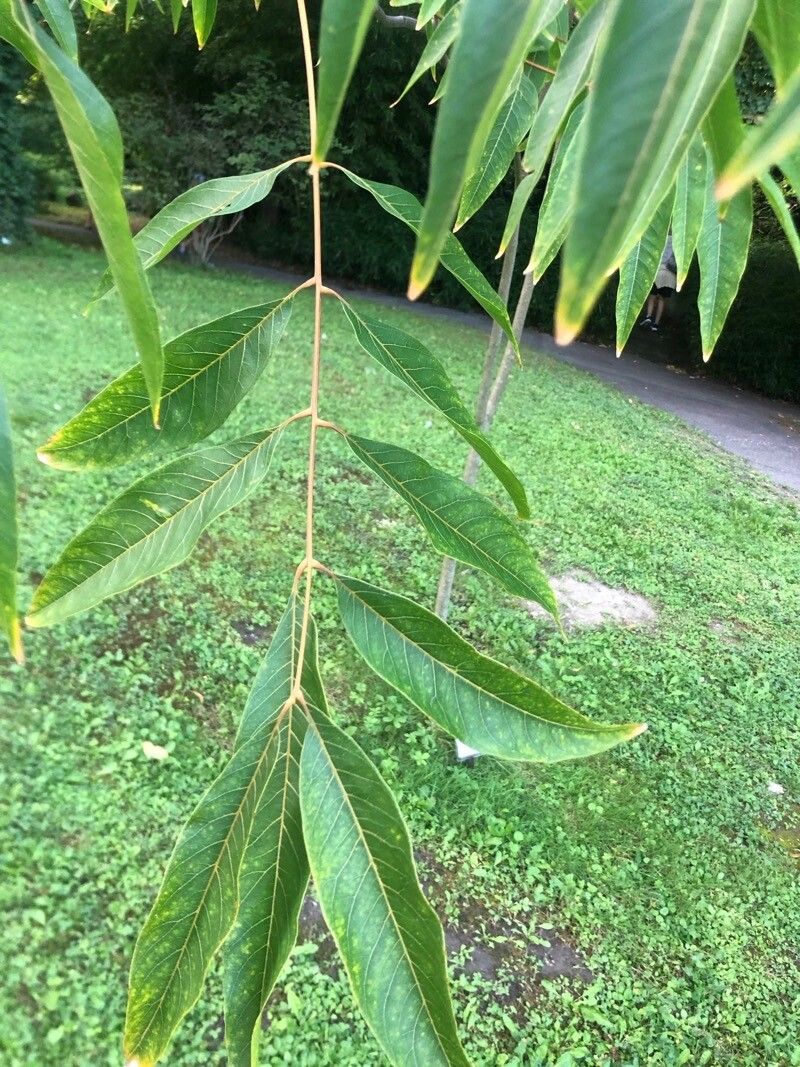
Hello fellow plant enthusiasts! If you’ve ever admired the lush foliage and fascinating fruits of the Soapberry tree, Sapindus mukorossi, you’re not alone. These beautiful trees, known for their soap-like berries and elegant, feathery leaves, offer so much to a garden. And the joy of bringing a new one to life from just a piece of an existing plant? Truly special. Don’t be intimidated; while it has its nuances, propagating Sapindus mukorossi is a very achievable and rewarding endeavor, even for those just starting their propagation journey.
The Best Time to Start
For the highest success rates, I’ve found that the late spring or early summer, as the plant is actively growing, is your golden window. You want to work with healthy, vigorous material. This is when the plant has plenty of energy to dedicate to healing and root development. Avoid trying to propagate from stressed or dormant plants.
Supplies You’ll Need
Here’s a little kit to get you started:
- Sharp pruning shears or a clean, sharp knife: For making clean cuts.
- Rooting hormone powder or gel: This isn’t strictly mandatory for every plant, but it can be a significant boost for Sapindus mukorossi.
- Well-draining potting mix: A blend of peat moss, perlite, and a little sand works beautifully. You’re aiming for a mix that stays moist but doesn’t waterlog.
- Small pots or trays: Clean ones are crucial to prevent disease. About 4-inch pots are a good size for cuttings.
- Plastic bags or a propagation dome: To create a humid microclimate around your cuttings.
- Optional: Bottom heat mat: This can significantly speed up root development, especially if your home is naturally cooler.
Propagation Methods
The most reliable way I’ve found to propagate Sapindus mukorossi is through stem cuttings.
- Select Your Cuttings: Look for healthy, semi-hardwood stems on your established tree. These are stems that are no longer floppy and green but haven’t yet become woody and hard. Aim for cuttings that are about 6-8 inches long and have at least two sets of leaves.
- Make the Cut: Using your clean pruning shears, make a cut just below a leaf node (where a leaf attaches to the stem). This is where roots are most likely to form.
- Prepare the Cutting: Gently remove the lower leaves, leaving just a few at the top. This prevents them from rotting in the soil and reduces water loss. If the remaining leaves are very large, I sometimes trim them in half to decrease transpiration.
- Apply Rooting Hormone: Dip the cut end of the stem into your rooting hormone powder or gel. Tap off any excess.
- Plant Your Cuttings: Fill your clean pots with your prepared potting mix. Make a hole in the center with your finger or a pencil. Insert the treated end of your cutting into the hole, ensuring the nodes where you removed the leaves are buried. Gently firm the soil around the stem.
- Water and Cover: Water the soil thoroughly until you see water draining from the bottom of the pot. Then, cover the pot with a clear plastic bag or place it inside a propagation dome. Ensure the leaves don’t touch the plastic if possible.
The “Secret Sauce” (Pro Tips)
Here are a few things I’ve learned over the years that make a real difference:
- Bottom Heat is Your Friend: For Sapindus mukorossi, a little warmth from below can work wonders. Placing your pots on a propagation mat set to a gentle 70-75°F (21-24°C) will encourage roots to form much faster and more reliably.
- Don’t Overwater, But Keep Things Humid: This is a balancing act. Inside your humidity dome or plastic bag, the soil should remain consistently moist but never soggy. Check it by gently pressing down on the soil. If it springs back with a little moisture, you’re good. If it feels dry or muddy, adjust accordingly.
- Air Circulation Matters: While you want humidity, stagnant air can lead to fungal issues. Once a day, lift the plastic bag or open the dome for about 30 minutes to allow for fresh air exchange.
Aftercare & Troubleshooting
Once you start to see new leaf growth appearing on your cuttings, that’s a fantastic sign roots are forming! Congratulations! Keep the humidity high for another week or two, then gradually acclimate your new saplings to regular room humidity by slowly opening the bag or dome over a few days.
The most common issue you might encounter is rot. If your cutting appears dark, mushy, or has developed a foul smell, it’s likely rotted. This is usually due to too much moisture and not enough air circulation. Don’t despair; just discard the rotten cutting and try again, perhaps with a slightly drier mix or better ventilation.
A Encouraging Closing
Propagating any plant is a journey of patience and observation. Each cutting is a little experiment, and you’re learning as you go. Don’t be discouraged if your first few attempts aren’t perfect. Keep nurturing those little ones, be patient, and enjoy the incredibly rewarding process of bringing new life into your garden! Happy propagating!
Resource:
https://identify.plantnet.org/k-world-flora/species/Sapindus%20mukorossi%20Gaertn./data