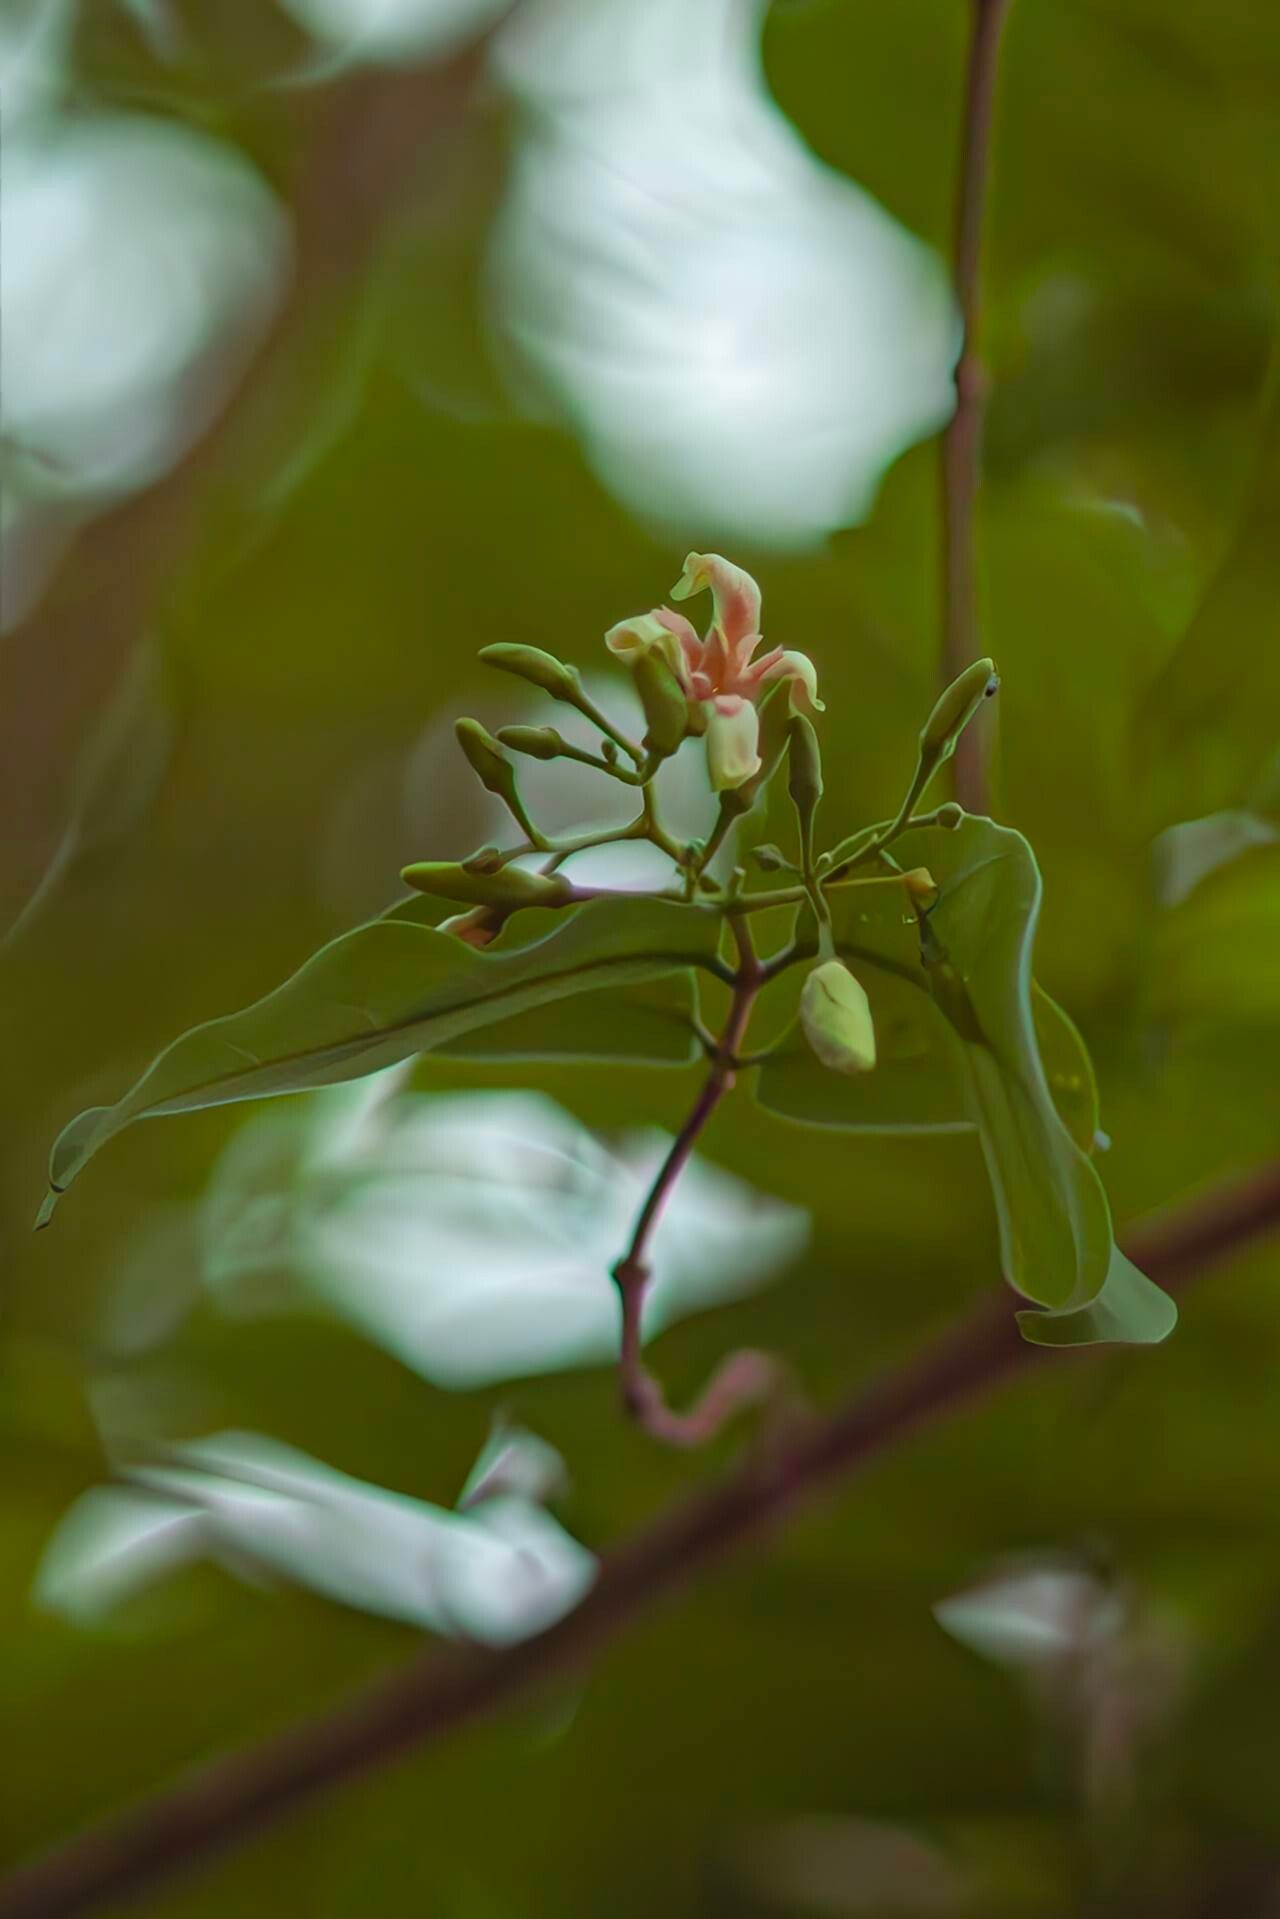
Oh, Wrightia pubescens! If you’ve ever encountered this beauty, you know why it captures hearts. Its delicate, star-shaped blooms, often fragrant, are a true delight. Plus, the satisfaction of nurturing a new plant from a tiny piece of the original? It’s pure gardening magic! Now, if you’re a beginner, I wouldn’t say Wrightia pubescens is the absolute easiest plant to propagate, but with a little patience and my guidance, you’ll absolutely be successful. Let’s get those little green babies growing!
The Best Time to Start
For the best chance of success, I always recommend propagating Wrightia pubescens during its active growing season. This typically means late spring through to mid-summer. The plant is full of vigor then, and new cuttings have the energy they need to root. Think about when your plant is putting out fresh, healthy growth – that’s your cue!
Supplies You’ll Need
Gathering your supplies beforehand makes the whole process so much smoother. Here’s what I usually have on hand:
- Clean Pruning Shears or Sharp Knife: For making clean cuts. Sanitize them with rubbing alcohol!
- Rooting Hormone (Powder or Gel): This is really helpful for encouraging root development, especially for woody plants like this.
- Well-Draining Potting Mix: A good blend is one part perlite, one part peat moss or coco coir, and one part coarse sand. You want it to drain freely.
- Small Pots or Seed Trays: With drainage holes, of course.
- Plastic Bags or Domes: To create a humid environment for your cuttings.
- Watering Can or Spray Bottle: For gentle watering.
- Labels and a Marker: Trust me, you’ll thank yourself later!
Propagation Methods
Wrightia pubescens can be propagated a few ways, but stem cuttings are my go-to for this lovely plant.
Stem Cuttings:
- Take Your Cuttings: On a healthy, non-flowering stem, use your sterilized shears to cut a piece about 4-6 inches long. Make the cut just below a leaf node (where a leaf attaches to the stem).
- Prepare the Cutting: Gently remove the lower leaves, leaving just a few at the top. This prevents them from rotting in the soil.
- Apply Rooting Hormone: Dip the cut end of the stem into your rooting hormone. Tap off any excess.
- Plant the Cutting: Make a small hole in your prepared potting mix with a pencil or your finger. Insert the hormone-coated end of the cutting into the soil, ensuring at least one leaf node is buried. Gently firm the soil around it.
- Create Humidity: Water the soil very gently. Then, cover the pot with a plastic bag or a clear plastic dome. This creates a mini greenhouse, keeping the humidity high, which is crucial for cuttings to root.
- Provide Warmth and Light: Place the pot in a warm location with bright, indirect light. Avoid direct sunlight, as it can scorch the delicate cuttings.
The “Secret Sauce” (Pro Tips)
Alright, lean in. Here are a few things that have made a real difference for me over the years:
- Bottom Heat is Your Friend: If you can, place your pots on a gentle heat mat. This encourages root formation from the bottom up, like a little warm hug for your cuttings, dramatically increasing your success rate.
- Don’t Overwater! This is where many people go wrong. The soil should be consistently moist, but never soggy. Let the surface start to dry out a little before watering. Overwatering leads to rot, and nobody wants that!
- Patience, Young Grasshopper: Seriously, sometimes it can take several weeks, even a couple of months, for roots to develop. Don’t be tempted to pull up your cuttings to check every few days. You’ll disturb any developing roots.
Aftercare & Troubleshooting
Once you start to see signs of new leaf growth at the top of your cutting, that’s a good indicator that roots have formed! You can try a gentle tug – if there’s resistance, roots are likely there.
- Gradual Acclimation: Slowly reduce the humidity by opening the plastic bag or dome a little each day over a week. This helps the new plant adjust to normal air.
- Watering: Continue to water gently, allowing the soil to dry slightly between waterings.
- Move Up: Once the plant is established and has a good root system (you might see roots emerging from drainage holes), you can repot it into a slightly larger container with fresh potting mix.
Now, what if things go wrong? The most common issues are rot (the cutting turns mushy and dark) or drying out (the cutting looks shriveled). If you see rot, unfortunately, that cutting is likely lost. You might need to start again, focusing on that balanced moisture level and good drainage. If it’s drying out, ensure your humidity dome is effective and the soil is consistently moist.
A Encouraging Closing
Propagating Wrightia pubescens is a rewarding journey. There might be a few bumps in the road, a cutting or two that doesn’t make it, but that’s all part of learning. Celebrate every new root, every tiny leaf! The magic lies in the process, the connection to nature, and the joy of creating life. So go ahead, get your hands dirty, and enjoy watching your new garden treasures grow. Happy propagating!
Resource:
https://identify.plantnet.org/k-world-flora/species/Wrightia%20pubescens%20R.Br./data