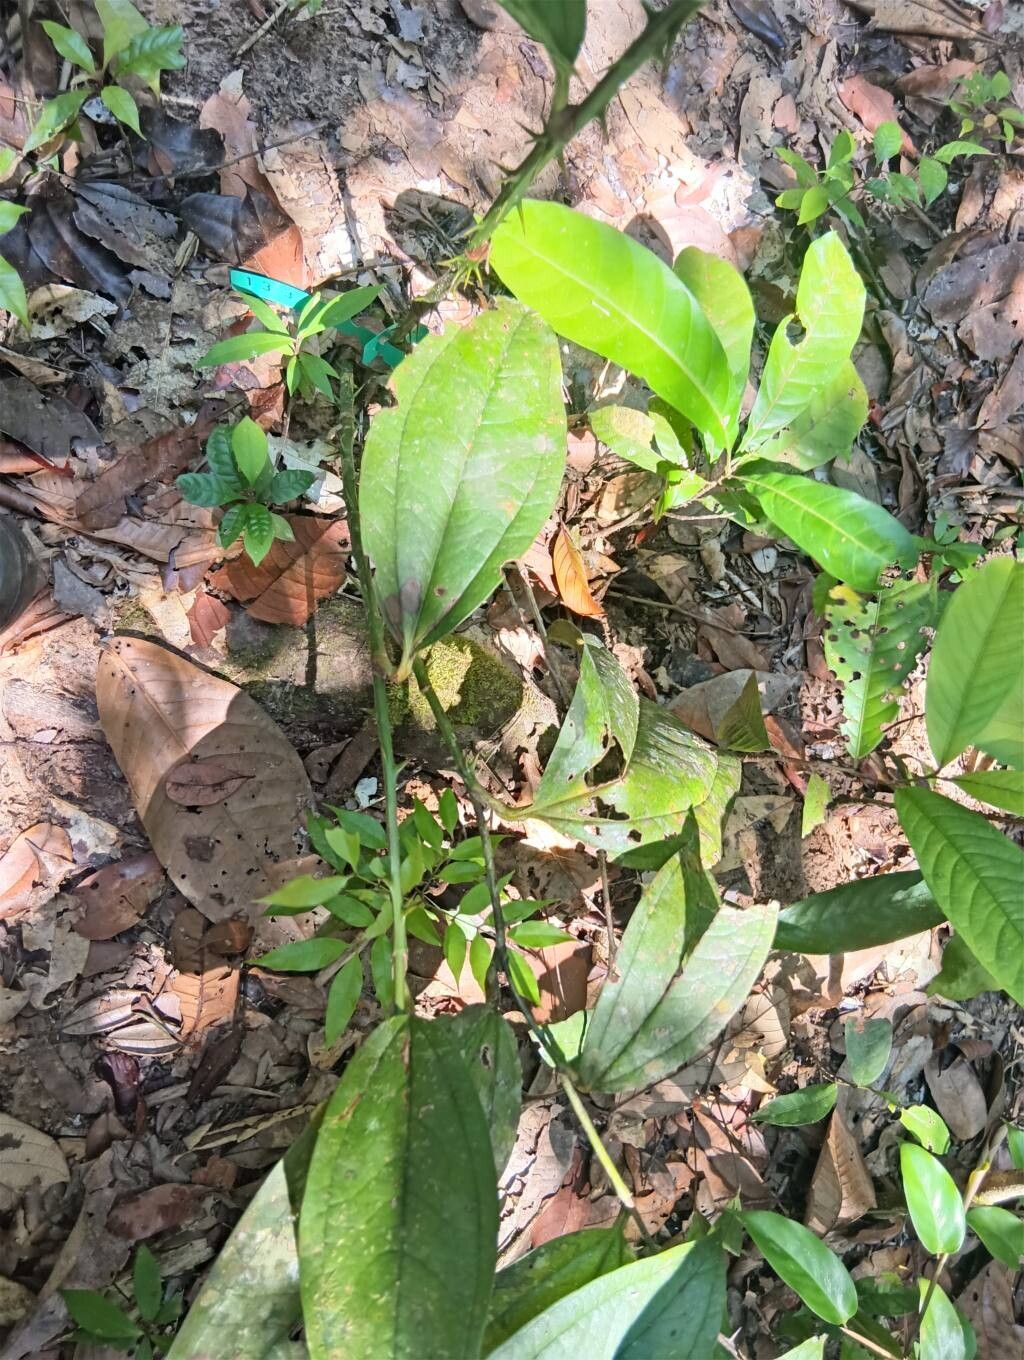
Hello there, fellow plant lovers! Today, we’re diving into the wonderful world of Smilax siphilitica, also known as the “Smilax Vine” or sometimes “Angel Wing Smilax.” If you’re drawn to lush, trailing greenery with a touch of the exotic, you’ll adore this plant. Its delicate, somewhat heart-shaped leaves and graceful vine-like habit make it a beautiful addition to hanging baskets, trellises, or even as a cascading groundcover.
There’s a special kind of joy that comes from growing a new plant from a tiny piece of an established one. It’s a tangible connection to nature’s resilience and a fantastic way to expand your collection without spending a fortune. Now, about how easy it is for beginners – I’d say Smilax siphilitica falls into the “moderately easy” category. It requires a little attention, but with the right approach, you’ll be successful.
The Best Time to Start
For the most vigorous growth and best chances of success, I always recommend propagating Smilax siphilitica in the late spring or early summer. This is when the plant is actively growing after its dormant period. You’ll be taking cuttings from healthy, new shoots that are pliable but starting to develop a bit of woody strength. Avoid taking cuttings from old, woody stems or from a plant that seems stressed or is not actively producing new leaves.
Supplies You’ll Need
Gathering your supplies beforehand makes the whole process much smoother. Here’s what you’ll want on hand:
- Clean, sharp pruning shears or scissors: This is crucial for making clean cuts that heal well.
- Small pots: A few 4-inch pots are perfect for starting.
- Well-draining potting mix: I like a blend of coco coir, perlite, and a bit of peat moss for good aeration and moisture retention.
- Rooting hormone (optional but recommended): A powder or gel will significantly boost your success rate.
- Plastic bags or propagation dome: To create a humid environment.
- Spray bottle: For misting.
- Water source: For watering and potentially water propagation.
Propagation Methods
Let’s get our hands dirty (metaphorically, of course!). Here are two reliable methods for multiplying your Smilax:
1. Stem Cuttings:
This is my go-to method for many trailing plants, and Smilax siphilitica does very well with it.
- Select your cuttings: Look for healthy stems that are about 4-6 inches long. You want to see at least two to three nodes (the little bumps on the stem where leaves grow from).
- Make the cut: Using your clean shears, cut the stem just below a node. This is where roots are most likely to form. Remove any lower leaves, leaving just one or two at the very top.
- Apply rooting hormone (optional): Dip the cut end of the stem into your rooting hormone, tapping off any excess.
- Plant the cutting: Fill your small pots with your damp potting mix. Make a small hole with your finger or a pencil, and gently insert the cutting, ensuring at least one node is buried in the soil. Firm the soil gently around the stem.
- Create humidity: Water the soil lightly. Then, loosely cover the pot with a plastic bag or place it under a propagation dome. This will trap moisture and create a greenhouse effect.
2. Water Propagation:
Sometimes, the simplest methods are the best!
- Take your cuttings: Prepare your cuttings as described above, making sure to remove lower leaves.
- Place in water: Fill a clean jar or glass with room-temperature water. Submerge the cut end of the stem in the water, making sure no leaves are submerged. Leaves in the water will rot and can sicken the cutting.
- Find a spot: Place the container in a bright location with indirect sunlight.
- Change the water: Change the water every few days or when it starts to look cloudy. This keeps it fresh and prevents bacterial growth.
The “Secret Sauce” (Pro Tips)
Over the years, I’ve learned a few tricks that really make a difference:
- Bottom Heat is Your Friend: If you’re using stem cuttings, placing your pots on a heated propagation mat can dramatically speed up root development. Smilax loves a bit of warmth from below.
- Don’t Overwater the Soil: While cuttings need moisture, the soil should be consistently damp, not waterlogged. Soggy soil is a fast track to rot. My rule of thumb: if the soil feels wet, wait. If it feels dry, give it a light watering.
- Patience and Observation: This might sound simple, but truly observing your cuttings is key. Look for tiny white nubs emerging from the cut end (a sign of roots) or new leaf growth at the top. These are your indicators of success.
Aftercare & Troubleshooting
Once your Smilax siphilitica cuttings have developed a good root system (you’ll know when you see roots emerging from the drainage holes, or when they resist a gentle tug), it’s time to treat them as young plants.
- Potting up: Transplant them into slightly larger pots with your regular potting mix. Continue to keep them in bright, indirect light.
- Watering: Water them thoroughly when the top inch of soil feels dry. They will start to grow more vigorously.
- Common Pitfalls: The most common issue you’ll encounter is rot. If your cutting turns mushy, black, or slimy, it’s likely succumbed to rot. This is usually due to too much moisture and poor air circulation. If you see this, discard the affected cutting. Another sign of distress is wilting or yellowing leaves on a cutting that hasn’t yet rooted. This can sometimes indicate it needs more humidity or less direct light.
A Encouraging Closing
Propagating plants is a journey, and with Smilax siphilitica, it’s a rewarding one. Be patient with your cuttings – some take longer than others. Celebrate every tiny new leaf or root. Enjoy the process of nurturing these new plants; it’s one of the most fulfilling aspects of gardening. Happy propagating!
Resource: