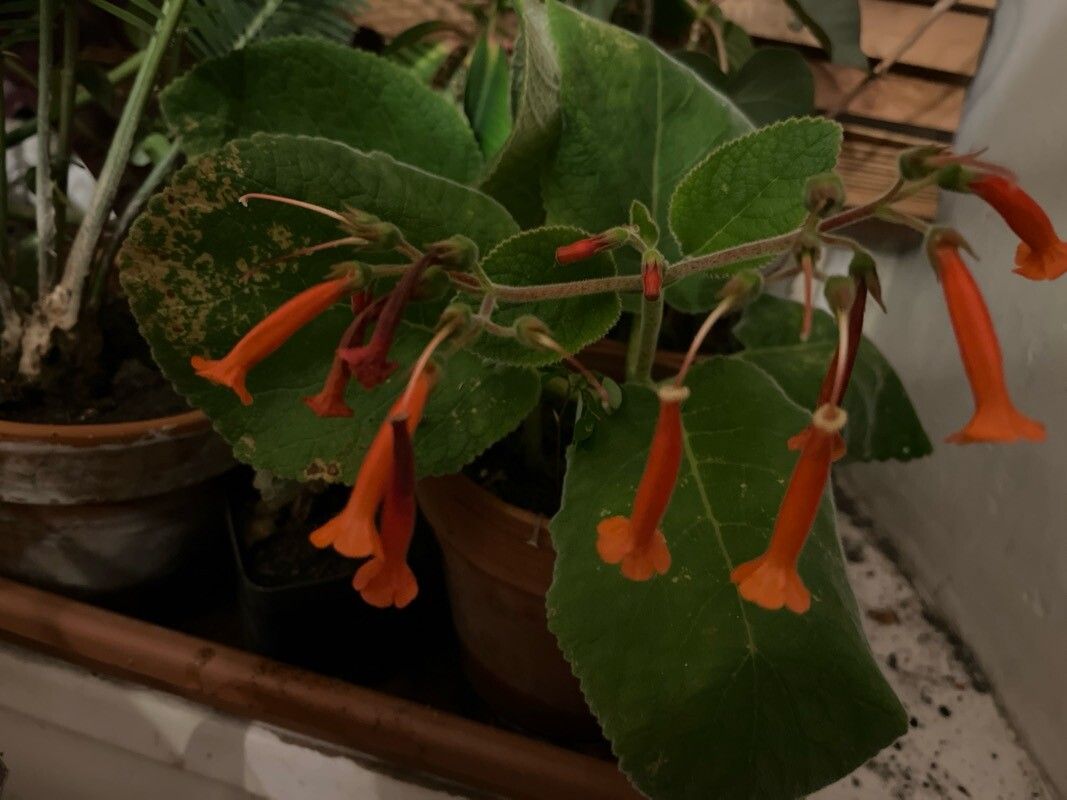
Oh, the joy of having more of a good thing! And when that good thing is Sinningia macropoda, well, that’s a whole different level of garden delight. These beauties, often overlooked in favor of their more flamboyant Gesneriad cousins, have a charm all their own. Their fuzzy leaves, delicate trumpet-shaped flowers, and their wonderfully rhizomatous habit make them a target for propagation. Trust me, turning one healthy plant into several brings such a fantastic sense of accomplishment. For newcomers? I’d say Sinningia macropoda offers a wonderfully rewarding challenge – it’s not impossible, but it does ask for a little specific attention.
The Best Time to Start
The magic really happens when our plants are in an active growth spurt. Think late spring through summer. This is when they’re bursting with energy, making them more robust and receptive to division or taking cuttings. You want to begin when the plant is clearly growing and not dormant or stressed.
Supplies You’ll Need
Gathering your tools beforehand makes the process so much smoother. Here’s what I always have on hand:
- Well-draining potting mix: A blend of peat moss or coco coir, perlite, and a touch of orchid bark works wonders. I often use a mix specifically for African violets or Gesneriads.
- Clean, sharp pruning shears or a sharp knife: For making clean cuts.
- Small pots or seed trays: Anything that can hold your new plantlets and retain a bit of moisture.
- Rooting hormone (optional but helpful): A powder or gel.
- Plastic bags or a clear dome: To create a humid environment for cuttings.
- A watering can with a fine rose or a spray bottle: For gentle watering.
- Bottom heat (optional but a real game-changer): A heating mat designed for plants.
Propagation Methods
Sinningia macropoda is primarily propagated through division, but you can also coax new plants from leaf cuttings.
Division
This is my go-to method for this plant. It’s like giving your plant a haircut and getting new babies in return.
- Gently unpot the mature plant. Do this during the active growing season.
- Carefully shake off excess soil. You want to be able to see the rhizome clearly.
- Identify natural divisions. You’ll often see where the rhizome has segmented, with shoots emerging from different points.
- Using your clean knife or shears, carefully divide the rhizome. Make sure each piece has at least one growing point (a shoot or an eye) and some healthy root structure. Don’t be afraid to be decisive; a clean cut is better than tearing.
- Pot up each division. Use your well-draining mix in small pots. Ensure the rhizome is just covered with soil, leaving the growing point exposed or just barely covered.
- Water lightly. Don’t drench them; a gentle watering is key.
Leaf Cuttings
This method takes a bit longer but can be incredibly satisfying.
- Select a healthy, mature leaf. Look for one that’s firm and not showing any signs of yellowing or damage.
- Make a clean cut. Cut the leaf stem (petiole) about an inch long, or remove the entire leaf with a bit of its basal connection.
- Prepare the rooting medium. Fill small pots with your well-draining mix.
- Dip the cut end in rooting hormone (optional). This can speed things up.
- Insert the leaf or petiole into the medium. For a whole leaf, you might want to make small incisions on the veins on the underside if you’re trying to get multiple plantlets. For just the petiole, insert it deeply enough to stand upright.
- Mist the surface.
- Cover the pot with a plastic bag or dome. This is crucial for maintaining humidity.
The “Secret Sauce”
Here are a few little tricks I’ve picked up over the years:
- When dividing, I often let the cut surfaces of the rhizome air dry for an hour or two before potting. This helps to prevent any potential rot from setting in at the cut.
- For leaf cuttings, never let the leaf blade touch the surface of the water if you are water propagating it, and even in soil, ensure good air circulation around the leaf to prevent mildew. If using a plastic bag, poke a few small holes in it to allow for some air exchange.
- Bottom heat is a game-changer for both division and leaf cuttings. A gentle warmth (around 70-75°F or 21-24°C) encourages root development much faster than ambient room temperature alone.
Aftercare & Troubleshooting
Once you’ve potted up your divisions or cuttings, give them a gentle watering and place them in bright, indirect light. Avoid direct sun, which can scorch delicate new growth. Keep the humidity high, especially for cuttings.
The most common issue you might encounter is rot. If you see a cutting turning mushy at the base or a divided rhizome showing signs of blackening or slime, it’s usually a sign of overwatering or poor drainage. In this case, try to trim away the rotted parts with a clean knife, dust the cuts with a fungicide or cinnamon, and repot in fresh, dry mix. Allow the soil to dry out more between waterings. If a division fails to show new growth after several weeks, it might simply be taking its time to establish.
A Encouraging Closing
Propagating plants is a beautiful dance with nature. Be patient with your Sinningia macropoda, and don’t be discouraged if not every attempt is an instant success. The learning process is where the real magic happens, and soon enough, you’ll be sharing these lovely plants with friends and family. Happy propagating!
Resource: