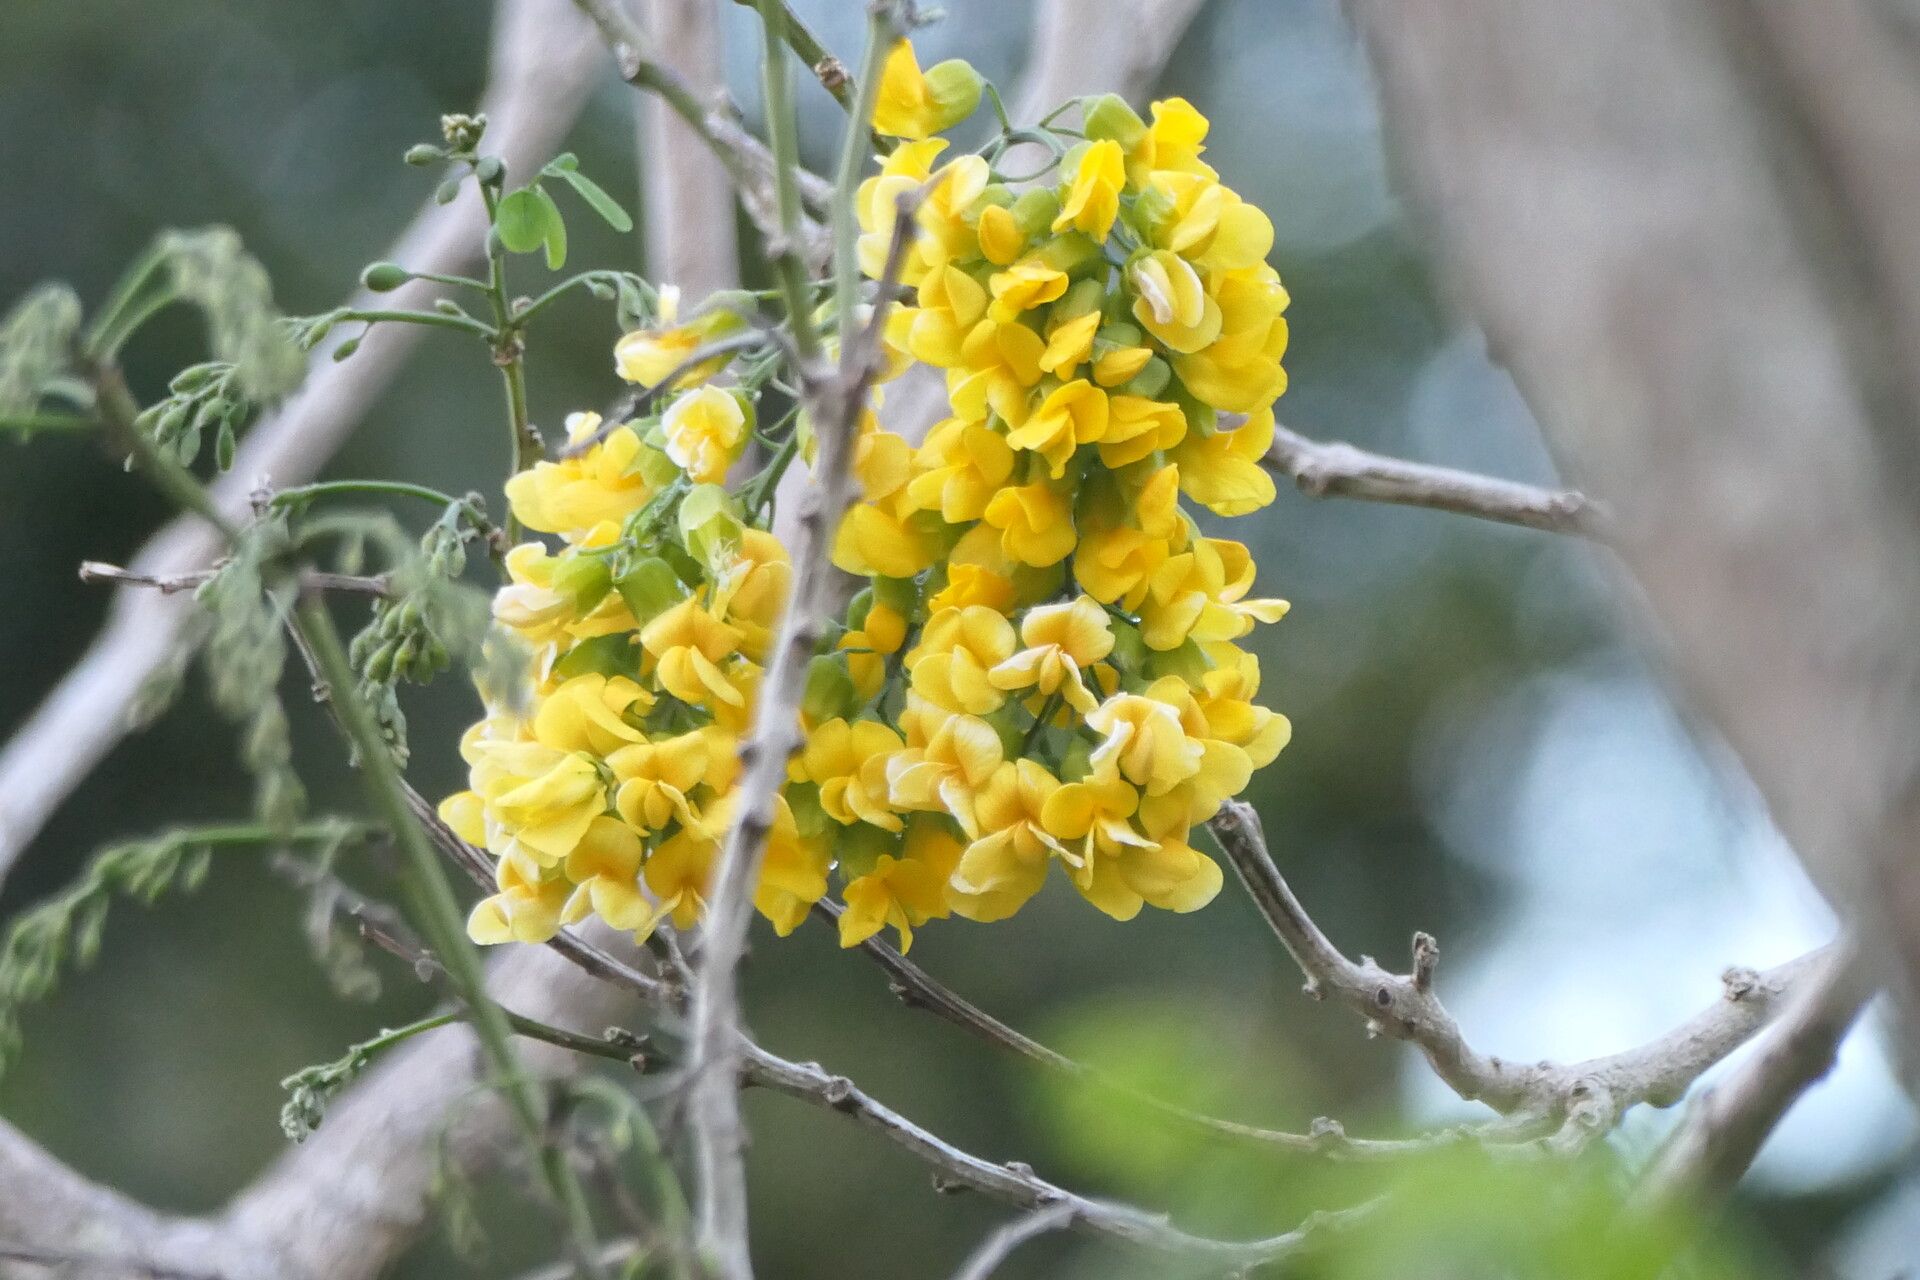
Oh, hello there! Grab a mug and pull up a chair. Today, we’re going to talk about a truly special plant: Calpurnia aurea. If you’ve ever admired those cheerful, golden-yellow blooms cascading down a shrub or small tree, you know exactly what I mean. It just brings such sunshine to the garden, doesn’t it? And what’s even better is that you can easily multiply this beauty yourself!
Propagating plants is one of my very favorite gardening joys. It’s like unlocking a little secret of nature, and it’s incredibly rewarding when you see those tiny roots develop and a new plant take hold. For Calpurnia aurea? I’d say it’s a wonderfully beginner-friendly plant to propagate. You’ll be amazed at how readily it takes to new beginnings.
The Best Time to Start
When is the magic window for Calpurnia aurea? Generally, the late spring to early summer is your sweet spot. Think about when the plant is actively growing but hasn’t produced a ton of flowers or set a lot of seed. You want soft, newish growth for cuttings. If you miss that window, don’t despair! You can often have success with semi-hardwood cuttings in late summer or early fall too, but spring is usually the most forgiving.
Supplies You’ll Need
To get started on our propagation adventure, you’ll want to gather a few things:
- Sharp, clean pruning shears or a sharp knife: This is non-negotiable for clean cuts that heal well.
- Rooting hormone (optional, but recommended): A little powder or gel can give your cuttings a serious boost.
- A well-draining potting mix: I like a blend of equal parts peat moss or coco coir and perlite or coarse sand. This prevents waterlogging.
- Small pots or containers: Old yogurt cups with drainage holes poked in are perfectly fine!
- A clear plastic bag or a propagator lid: To create a humid environment.
- Patience! This is the most important ingredient.
Propagation Methods
Let’s get our hands dirty! We’ll focus on the easiest and most reliable method for Calpurnia aurea: stem cuttings.
- Select Your Cuttings: Look for healthy, non-flowering stems that are about pencil-thick. They should be somewhat flexible, not woody and brittle, nor impossibly soft. You’re aiming for what we call “semi-hardwood.”
- Make the Cut: Using your sharp shears or knife, cut a stem about 4-6 inches long. Make your cut just below a leaf node (the little bump where a leaf grows out from the stem). This is where new roots are most likely to form.
- Prepare the Cutting: Gently pinch or trim off the lower leaves, leaving just 2-3 leaves at the very top. If the remaining leaves are very large, you can even cut them in half to reduce water loss through transpiration. This helps the cutting conserve energy for root development.
- Apply Rooting Hormone (if using): Dip the cut end of the stem into your rooting hormone, tapping off any excess.
- Plant Your Cuttings: Fill your small pots with the well-draining potting mix. Make a hole in the center of the mix with a pencil or your finger. Insert the cut end of the stem into the hole, pressing the soil gently around it to ensure good contact. You want at least one leaf node buried in the soil.
- Create a Humid Environment: Water the soil lightly. Then, cover the pot with a clear plastic bag (making sure the leaves don’t touch the bag if you can help it) or place it inside a propagator with a lid. This traps moisture and keeps the humidity high, which is crucial for cuttings.
The “Secret Sauce” (Pro Tips!)
Now, for a couple of little tricks I’ve picked up over the years:
- Bottom Heat is Your Friend: If you have the option, placing your pots on a gentle heating mat can significantly speed up root formation. It mimics the warmth of spring soil and gives those baby roots a real encouraging nudge.
- Don’t Drown Them: While cuttings need moisture, sitting in soggy soil is their death knell. The well-draining mix is key, and if you see water pooling, tip the pot slightly to let excess drain away. We want damp, not soggy.
- Mist, Mist, Mist (Lightly!): If you’re not using a fully enclosed propagator, lightly misting the leaves of your cuttings every day or two can help keep them hydrated, especially if your environment is a bit dry. But again, avoid waterlogged soil!
Aftercare & Troubleshooting
Once your cuttings are planted, place them in a bright, indirect light location. Avoid direct scorching sun. Keep the soil consistently moist but never waterlogged.
You’ll know your cuttings are happy and rooting when you see new leaf growth emerge, or when you give a very gentle tug and feel resistance. This can take anywhere from a few weeks to a couple of months.
What if things go wrong? The most common issue is rot. If your cutting turns black and mushy, it’s a sign of too much moisture and not enough air circulation. In this case, it’s usually best to discard it and start fresh. Sometimes, cuttings simply fail to root; that’s just part of the gardening game! Don’t get discouraged; try again.
A Bit of Encouragement
So there you have it! Propagating Calpurnia aurea is a wonderfully achievable and satisfying project. Be patient with your little green babies. Watch for signs of life, offer them a good environment, and celebrate each success. Before you know it, you’ll have a whole garden full of sunshine, all from cuttings inspired by your original treasure. Happy propagating!
Resource:
https://identify.plantnet.org/k-world-flora/species/Calpurnia%20aurea%20(Aiton)%20Benth./data