Hello, fellow plant lovers! I’m so excited to talk to you today about a plant that truly captures my heart: Leucadendron flexuosum. These beauties, with their vibrant bracts and unique, architectural forms, bring such a burst of color and texture to any garden. Growing new ones from your existing plants is incredibly rewarding. It’s like magic, watching a tiny cutting transform into a thriving specimen. Now, for beginners, I’d say Leucadendron flexuosum is moderately easy to propagate. It requires a bit of attention to detail, but with a few key practices, you’ll be well on your way to success!
The Best Time to Start
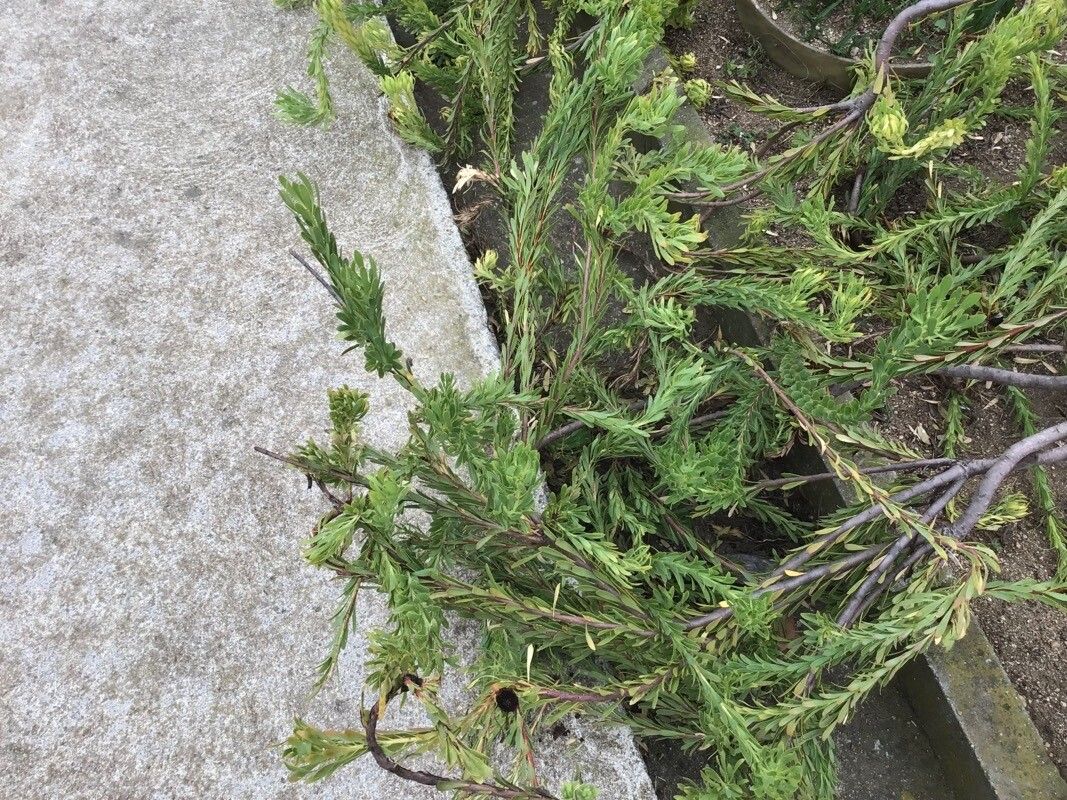
For the highest success rates, I always recommend taking cuttings in late spring to early summer. This is when the plant is actively growing, and the stems have hardened off just enough to make good cuttings. You want to choose stems that are semi-hardwood – not brand new and floppy, and not old and woody. Think of it as the “just right” stage.
Supplies You’ll Need
To get your Leucadendron flexuosum propagation journey started, you’ll want to gather these items:
- Sharp, clean pruning shears or a sharp knife: Cleanliness is paramount to prevent disease.
- Rooting hormone powder or gel: This is a fantastic booster for root development.
- A well-draining potting mix: I love a mix of perlite, coarse sand, and a bit of peat moss (or coir). If you can find a specific succulent or cactus mix, that works wonders too.
- Small pots or seed trays with drainage holes: Terracotta pots are great as they breathe.
- A clear plastic bag or propagation dome: This creates a humid environment for the cuttings.
- Spray bottle filled with water: For misting.
- Optional: Heat mat: This can significantly speed up rooting, especially if your space is a bit cooler.
Propagation Methods: Stem Cuttings
This is my go-to method for Leucadendron flexuosum, and it’s quite reliable.
- Select Your Cuttings: On a healthy, mature plant, locate those semi-hardwood stems. Look for stems that have last year’s growth. They should snap cleanly when bent, not just floppy. Aim for cuttings about 4-6 inches long.
- Prepare the Cuttings: Using your clean shears or knife, carefully make a cut just below a leaf node (the point where a leaf joins the stem). Remove the lower leaves, leaving about 2-3 leaves at the top. If the remaining leaves are very large, you can trim them in half to reduce water loss through transpiration.
- Apply Rooting Hormone: Dip the cut end of the stem into your rooting hormone powder or gel. Make sure the entire cut surface is coated. Tap off any excess.
- Plant the Cuttings: Fill your pots with your well-draining potting mix. Make a small hole in the center with your finger or a pencil. Gently insert the cutting into the hole, ensuring the leaf nodes are below the soil surface. Gently firm the soil around the cutting.
- Create the Humid Environment: Water the potting mix thoroughly but gently. Then, cover the pot with a clear plastic bag, securing it around the rim with a rubber band or tape. If you have a propagation dome, simply place it over the cuttings. Make sure the plastic or dome doesn’t touch the leaves of the cuttings. This is crucial!
The “Secret Sauce” (Pro Tips)
Here are a couple of things I’ve learned over the years that really make a difference:
- Never let the leaves of your cuttings touch the water in the tray. If you’re misting, make sure it’s a fine mist. If the leaves sit in water, they’ll rot before they can root. That’s why that plastic bag or dome is so important – it traps humidity without letting leaves get soggy.
- Bottom heat is a game-changer. Placing your pots on a gentle heat mat (set to around 70-75°F or 21-24°C) can significantly speed up the rooting process. It encourages the roots to form from the bottom up. It’s like giving them a little warming hug to get them going.
Aftercare & Troubleshooting
Once your cuttings are planted, place them in a bright location but out of direct, scorching sunlight. Misting the leaves every few days (if not covered) or opening the plastic bag for a few minutes daily to air things out is good practice.
You’ll know your cuttings have rooted when you see new leaf growth or feel a slight resistance when you gently tug on the cutting. This usually takes anywhere from 4 to 8 weeks, sometimes longer.
The most common sign of trouble is rot, which appears as a black, mushy stem at the soil line. This is usually caused by too much moisture and poor air circulation. If you see this, it’s best to discard the affected cutting. Another sign of failure is if the leaves turn yellow and fall off. This can indicate insufficient humidity or that the cutting has simply not taken.
Once rooted, you can gradually acclimate your new plants to normal room humidity by opening the plastic bag or dome a little more each day over a week. Then, transplant them into slightly larger pots.
A Little Patience Goes a Long Way
Growing new plants is such a wonderful, relaxing hobby, and seeing your own Leucadendron flexuosum cuttings thrive is a truly special feeling. Don’t get discouraged if not every cutting takes; nature has its own pace. Be patient, be observant, and most importantly, enjoy the process of nurturing these beautiful plants from a simple stem to a showstopper! Happy gardening!
Resource:
https://identify.plantnet.org/k-world-flora/species/Leucadendron%20flexuosum%20I.Williams/data