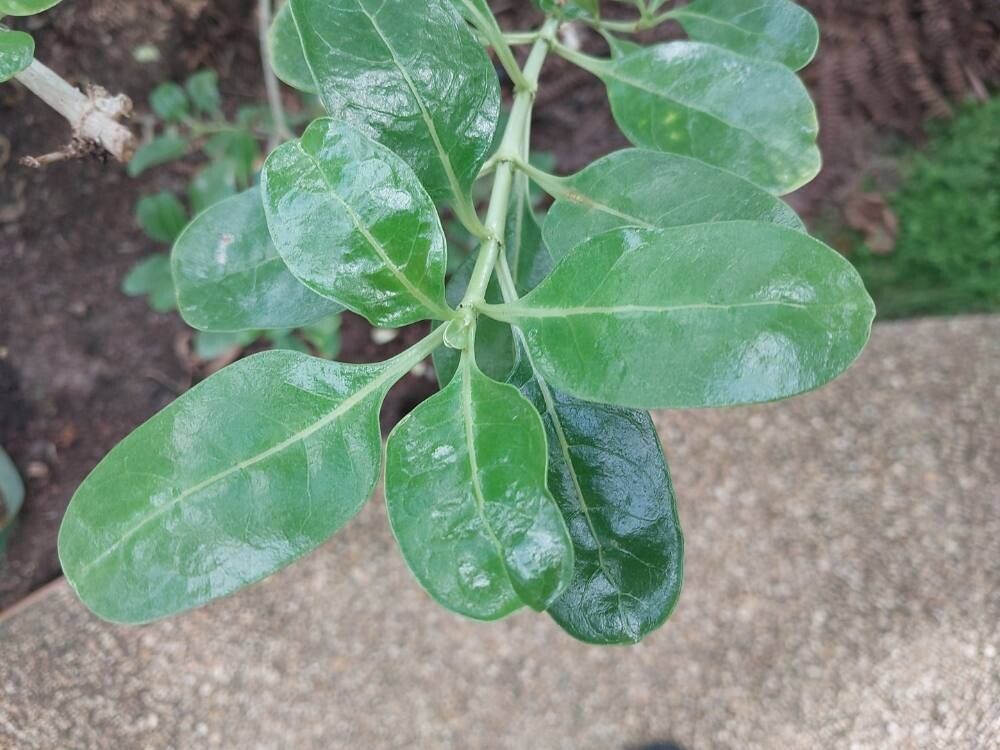
Oh, hello there! Come on in, pull up a chair. Let’s chat about one of my favorite plants, Coprosma baueri. You know, that glossy-leaved beauty that seems to thrive with such effortless charm? Its shiny, leathery leaves bring a wonderful tropical feel to any garden, and its vibrant colors, especially in varieties like ‘Evening Glow’ or ‘Pacific Sunrise,’ are just stunning. Propagating them is a truly rewarding experience. Honestly, if you’ve ever wanted to dip your toes into the world of plant propagation, Coprosma baueri is a fantastic place to start. It’s quite forgiving and generally easygoing for beginners.
The Best Time to Start
For the absolute best success rate, I find that late spring to early summer is your sweet spot. The plant is actively growing, and the stems are firm enough to hold their shape but still flexible. You’re looking for semi-hardwood cuttings – that means the stem has started to toughen up but hasn’t gone completely woody. Think of a stem you can snap cleanly, rather than bend.
Supplies You’ll Need
Gathering your tools beforehand makes the whole process much smoother. Here’s what I always have on hand:
- Sharp pruning shears or a clean knife: For making clean cuts.
- Rooting hormone (powder or gel): This is really helpful in encouraging root development.
- Well-draining potting mix: I personally like a blend of equal parts peat moss (or coco coir) and perlite or coarse sand. It keeps things airy and prevents waterlogging.
- Small pots or seed trays: Clean ones are a must to prevent disease.
- Plastic bags or a propagator lid: To create a humid environment for your cuttings.
- Clean water: For misting and, if you choose, water propagation.
- Labeling tags: So you don’t forget what you’ve planted where!
Propagation Methods
I find stem cuttings to be the most reliable and easiest method for Coprosma baueri. It’s a classic for a reason!
Stem Cuttings:
- Take Your Cuttings: Using your sharp shears or knife, select healthy, vigorous stems from your parent plant. Aim for cuttings that are about 4-6 inches long. Make your cut just below a leaf node (where a leaf attaches to the stem).
- Prepare the Cuttings: Gently remove the lower leaves from the bottom half of each cutting. This prevents them from rotting once planted. You can leave 2-4 leaves at the top for photosynthesis. If your leaves are very large, you can even cut them in half to reduce water loss.
- Apply Rooting Hormone: Dip the cut end of each prepared cutting into your rooting hormone. Gently tap off any excess.
- Plant Your Cuttings: Fill your clean pots with your well-draining potting mix. Make a small hole with your finger or a pencil. Insert the hormone-dipped end of the cutting into the hole, ensuring the leaf nodes you removed are below the soil surface. Gently firm the soil around the base.
- Create a Humid Environment: Water the soil lightly. Then, cover the pot with a clear plastic bag or place it under a propagator lid. This traps moisture and keeps the humidity high, which is crucial for cuttings. Poke a few small holes in the bag to allow for some air circulation.
- Provide the Right Conditions: Place your pots in a bright spot with indirect light. Avoid direct sun, as it can scorch the delicate cuttings. Keep the soil consistently moist but not soggy.
The “Secret Sauce” (Pro Tips)
Here are a few little tricks I’ve learned over the years that really seem to boost success:
- Bottom Heat is Your Friend: If you have a heat mat, popping your pots on it can significantly speed up root formation. It mimics the warmth of summer soil and encourages those roots to get going.
- Don’t Overcrowd: Give your cuttings a little breathing room in the pot. If they’re too crowded, they can compete for resources and increase the risk of fungal issues.
- Check for Pests: Before you even take cuttings, give your parent plant a good look-over for any signs of pests like mealybugs. They can quickly take hold of your new, tender cuttings.
Aftercare & Troubleshooting
Once you start seeing new leaf growth emerge from your cuttings, that’s a fantastic sign! It usually means roots have formed. This can take anywhere from 4 to 8 weeks, sometimes longer.
- Gradual Acclimatization: Once roots are established, gradually remove the plastic bag or propagator lid over a week or two. This allows the new plants to get used to normal humidity levels.
- Potting Up: When your new plants have a decent root system (you might see roots peeking out the drainage holes), they’re ready to be potted up into individual, slightly larger pots with fresh potting mix.
- Signs of Trouble: The most common issue you’ll face is rot. If your cuttings look mushy, brown, or slimy, it’s usually a sign of too much moisture or poor drainage. Unfortunately, at that point, they’re often beyond saving. Make sure your soil is airy and avoid overwatering. Also, keep an eye out for wilting; this can be a sign of dehydration or the cutting not being able to establish roots.
A Encouraging Closing
Propagating plants is a journey, and like any good garden project, it’s about patience and observation. Don’t be discouraged if every single cutting doesn’t make it. Celebrate the successes you have, learn from any setbacks, and most importantly, enjoy the process of bringing new life into your garden. Happy propagating!
Resource:
https://identify.plantnet.org/k-world-flora/species/Coprosma%20baueri%20Endl./data