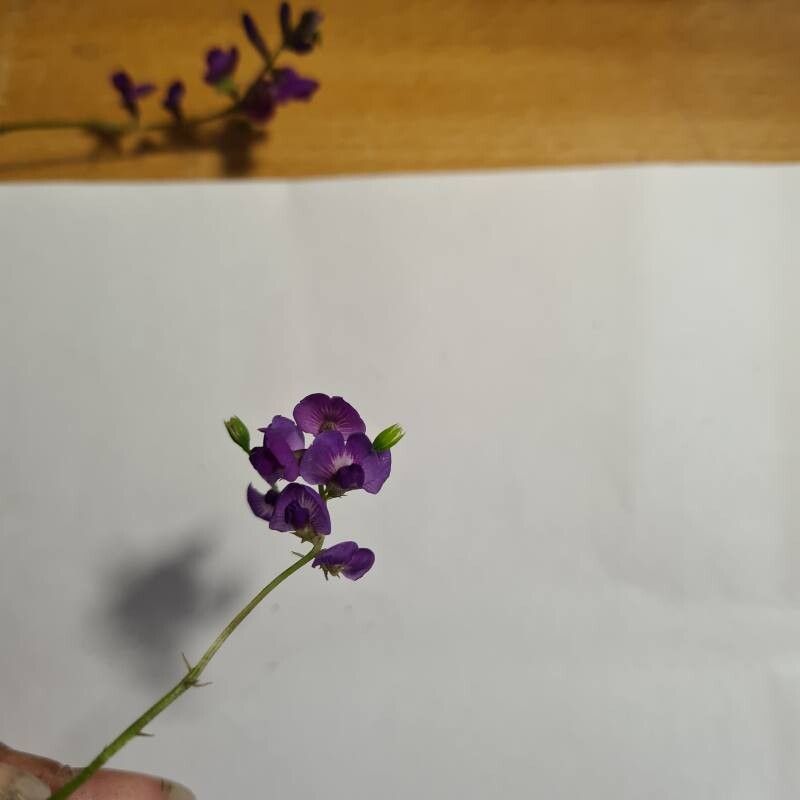
Oh, Glycine tabacina! If you’re drawn to its delicate, pea-like flowers and its charming, rambling nature, you’re in for a treat. I remember the first time I saw a mass of these native Australian beauties cascading over a garden wall – pure magic! Propagating them yourself is one of the most satisfying garden achievements, and I’m thrilled to share how you can do it.
Glycine tabacina is a lovely addition to any garden, offering pretty purple flowers that attract pollinators. And the best part? It’s generally quite forgiving, making it a wonderful plant for beginners looking to dip their toes into propagation. It’s a real joy to watch a tiny cutting transform into a thriving plant.
The Best Time to Start
For Glycine tabacina, the sweet spot for propagation is usually in late spring or early summer. This is when the plant is actively growing and has plenty of healthy, new shoots to work with. You want to select stems that are semi-hardwood – they’ll be a little firm, but still have some flexibility. Avoid very soft, brand-new growth or old, woody stems.
Supplies You’ll Need
Here’s what you’ll want to have on hand to give your cuttings the best chance:
- Sharp pruning shears or a clean, sharp knife: For taking clean cuts.
- Rooting hormone (powder or gel): This is highly recommended for Glycine tabacina.
- A well-draining potting mix: I prefer a mix of equal parts perlite and peat moss or coir. You can also use a commercial seed-starting mix.
- Small pots or propagation trays: Clean, with drainage holes!
- A clear plastic bag or a propagation dome: To create a humid environment.
- Water spray bottle: For misting.
- Labels and a pen: To keep track of what you’ve planted.
Propagation Methods
Let’s get our hands dirty with the most reliable ways to grow Glycine tabacina from cuttings.
Stem Cuttings
This is probably my favorite method for Glycine tabacina. It’s straightforward and very successful.
- Select your cuttings: Look for healthy stems that are about 4-6 inches long and have at least two sets of leaves.
- Make the cut: Using your sharp shears or knife, take a clean cut just below a leaf node (the point where a leaf attaches to the stem). This is where roots tend to form most readily.
- Prepare the cutting: Gently remove the lower leaves, leaving just the top two or three leaves. If the leaves are very large, you can cut them in half horizontally to reduce water loss.
- Apply rooting hormone: Dip the cut end of the stem into your rooting hormone, tap off any excess.
- Plant the cutting: Make a hole in your prepared potting mix with a pencil or your finger. Insert the cutting deep enough so that at least one leaf node is below the soil surface. Gently firm the soil around the stem.
- Water and cover: Water the potting mix thoroughly but gently. Then, cover the pot with a clear plastic bag or propagation dome to maintain high humidity. You can secure the bag with a rubber band.
Water Propagation
While not as common for this particular plant as stem cuttings, some folks have success with water. It’s a good way to see roots develop!
- Take cuttings: Follow steps 1 and 2 from the stem cutting method.
- Remove lower leaves: Remove all but the top two leaves.
- Place in water: Place the cuttings in a jar or glass of clean water, ensuring the leaf nodes are submerged. Do not let the leaves touch the water.
- Find a bright spot: Keep the jar in a bright location out of direct sunlight.
- Change water regularly: Change the water every few days to keep it fresh and prevent rot.
- Wait for roots: You should start to see tiny white roots forming in a few weeks.
- Pot up: Once the roots are about an inch long, carefully transplant them into pots filled with your well-draining potting mix.
The “Secret Sauce” (Pro Tips)
Having nurtured many plants from tiny beginnings, I’ve picked up a few tricks along the way:
- Bottom Heat is Your Friend: Glycine tabacina cuttings absolutely love a bit of warmth from below. Placing your pots on a heated propagation mat will significantly speed up root formation and increase your success rate, especially if your ambient room temperature isn’t consistent.
- Don’t Overwater, but Keep it Consistently Moist: This sounds contradictory, I know! The key is ensuring your soil is moist, not waterlogged. The plastic bag or dome helps, but check the soil moisture regularly. If it feels dry, give it a light misting or a gentle watering. The goal is high humidity around the leaves and consistent moisture at the roots.
- Patience, Patience, and More Patience: Some plants root in weeks; others take a couple of months. With Glycine tabacina, it’s best to err on the side of patient observation. If you don’t see roots after a month, don’t despair! Gently tugging on a cutting to feel resistance is a good indicator of rooting.
Aftercare & Troubleshooting
Once you see new growth emerging from your cuttings, or feel that slight resistance when gently tugging, it’s a sign you have roots!
- Acclimate Slowly: If you used a plastic bag or dome, start by gradually opening it up over a few days to let the plant get used to the drier air.
- Watering: Continue to water regularly, allowing the top inch of soil to dry out slightly between waterings.
- Light: Move your new plants to a brighter location, but still avoid intense, direct sun for the first few weeks.
- Potting Up: When your new plant has developed a good root system and is starting to show robust growth, you can pot it up into a slightly larger pot with regular potting mix.
Now, for the inevitable snags. The most common issue is rot. This usually happens due to overwatering or poor drainage. If you see the stem turning black or mushy at the soil line, or the leaves wilting dramatically despite being in a humid environment, rot is likely the culprit. Unfortunately, it’s hard to recover from significant rot, so the best defense is good prevention with well-draining soil and careful watering. Another sign of a failed cutting is if it simply shrivels up and looks completely dried out – this means it wasn’t getting enough humidity or the roots didn’t form.
A Encouraging Closing
So there you have it! Propagating Glycine tabacina is a wonderfully rewarding journey. Don’t be discouraged if your first few attempts aren’t perfect; it’s all part of the learning process. Take your time, enjoy the gentle unfolding of new life, and soon you’ll be surrounded by even more of these delightful plants. Happy gardening!
Resource:
https://identify.plantnet.org/k-world-flora/species/Glycine%20tabacina%20(Labill.)%20Benth./data