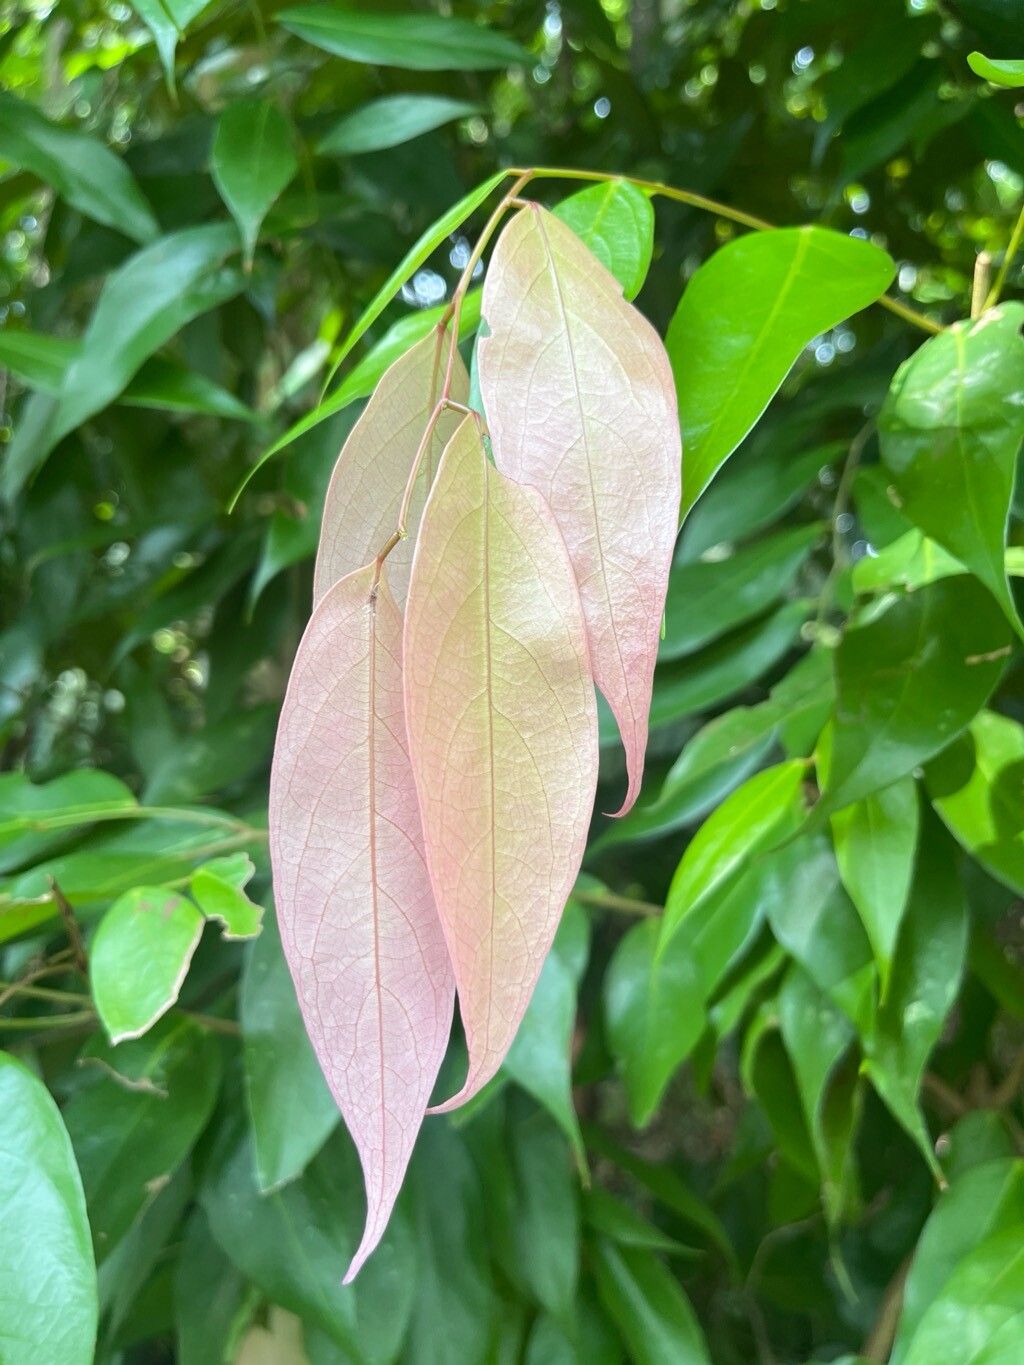
Hello fellow plant lovers! If you’re like me, the moment you discover a plant with a unique charm, your mind immediately starts thinking, “How can I get more of these?” Today, we’re diving into the wonderful world of Cleistanthus sumatranus, a plant that’s been bringing me so much joy with its delicate foliage and graceful form. Propagating it is a truly rewarding experience, and while it might seem a little daunting at first, I promise it’s achievable with a little patience. For beginners, I’d say it’s moderately easy – not quite as foolproof as a pothos, but definitely not an impossible mission!
The Best Time to Start
For the highest success rate with Cleistanthus sumatranus, I always recommend working during its active growing season. Think late spring through summer. This is when the plant has plenty of energy to put into developing new roots. You’ll want to take cuttings from healthy, vigorous growth – no sad, leggy bits for this project!
Supplies You’ll Need
Here’s what I’ll have on hand when I’m ready to propagate:
- Sharp Pruning Shears or a Clean Knife: Essential for making clean cuts that heal well.
- Rooting Hormone (Optional but Recommended): A little powder or gel can give your cuttings a significant boost. I like to have a good quality one ready.
- Well-Draining Potting Mix: I usually use a blend of equal parts peat moss (or coco coir), perlite, and a little bit of orchid bark. This helps prevent waterlogging.
- Small Pots or Propagation Trays: Anything that can hold your mix and allow for good drainage.
- Clear Plastic Bag or Humidity Dome: To create that humid environment new cuttings crave.
- Watering Can with a Fine Rose: For gentle watering.
- Spray Bottle: For misting.
Propagation Methods
I’ve found two main methods for propagating Cleistanthus sumatranus that tend to yield the best results.
Stem Cuttings
This is my go-to method, and it usually works like a charm.
- Select Your Cuttings: Choose healthy stems from your established plant. Look for semi-hardwood cuttings, meaning they’re not brand new, floppy growth, but also not old, woody stems. A good length is about 4-6 inches.
- Make the Cut: Using your sharp shears or knife, make a clean cut just below a leaf node (where a leaf attaches to the stem). This is where the magic happens for root development.
- Prepare the Cutting: Gently remove the lower leaves, leaving just a few on the top. If the leaves are very large, you can even cut them in half to reduce water loss.
- Apply Rooting Hormone (Optional): Dip the cut end of the stem into your rooting hormone, tapping off any excess.
- Plant Your Cuttings: Fill your small pots with your prepared potting mix. Make a hole in the center with your finger or a pencil and insert the cutting, ensuring the leaf nodes are buried. Gently firm the soil around the stem.
- Water and Cover: Water the soil thoroughly but gently. Then, cover the pot with a clear plastic bag or a humidity dome. This is crucial for maintaining high humidity.
Water Propagation (For the Adventurous)
This method can be fun to watch, though I find stem cuttings in soil to be more reliable for these particular plants.
- Take Your Cuttings: Follow steps 1 and 2 from the stem cutting method.
- Remove Lower Leaves: Just as before, strip away the lower leaves.
- Place in Water: Put your cuttings in a clean jar or vase filled with lukewarm water. Make sure that no leaves are submerged – only the stem should be in the water.
- Find a Spot: Place the jar in a bright, indirect light location. Change the water every few days to keep it fresh.
- Wait for Roots: You should start to see tiny roots forming in a few weeks. Once the roots are at least an inch long, you can plant them in your potting mix as described above.
The “Secret Sauce” (Pro Tips)
Here are a couple of things I’ve learned that really make a difference for Cleistanthus sumatranus:
- Bottom Heat is Your Friend: If you have an old heating mat that you’d use for seed starting, it’s perfect for propagation! Placing your pots on a gentle heat source encourages root development from below, significantly speeding up the process and increasing your success rate. It mimics that lovely warm soil feel plants love.
- Don’t Be Afraid to Mist, but Not Too Much: While high humidity is key, you don’t want the leaves themselves to be constantly wet, as this can encourage fungal issues. A light misting once a day, or whenever the humidity seems to be dropping inside the bag, is usually plenty. The goal is to keep the air around the cuttings moist, not the leaves sodden.
Aftercare & Troubleshooting
Once you start seeing roots emerge, congratulations! You’re on your way to a new plant.
- Gradual Acclimation: When the roots are well-established (you might see new leaf growth or feel resistance when you gently tug on the cutting), it’s time to gradually introduce your new plant to normal conditions. For the first week or so, remove the plastic bag or dome for a few hours each day, increasing the time gradually.
- First Watering: Water thoroughly when the top inch of soil feels dry.
- Signs of Failure: The most common issue is rot. If your cutting turns black and mushy, it’s likely rotted. This usually happens due to too much moisture and not enough air circulation. If you see wilting that doesn’t perk up after watering, it could also be a sign of stress or poor rooting. Don’t be discouraged if not every cutting takes! It’s part of the learning process.
A Little Patience Goes a Long Way
Propagating plants is a beautiful way to connect with the natural world, and Cleistanthus sumatranus is a delightful subject for this endeavor. Remember to be patient, observe your cuttings closely, and celebrate every bit of progress. Happy propagating, and enjoy watching your new green babies thrive!
Resource: