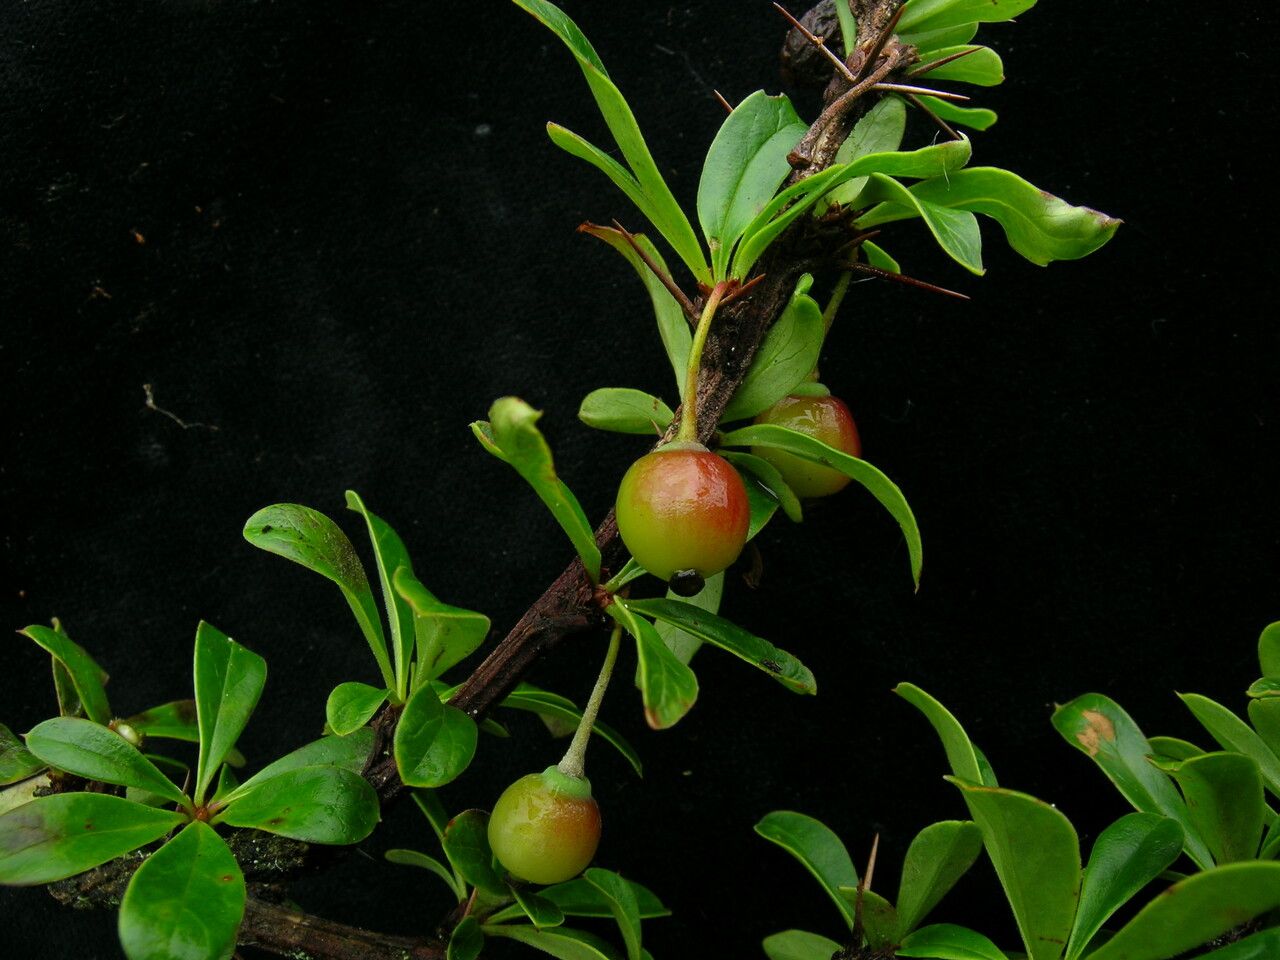
Ah, Berberis angulosa! You know, that wonderful shrub with its spiky charm and often brilliant autumn color. I’ve spent many happy hours with these plants in my gardens. They bring such a lovely texture, and I find their resilience truly admirable. The reward of getting a new plant for free, from a cutting or a division from a beloved specimen, is just immense. If you’re curious about propagating them, I’ve found them to be quite amenable to a little coaxing, even for those just dipping their toes into the world of plant multiplication.
The Best Time to Start
For Berberis angulosa, I find the sweet spot is generally late spring to early summer. This is when the plant is actively growing, and you have nice, pliable new stems that are neither too soft (like the very tips) nor too woody (like older growth). This is the prime time for taking what we call semi-hardwood cuttings. You can also propagate from root cuttings later in the year, but for cuttings, spring and early summer are your best bet for success.
Supplies You’ll Need
Here’s what I usually gather before I start:
- Sharp Pruning Shears or a Knife: For clean cuts, which are crucial.
- Rooting Hormone: This isn’t strictly mandatory for all Berberis, but it definitely gives your cuttings a boost. I prefer a powder, but liquid works too.
- A Well-Draining Potting Mix: I usually make my own by mixing equal parts peat moss or coco coir with perlite or coarse sand. This ensures good aeration.
- Small Pots or Trays: Clean pots are a must to prevent disease.
- Plastic Bags or a Propagator Lid: To create a humid environment.
- Labels and a Marker: So you don’t forget what you planted where!
- Watering Can with a Fine Rose: Gentle watering is key.
Propagation Methods
Let’s get our hands dirty! Here are a couple of ways I often go about it:
1. Stem Cuttings (My Go-To)
This is my favorite way to increase my Berberis numbers.
- Select Your Cuttings: Find healthy, vigorous stems from the current year’s growth. Look for stems that are starting to firm up but still bend a bit without snapping. Aim for cuttings about 4-6 inches long.
- Prepare the Cuttings: Using your sharp shears, make a clean cut just below a leaf node (where a leaf attaches to the stem). Remove the lower leaves, leaving just a couple at the very top. This prevents them from rotting when buried. If the cutting is particularly long, you can even cut it in half horizontally at the top, just above the remaining leaves.
- Apply Rooting Hormone: Dip the cut end of each cutting into your rooting hormone, tapping off any excess.
- Pot Them Up: Fill your clean pots or trays with the well-draining mix. Make small holes in the soil with a pencil or your finger. Insert the prepared cuttings into the holes, making sure the leaf nodes are buried (this is where roots will form). Gently firm the soil around each cutting.
- Water Gently: Water the pots thoroughly but gently, ensuring the soil is moist but not waterlogged.
2. Water Propagation (For the Impatient!)
Sometimes, I just love seeing roots form in water. It’s so satisfying!
- Prepare the Cuttings: Follow the same steps as above for selecting and preparing your stem cuttings, but do not use rooting hormone.
- Place in Water: Find a clean jar or glass and fill it with fresh water. Place your cuttings in the water, ensuring that no leaves are submerged. They should be dangling just above the water line or have their lower stems in the water.
- Change Water Regularly: This is important! Change the water every few days to keep it fresh and prevent bacterial growth.
The “Secret Sauce” (Pro Tips)
Here are a few things I’ve learned over the years that can make a big difference:
- Humidity is Your Friend: Once your cuttings are potted, cover the pots with a clear plastic bag or a propagator lid. This creates a mini-greenhouse effect that keeps the humidity high, which is essential for cuttings that can’t yet absorb water from the soil. Just make sure the leaves aren’t touching the plastic!
- Bottom Heat (Optional but Nice): If you have a heat mat, placing your pots on it can significantly speed up root formation. Berberis roots often appreciate a little warmth. If you don’t have one, a warm windowsill can suffice.
- Don’t Be Afraid to Test: After a few weeks, give a gentle tug on a cutting. If there’s resistance, you’ve got roots! If it pulls out easily, it hasn’t taken yet, so pop it back in the soil.
Aftercare & Troubleshooting
Once you see signs of life – new leaf growth or resistance when you tug – that’s your cue that roots are forming.
- Gradual Acclimation: If you used plastic bags, slowly remove them over a week or so to get the new plants used to the ambient humidity.
- Watering: Continue to keep the soil consistently moist, but not soggy. Allow the top inch of soil to dry out slightly between waterings.
- Potting Up: Once the roots have filled the pot and you can see them coming out the drainage holes, it’s time to pot them into larger containers with a good quality potting mix.
- Troubleshooting: The most common issue is rot. If a cutting turns black and mushy, it’s usually a sign of too much moisture and not enough air circulation. Unfortunately, these are usually a lost cause, so remove them to prevent any spread. Another sign of failure is if the cutting simply shrivels up and dies – this could be due to being too dry, too much direct sun, or just not taking. Don’t get discouraged; sometimes it happens!
A Encouraging Closing
Propagating Berberis angulosa is a wonderfully rewarding endeavor. It requires a touch of patience, a bit of observation, and the willingness to experiment. Even if not every cutting takes, each attempt is a learning experience. Enjoy the process of nurturing these new beginnings, and soon you’ll have more of these lovely shrubs to share or plant around your own garden. Happy propagating!
Resource: