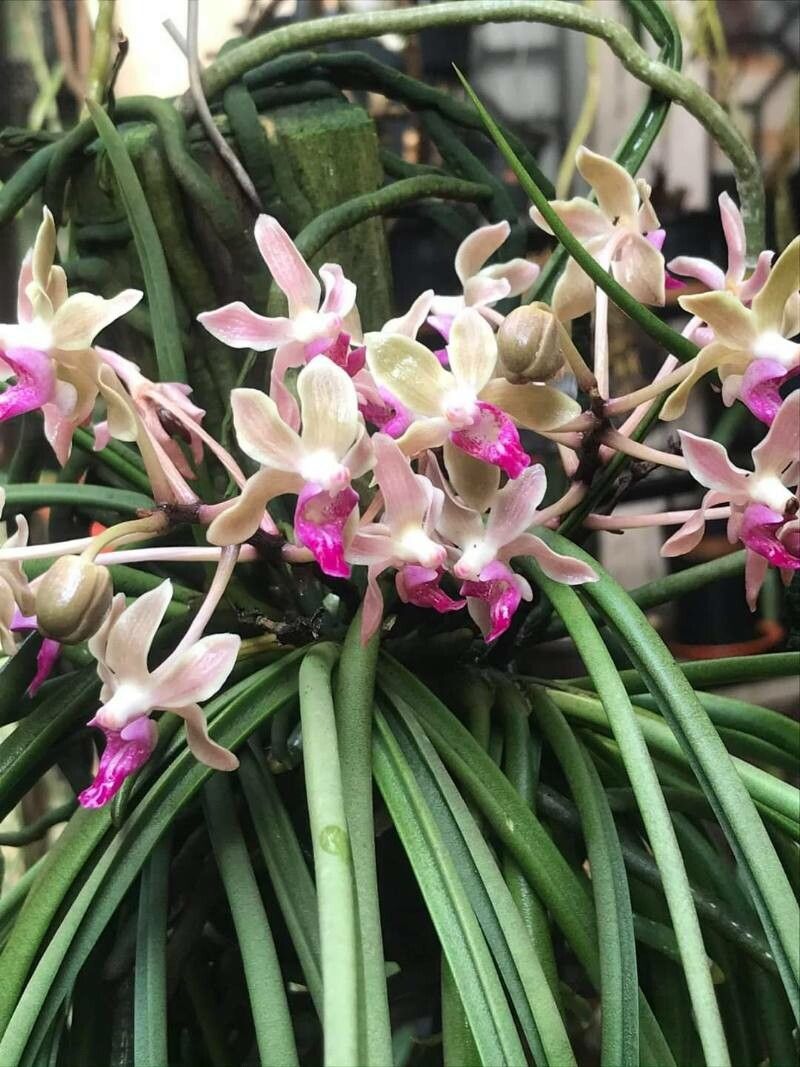
Oh, Paraphalaenopsis labukensis! If you’re looking for a truly special orchid to add a touch of exotic charm to your collection, you’ve found it. Its wonderfully unique, cascading flower spikes are a sight to behold, and honestly, holding a brand-new little plant you helped create? Pure magic. Now, I’m not going to sugarcoat it; this is an orchid that demands a bit of attention. It’s not necessarily a beginner’s first foray into orchid propagation, but with a little patience and these tried-and-true methods, you’ll be well on your way.
The Best Time to Start
Timing is everything, as any seasoned gardener knows! For Paraphalaenopsis labukensis, the absolute sweet spot for propagation is during its active growing season. Think spring and early summer. This is when the plant has the most energy to dedicate to producing new growth and, crucially, developing roots. You’ll want to start when the plant is showing signs of vigor – new leaves unfurling or a healthy bloom cycle ending.
Supplies You’ll Need
Gather your gear before you begin. A little preparation goes a long way!
- Sharp, sterile pruning shears or a razor blade: Cleanliness is key to preventing infections.
- Sphagnum moss: High-quality, long-fibered sphagnum is excellent for retaining moisture.
- Perlite or orchid bark: To improve drainage and aeration. A mix of both is often ideal.
- Small pots or containers: Whatever suits the size of your cuttings. Clear containers are great for monitoring root development.
- Rooting hormone (optional but recommended): A powder or gel can give your cuttings a helpful boost.
- Small spray bottle: For misting.
- Plastic bag or propagation box: To create a humid environment.
Propagation Methods
Let’s get our hands dirty! For Paraphalaenopsis labukensis, the most reliable method is division. These orchids tend to grow in clusters, making them amenable to this approach.
Division:
- Gently remove the orchid from its pot. Be patient and don’t force it. If it’s stuck, you might need to carefully break the pot or tease the potting medium away from the roots.
- Inspect the root system. Look for clear divisions where a new growth (a pseudobulb with a leaf or two) is naturally emerging from the main plant. You want to ensure each division has at least one or two healthy pseudobulbs and a good network of roots.
- Make the cut. Using your sterilized pruning shears or razor, carefully separate the divisions. Try to make the cut through the rhizome (the creeping stem that connects the growths) in a clean sweep. Some root damage is almost inevitable, but aim to minimize it.
- Prepare the divisions. If any old potting medium is clinging stubbornly, you can gently rinse it off under lukewarm water. Trim away any dead or mushy roots.
- Potting Up. Fill your small pots with your chosen well-draining orchid mix. Moisten it slightly. Place each division in its pot, seating it so the base of the pseudobulbs is at or just above the surface of the mix. It’s like tucking them into bed!
The “Secret Sauce”
Here are a few little tricks I’ve picked up over the years that really make a difference:
- Don’t rush the potting mix dry. After potting your divisions, I like to let them sit in their new, slightly damp environment for a few days before giving them their first gentle watering. This allows any minor root nicks to callus over slightly, reducing the risk of rot.
- Umbrella them! When you first potty your divisions, they’re vulnerable. I like to use a clear plastic bag over the pot (making sure the bag doesn’t directly touch the leaves) or place them in a mini-greenhouse. This high humidity is their best friend in the initial rooting phase.
- Warm feet, happy roots. Orchids love a little warmth to encourage root growth. Placing your pots on a heating mat set to a mild temperature (around 70-75°F or 21-24°C) can significantly speed up the process.
Aftercare & Troubleshooting
Once your divisions are potted, the real nurturing begins. Keep them in bright, indirect light and maintain that high humidity. You’ll want to water when the potting medium feels slightly dry to the touch, but never let them sit in soggy conditions.
The biggest challenge you might face is root rot. This often happens if the potting mix is too wet or drainage is poor. You’ll see roots turning black and mushy. If this happens to a cutting, trim away the rotted parts and try to repot into fresh, dry mix. If the whole plant succumbs, don’t get too discouraged. It happens to all of us! Sometimes, you just need to try again.
A Closing Thought
Propagating Paraphalaenopsis labukensis is a journey. It takes time, observation, and a good dose of patience. But trust me, the reward of watching those delicate roots develop and a new plant thrive is absolutely worth it. Enjoy the process, learn from each step, and soon you’ll have more of these beauties to share! Happy growing!
Resource: