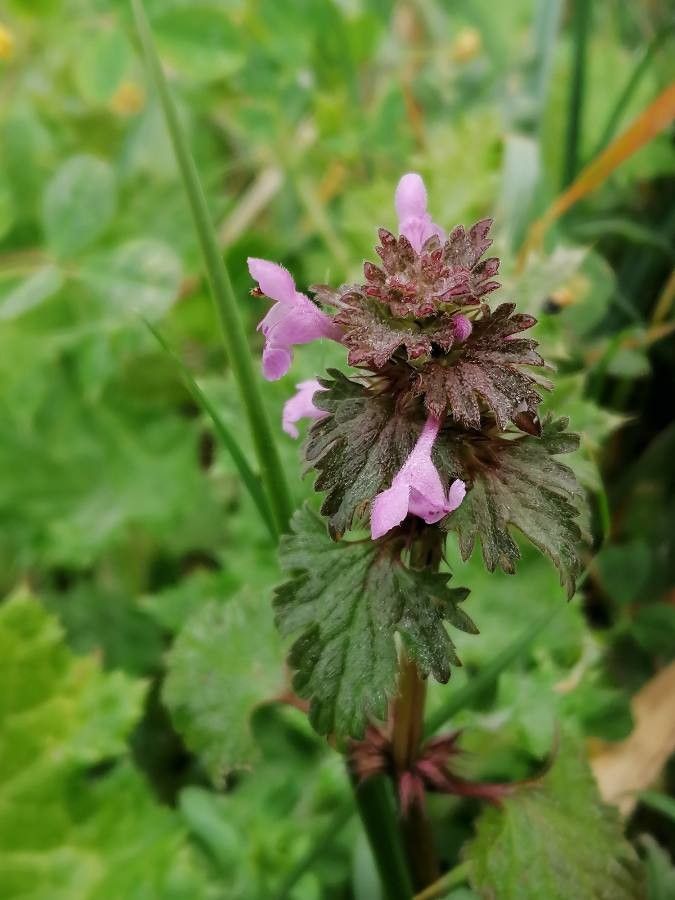
Hey there, fellow garden enthusiasts! Today, we’re diving into the wonderful world of propagating Lamium hybridum, often known as the spotted deadnettle. If you’ve ever admired its beautiful, often variegated foliage and delicate flowers, you’ll know why it’s such a charmer. And the best part? You can easily multiply these beauties for your own garden or to share with friends.
Why Propagate Lamium?
Honestly, there’s something so satisfying about taking a small piece of a plant and watching it grow into a whole new one. Lamium is particularly rewarding because it’s generally quite forgiving. If you’re new to the propagation game, you’ll find Lamium to be a wonderfully welcoming plant to start with. It’s not one of those finicky divas; it’s more of a “come as you are” kind of plant, which makes the whole process a joy.
When to Get Your Hands Dirty
The best time to propagate Lamium hybridum is in late spring or early summer, just as the plant is in its active growth phase. You’re looking for healthy, non-flowering stems. Think of it as taking cuttings from a vibrant, energetic plant. This is when they have the most oomph to establish roots.
What You’ll Need for Your Propagating Adventure
Gathering your supplies beforehand makes everything so much smoother. Here’s what I usually have on hand:
- Clean, sharp pruning shears or a sharp knife: For making clean cuts.
- Small pots or seed trays: Anything that will hold your soil and cuttings. Drainage holes are a must!
- Well-draining potting mix: A 50/50 blend of seed-starting mix and perlite works beautifully. You want good aeration so those precious roots don’t get waterlogged.
- Rooting hormone (optional but recommended): This gives your cuttings a little boost. Gel or powder forms are fine.
- Water: For misting and for watering.
- Plastic bags or a clear plastic dome: To create a humid environment.
- Labels and a marker: So you don’t forget what you’ve planted where!
Let’s Get These Plants Growing!
There are a couple of ways we can coax new Lamium plants into existence. My go-to is usually stem cuttings, as it’s incredibly effective.
Method 1: Stem Cuttings
- Select Your Cuttings: Head out to that healthy Lamium plant. Look for stems that are about 4-6 inches long. These should be nice and firm, not floppy or woody. Gently snap off a few non-flowering shoots.
- Prepare the Cuttings: Once you have your stems, it’s time to prep them. Use your clean shears or knife to remove any lower leaves. We want a clean stem to insert into the soil. If the cutting has any flowers or flower buds, snip those off too – all the plant’s energy should go into root development.
- Dip in Rooting Hormone (Optional): If you’re using rooting hormone, dip the cut end of each stem into the powder or gel. Tap off any excess. This step isn’t strictly necessary for Lamium, but it can speed things up.
- Plant Your Cuttings: Fill your small pots or trays with your prepared potting mix. Make a little hole in the center with your finger or a pencil. Gently insert the prepared end of your stem cutting into the hole, ensuring at least one leaf node (where a leaf attaches to the stem) is buried in the soil.
- Water Gently: Water the soil thoroughly but gently. You want it moist, not soggy.
- Create Humidity: This is crucial! Cover the pots loosely with a clear plastic bag or a propagator lid. This traps moisture and creates that humid environment cuttings love. Make sure the leaves aren’t touching the sides of the bag if possible. You can prop the bag up with small stakes if needed.
Method 2: Water Propagation (for a quick visual)
This method is great for seeing roots form!
- Take Cuttings: Follow steps 1 and 2 from the stem cutting method.
- Place in Water: Find a clean jar or glass and fill it with fresh water. Place your prepared cuttings in the water, ensuring no leaves are submerged. Leaves touching the water will rot and can infect the whole cutting.
- Find a Spot: Place the jar in a bright spot with indirect sunlight.
- Change Water Regularly: Change the water every few days to keep it fresh and prevent bacteria buildup. You’ll start to see tiny white roots emerge within a couple of weeks. Once the roots are about an inch long, you can pot them up into soil using the steps above.
The “Secret Sauce” – My Pro Tips
Here are a few little tricks I’ve learned over the years that make a big difference:
- The Power of Bottom Heat: If you can, place your cuttings on a heat mat designed for seedlings. A gentle warmth from below helps stimulate root growth significantly faster. It’s like giving them a cozy blanket to encourage their roots to wake up.
- Don’t Rush the Transplant: When you’ve potted up your cuttings, resist the urge to tug on them to check for roots. Instead, look for signs of new growth. A tiny new leaf or stem shoot is your best indicator that roots have formed and the plant is happy. It’s much more reliable than disturbing those delicate new roots.
- Good Air Circulation is Key: While we create humidity, we also need to prevent stagnant air, which can lead to fungal issues. Open the plastic cover or bag for about 15-30 minutes each day to allow for some fresh air exchange. This helps the cuttings breathe and stay healthy.
Aftercare and What to Watch For
Once your cuttings have developed a good root system (you’ll see new growth, or you can gently tease one out to check), it’s time to transplant them into their own individual pots with your regular potting soil. Keep them in a bright, indirect light location and water them regularly, allowing the soil to dry out slightly between waterings.
The main thing to watch out for is rot. If you see stems turning mushy and black, or if your cutting just wilts and never recovers, it’s often a sign of too much moisture and not enough air circulation, or sometimes just a weak cutting that wasn’t meant to be. Don’t be discouraged if a few don’t make it; it’s all part of the learning process.
Happy Propagating!
Making new plants from cuttings is such a rewarding part of gardening. Be patient, enjoy the process, celebrate your successes, and learn from the ones that don’t quite make it. Soon, you’ll have a whole collection of delightful Lamium to brighten up your garden spaces. Happy growing!
Resource:
https://identify.plantnet.org/k-world-flora/species/Lamium%20hybridum%20Vill./data