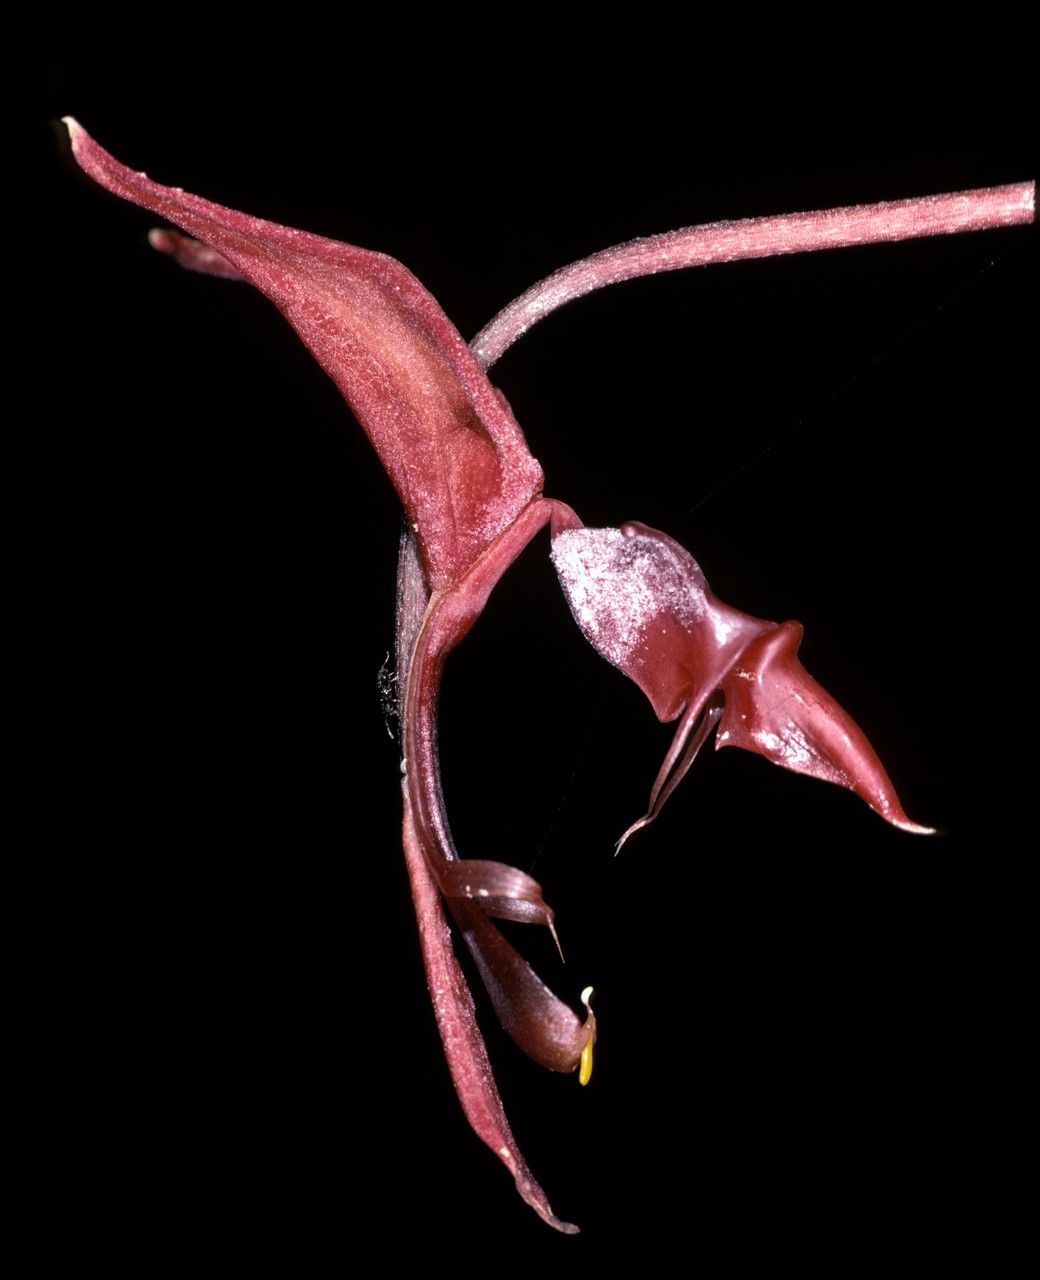
Oh, hello there! It’s so lovely to have you join me today. We’re going to dive into a rather enchanting orchid, one that always brings a smile to my face when it blooms: the Gongora atropurpurea. If you’ve seen these beauties, you know the unique, almost alien-like flowers are a real showstopper. They hang down in these spectacular cascades, and the scent… well, it’s something else entirely!
Propagating Gongora atropurpurea is a fantastic way to share this wonder with friends, expand your own collection, or simply the joy of nurturing new life from an established plant. Now, I’ll be honest, while not impossible, Gongora can be a little finicky. It’s not the easiest orchid for a complete beginner to start with, but with a little care and patience, you absolutely can succeed. Think of it as a rewarding challenge, like learning a new dance.
The Best Time to Start
Timing is everything, right? For Gongora atropurpurea, the very best time to give propagation a go is usually during its active growing season, which typically falls in the late spring and early summer. This is when the plant has the most energy reserves and is primed for new growth. You’ll want to wait until the plant has developed healthy new pseudobulbs and perhaps even a bit of new root growth emerging from them. Trying to propagate when it’s resting or stressed is just setting yourself up for disappointment.
Supplies You’ll Need
Before we get our hands dirty (or should I say, potting mix-y?), let’s gather our tools. Having everything ready makes the process so much smoother:
- Sharp, sterile pruning shears or a very clean knife: Essential for making clean cuts to prevent disease.
- Potting medium: A well-draining orchid mix is crucial. I usually use a blend of medium-grade bark, perlite, and a little bit of sphagnum moss for moisture retention. Some growers also swear by long-fibered sphagnum moss alone.
- Small pots or containers: For your new cuttings or divisions. Ensure they have drainage holes!
- Optional: Rooting hormone: While not strictly necessary for Gongora, it can give your cuttings an extra little boost. Look for one formulated for orchids.
- Water: Clean, room-temperature water.
- Labels and a marker: To keep track of what you’ve propagated and when.
- Optional: Clear plastic bags or a small propagation dome: To create a humid environment, especially for stem cuttings.
Propagation Methods
Gongora atropurpurea typically does best with division. While stem cuttings can be attempted, they are generally much less successful with this particular orchid due to its pseudobulb structure. So, we’ll focus on the method that’s most likely to give you wonderful results.
Method: Division
This is the most straightforward and reliable way to propagate your Gongora. It involves separating a mature plant into smaller pieces, each with its own root system and at least a couple of healthy pseudobulbs.
- Gently remove the plant from its pot. If it’s tightly in there, you might need to gently squeeze the pot or even carefully run a knife around the edge to loosen it. Don’t force it!
- Inspect the root ball. You’re looking for natural divisions in the plant’s growth. Gongoras often grow in a somewhat sprawling manner, producing new pseudobulbs from the base. You’re essentially aiming to find where a healthy section can be cleanly separated.
- Using your sterile shears or knife, carefully cut through the rhizome (the creeping stem) that connects healthy sections. Make sure each division has at least two to three healthy pseudobulbs and a good amount of healthy roots. If the plant is very compact, you might need to gently tease the roots apart with your fingers, but be mindful of damaging them.
- Once divided, allow the cut surfaces to air dry. This is a critical step to prevent rot. Place the divisions in a bright, airy spot out of direct sunlight for at least 24 hours, or even a couple of days if the humidity is high. You want to see a callus form over the cut.
- Pot up your divisions. Plant each division in its own small pot, using your prepared orchid mix. The base of the pseudobulbs should be just at or slightly above the surface of the medium. You don’t want to bury them too deep. If the division is wobbly, you can use a small stake to support it until the roots anchor it firmly.
The “Secret Sauce” (Pro Tips)
Here are a few little tricks I’ve learned over the years that can make all the difference with these lovely orchids:
- Don’t over-pot your divisions. I know it’s tempting to give them a big pot, but smaller pots encourage the roots to grow and establish more quickly. If your division is small, a 3-4 inch pot is often perfect.
- Rhizome orientation is key. When you re-pot, try to position the rhizome so that new growth has room to extend outwards, rather than spiraling back on itself inside the pot. This helps with future divisions.
- Think about humidity, but avoid soggy bottoms. Gongoras love humidity, but their roots absolutely detest sitting in water. If you’re dividing in a cooler, less humid time, consider placing the potted divisions in a clear plastic bag with a few air holes, or on a tray with pebbles and water (making sure the pot isn’t actually sitting in the water!).
Aftercare & Troubleshooting
Once your Gongora divisions are potted and settled, it’s time for gentle care.
For the first week or so after potting, water very sparingly. You want the potting medium to be just slightly moist, not wet. The pseudobulbs hold reserves, so they won’t dry out immediately. As the roots start to establish, you can gradually increase watering, but always allow the potting mix to almost dry out between waterings.
Keep them in bright, indirect light. Avoid direct sun, which can scorch their leaves. Good air circulation is also very important to prevent fungal issues.
Now, what if things don’t go as planned? The most common sign of trouble is rot. You might see mushy, dark spots on the pseudobulbs or roots, or the entire division might become limp and discolored. This is almost always a sign of overwatering or poor air circulation. If you catch it early, you can try to cut away the rotted parts with your sterile knife, dust with cinnamon (a natural antifungal), and let it air dry thoroughly. Unfortunately, severe rot is often fatal.
Another sign of stress is yellowing leaves, which could be from too much light, not enough water, or sometimes even a transplant shock. Be patient and observe.
A Little Encouragement
Growing orchids is such a rewarding journey, and propagating them adds another layer of joy. Don’t be discouraged if your first attempt isn’t perfect. Each plant has its own personality, and each propagation endeavor is a learning experience. Be patient, give them the right conditions, and enjoy watching your Gongora atropurpurea flourish and multiply. Happy growing!
Resource:
https://identify.plantnet.org/k-world-flora/species/Gongora%20atropurpurea%20Hook./data