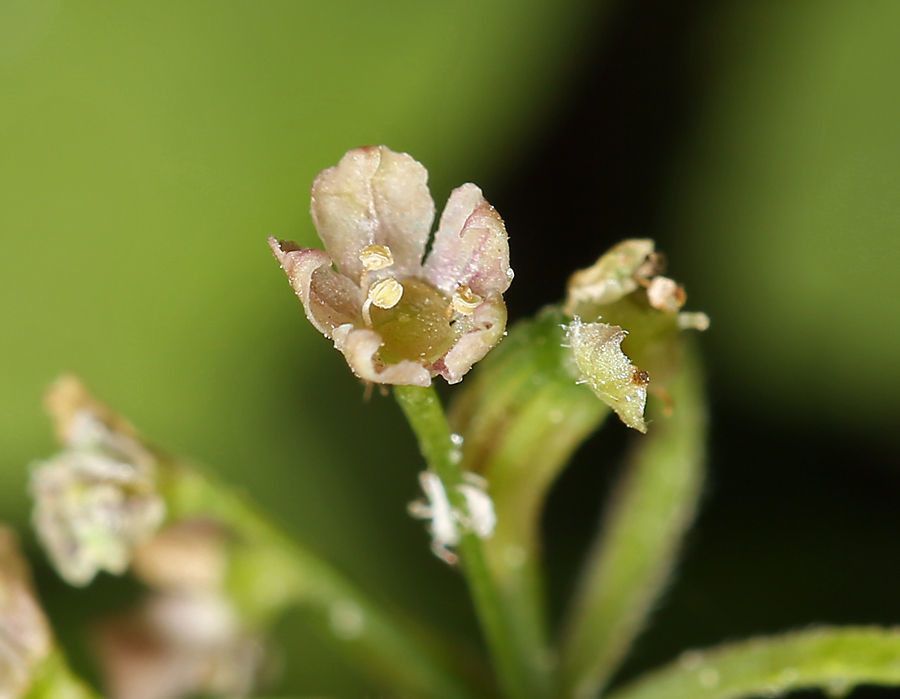
Hello fellow garden enthusiasts! I’m so excited to chat with you today about a truly special plant: Osmorhiza brachypoda, often called Chinese sweet cicely. If you’re looking for a woodland beauty with delicate, fragrant foliage and lovely white flowers that attract all sorts of beneficial insects, this is your gal. And guess what? Propagating her is a wonderfully rewarding experience. For beginners, I’d say it’s moderately easy – a little patience goes a long way!
The Best Time to Start
For the absolute best chance of success, I always aim to propagate Osmorhiza brachypoda in the early spring, just as new growth is beginning to emerge. This is when the plant has stored up plenty of energy from the previous season and is full of vigor. You can also have some success with cuttings in the late spring/early summer if you miss the initial burst, but aim for before things get too hot and dry.
Supplies You’ll Need
Here’s what you’ll want to have on hand:
- Sharp pruning shears or a clean knife: For making neat cuts.
- Well-draining potting mix: A good blend for me is 50% compost and 50% perlite or coarse sand. Or, a quality seed-starting mix works too.
- Small pots or rooting trays: Make sure they have drainage holes!
- Rooting hormone (optional but recommended): This can give your cuttings an extra boost.
- Plastic bags or a clear propagation dome: To keep humidity high.
- Watering can or spray bottle: For gentle watering.
Propagation Methods
The most reliable way I’ve found to increase my Osmorhiza brachypoda patch is through division. It’s a straightforward process that usually gives you a great return.
Division:
- Dig Carefully: Choose a plant that’s established and ideally not in the height of bloom. With a spade or trowel, carefully dig around the plant, trying to get as much of the root ball as possible.
- Gently Separate: Once the plant is out of the ground, gently shake off excess soil. You’ll usually see natural divisions in the root system. Use your hands or a clean trowel to gently tease apart the root ball into smaller sections. Aim for each division to have at least a few healthy-looking roots and a couple of nascent shoots or stems.
- Replant Immediately: Have your new planting holes or pots ready. Replant the divisions as soon as possible, ensuring the crowns (where the stems meet the roots) are at the same depth they were previously. Water them in well.
While division is my go-to, I’ve also had some luck with stem cuttings, though they can be a bit trickier and take longer.
Stem Cuttings:
- Take Cuttings: In early spring, select healthy, non-flowering stems. Using your sharp shears, cut stems that are about 4-6 inches long, just below a leaf node (that little bump where a leaf attaches to the stem).
- Prepare Cuttings: Remove the lower leaves, leaving just the top few. If you’re using rooting hormone, dip the cut end into it now, tapping off any excess.
- Plant Cuttings: Fill your pots with your prepared potting mix. Make a small hole with your finger or a pencil and insert the cutting, ensuring the leaf nodes are buried. Gently firm the soil around the base.
- Create a Humid Environment: Water the soil gently. Then, cover the pot with a plastic bag or a propagation dome to create a mini-greenhouse effect.
The “Secret Sauce” (Pro Tips)
Here are a few little tricks I’ve learned over the years that really make a difference:
- Don’t Over-Water After Division: While you want to keep divisions moist, soggy soil is the enemy of newly planted roots. Water thoroughly at first, then let the soil dry slightly between waterings.
- Patience with Cuttings is Key: If you’re trying stem cuttings, don’t give up too soon! It can take several weeks, sometimes even a couple of months, for Osmorhiza brachypoda cuttings to show signs of rooting. Keep them in their humid environment and out of direct, harsh sun.
- Consider Bottom Heat for Cuttings: If you have the inclination and space, placing your pots of cuttings on a heat mat can significantly speed up root development. It mimics the warmth of spring soil and encourages those roots to form.
Aftercare & Troubleshooting
Once your divisions are settled in or your cuttings have rooted (you might see new leaf growth from the base, or gently tug on a cutting and feel resistance), you can start treating them like mature plants.
For Divisions: Water them regularly, especially during dry spells, and consider a light mulch to retain moisture and suppress weeds.
For Cuttings: Once they look robust and have a good root system, you can gradually acclimate them to normal garden conditions by opening the plastic bag or dome for increasing periods over a week. They’ll likely need a bit more protection in their first winter.
The most common sign of trouble you’ll see is rot. If your cuttings look mushy and brown, or the soil stays constantly saturated and smells a bit off, you’ve likely got rot. This usually means too much moisture and not enough air circulation. If you catch it early, you might be able to save a cutting by removing the affected parts and repotting in fresh, drier soil. For divisions, it’s often a sign that the soil is too heavy or drains poorly.
A Little Green Encouragement
Propagating plants is a journey, and with Osmorhiza brachypoda, the reward of seeing those delicate beauties multiply is truly special. Don’t be discouraged if your first attempt isn’t perfect. Be patient, observe your plants, and most importantly, enjoy the process of nurturing new life! Happy gardening!
Resource: