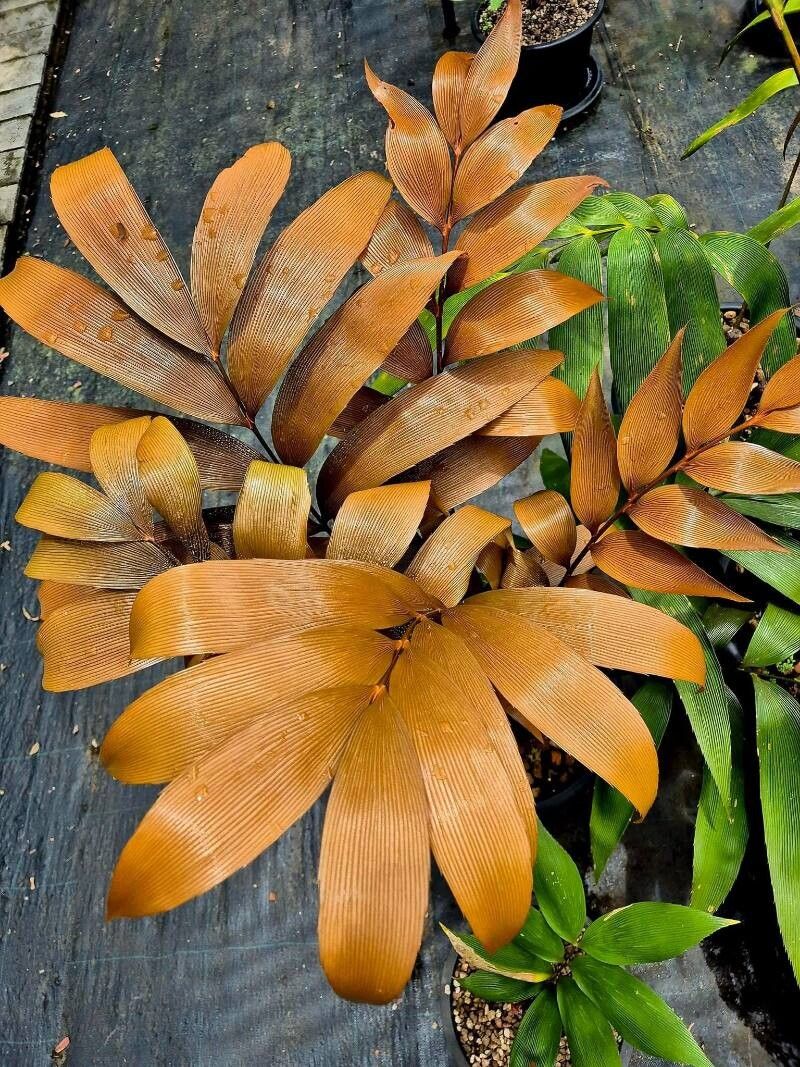
Oh, Zamia purpurea! I can just picture those gorgeous, deep purple fronds unfurling. If you’re anything like me, you’ve fallen head over heels for this striking cycad. It brings such a unique, almost prehistoric vibe to any space, and honestly, seeing a new plant you’ve nurtured yourself is one of life’s greatest little joys. Propagating Zamias can feel a little intimidating at first, but don’t let that deter you. With a little patience and the right approach, you can absolutely multiply these beauties.
The Best Time to Start
For Zamia purpurea, the sweet spot for propagation is during its active growing season. Think late spring through summer. This is when the plant is naturally putting on new growth and has the most energy to dedicate to developing roots. Starting when it’s robust and happy will give you the best chance of success.
Supplies You’ll Need
Here’s what I always have on hand when I’m ready to propagate:
- Sharp, clean pruning shears or a knife: For making clean cuts.
- Well-draining potting mix: A cactus or succulent mix is a great base, or you can create your own by mixing regular potting soil with plenty of perlite or coarse sand.
- Cinnamon powder or rooting hormone (optional but helpful): Helps prevent fungal infections and encourages root growth.
- Small pots or trays: With drainage holes, of course.
- Spray bottle: For misting.
- Clear plastic bag or propagation dome: To create a humid environment.
- Source of light: Bright, indirect light is ideal.
- Bottom heat (optional but a game-changer!): A seedling heat mat can significantly speed up root development.
Propagation Methods
Zamia purpurea is best propagated through division. While some people attempt stem cuttings, it’s far less reliable for this particular plant. Division is the most straightforward and successful strategy.
Division:
- Prepare your parent plant: Water your Zamia a day or two before you plan to divide it. This helps the plant be more resilient. Gently remove it from its pot.
- Locate the offsets: Look for smaller plantlets, often called pups or offsets, that have naturally formed at the base of the main plant. These will have their own roots.
- Gently separate: Using your clean pruning shears or a sharp knife, carefully cut the offsets away from the parent crown. Try to get as much of the offset’s root system as possible without damaging the main plant too badly. If an offset doesn’t have much in the way of roots, that’s okay, it can still potentially root.
- Prepare the offset: If you’re using rooting hormone, dip the cut end of the offset into it. If you’re using cinnamon, you can lightly dust the cut surface. This adds an extra layer of protection.
- Potting up: Fill your small pots with your well-draining potting mix. Make a small hole in the center and place the offset, ensuring its base is nestled into the soil. Do not plant too deep. You want the top of the roots to be just at the soil surface or slightly covered.
- Initial watering: Water the soil gently until it’s evenly moist, but not waterlogged.
- Create the humidity dome: Place the potted offset inside a clear plastic bag, sealing it loosely, or cover it with a propagation dome. This traps humidity, which is crucial for rooting. Position the pot in a spot with bright, indirect light.
The “Secret Sauce” (Pro Tips)
Sometimes, it’s the little things that make all the difference, right? Here are a few tricks I’ve picked up over the years with cycads:
- Don’t rush the separation: Sometimes, offsets are really tightly attached. If an offset is proving difficult to separate without major damage, it’s often better to leave it and let it grow a bit larger before trying again. A larger offset with more established roots will have a much better survival rate.
- Embrace the bottom heat: If you can swing it, a seedling heat mat set to around 70-75°F (21-24°C) is a true game-changer for cycad propagation. It mimics the warm soil conditions they love and dramatically speeds up root formation. Place your potted offset directly on the mat.
- Less is more with water early on: Once potted, the goal is to keep the soil consistently moist but never soggy. Overwatering at this stage is the quickest way to invite rot. If you’re using the plastic bag method, you might only need to mist lightly every few days. Check the soil moisture by gently probing with your finger.
Aftercare & Troubleshooting
Once your offset has been potted and is happily residing under its humidity dome, the real waiting game begins. Keep it in that bright, indirect light. Resist the urge to peek and prod constantly!
Rooting Time: Be patient. It can take anywhere from a few weeks to a few months for new roots to develop. You’ll know it’s beginning to root when you see signs of new growth, like a tiny new frond emerging, or when you give the pot a gentle tug and feel resistance.
Acclimating to Lower Humidity: Once you see good root development, you’ll need to gradually acclimate your new Zamia to normal household humidity. This means slowly opening the plastic bag or dome over a week or two, a little bit each day.
Common Issues:
- Rot: This is the most common villain. If the offset smells foul, or the base turns mushy and black, it’s likely rotting. This is usually due to overwatering. Unfortunately, if rot sets in too severely, it’s often too late to save it. Learn from it and try again with a lighter hand on the water next time.
- No Growth: Don’t panic if you don’t see anything for a while. Some cycads are slow starters. Ensure it’s getting the right light and temperature. Sometimes, they just need more time.
A Encouraging Closing
Growing new plants is a journey, and propagating Zamia purpurea is a deeply rewarding one. Don’t get discouraged if your first attempt isn’t perfect. Every gardener has had their share of mishaps – I know I certainly have! Enjoy the process of nurturing, observing, and ultimately, celebrating the arrival of your new little Zamia. Happy propagating!
Resource: