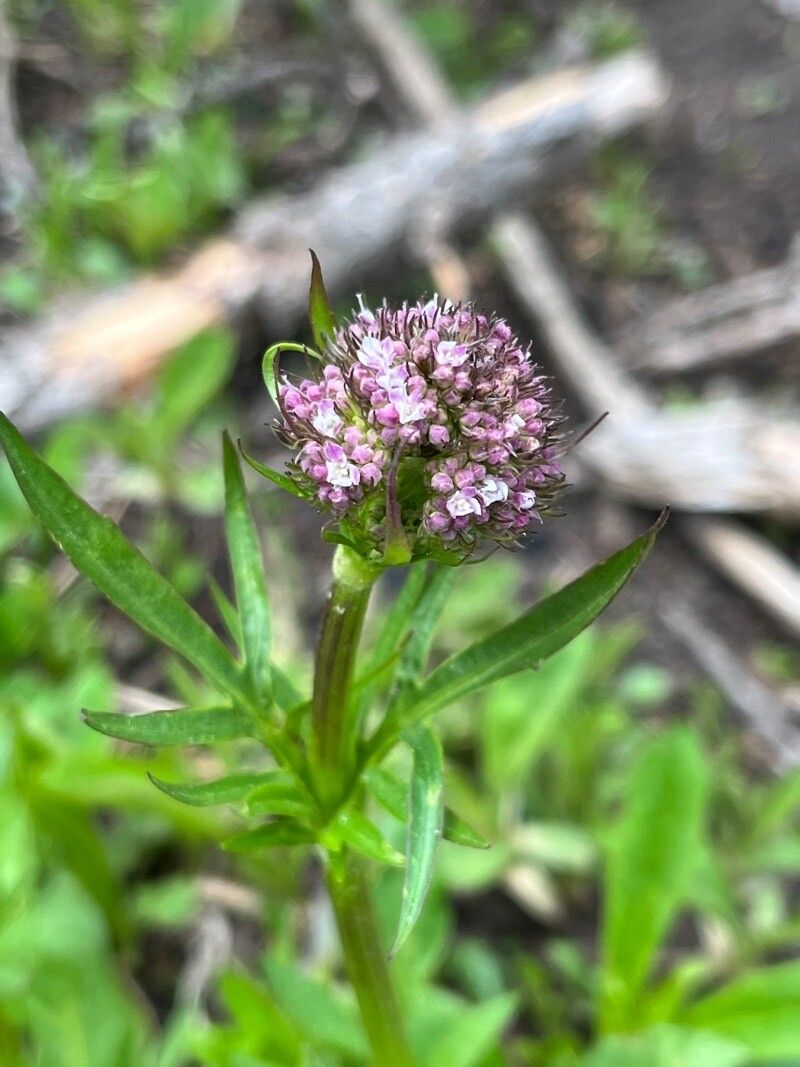
Hello fellow plant lovers! Today, we’re diving into the wonderful world of Valeriana acutiloba. If you’re anything like me, the delicate, airy blooms of this native wildflower have probably caught your eye. They bring such a graceful presence to any garden, and truthfully, having more of them is always a good thing! Propagating Valeriana acutiloba is a rewarding journey, and while it’s not exactly a walk in the park for a complete novice, with a little patience and know-how, you’ll find it quite achievable.
The Best Time to Start
For the highest success rate, I’ve found that the perfect time to propagate Valeriana acutiloba is spring. As our garden wakes up from winter slumber, the plants are buzzing with fresh energy. This is when they’re most vigorous and ready to put out new growth, making them prime candidates for taking cuttings or dividing. Aim for when the soil is warming up but before the plant gets too tall and bushy.
Supplies You’ll Need
Before we get our hands dirty, let’s gather our tools:
- Sharp pruning shears or a clean knife: For making clean cuts.
- Rooting hormone (optional but recommended): Helps encourage root development.
- Well-draining potting mix: A blend of perlite, peat moss, and a bit of compost works wonders.
- Small pots or trays: With drainage holes, of course!
- Plastic bags or a propagator: To maintain humidity.
- Spray bottle: For gentle misting.
Propagation Methods
I’ve had the most success with division for Valeriana acutiloba, and it’s often the simplest way to expand your collection.
Division
- Gently unearth the parent plant: In early spring, carefully dig around the base of your established Valeriana acutiloba. You want to lift the entire root ball, trying to disturb it as little as possible.
- Inspect the roots: Once out of the ground, gently shake off excess soil. Look for where the plant naturally divides into smaller sections. You should see distinct shoots emerging from the root system.
- Separate the sections: Using your clean hands or a trowel, carefully pull apart the root ball into smaller divisions. Each division should have at least one healthy bud or shoot and a good portion of roots. If a division is particularly tangled, a sharp knife can help, but always aim for a clean separation.
- Replant immediately: Find a suitable spot in your garden for the new divisions, or pot them up in your well-draining mix. Ensure they are planted at the same depth they were previously growing. Water them in thoroughly.
While division is my go-to, I have experimented with stem cuttings with some success, though it requires a bit more fuss.
Stem Cuttings (More Advanced)
- Take cuttings in spring: Look for healthy, non-flowering stems about 4-6 inches long. Make a clean cut just below a leaf node (where a leaf attaches to the stem).
- Prepare the cuttings: Remove the lower leaves, leaving only the top few. If you’re using rooting hormone, dip the cut end into it now.
- Pot them up: Gently insert the cut end into small pots filled with your well-draining potting mix.
- Create a humid environment: Water gently and then cover the pots with a plastic bag, securing it around the pot with a rubber band. This creates a mini-greenhouse.
- Provide warmth: Place the pots in a bright spot, but avoid direct sunlight. Bottom heat, like a heating mat, can significantly boost success rates.
- Be patient: Keep the soil consistently moist (not soggy) by misting. Roots may take several weeks to develop. You’ll know they’ve rooted when you see new growth.
The “Secret Sauce” (Pro Tips)
Here are a few things I’ve learned over the years that can make a big difference:
- When dividing, don’t be afraid to get a bit rough (within reason!). Sometimes, a really firm tug is all it takes to separate healthy sections that might seem stubbornly attached. The plant is more resilient than you think.
- For stem cuttings, if you’re using a propagator with a lid, open it for a few minutes daily to allow for air circulation. This helps prevent fungal issues, which can be fatal to cuttings.
Aftercare & Troubleshooting
Once your divisions or rooted cuttings have established themselves (you’ll notice new growth), treat them gently. Keep them well-watered as they establish, especially during dry spells. Gradually acclimate them to normal garden conditions if they’ve been indoors.
The most common sign of trouble is rot. If your cuttings start to look mushy and discolored, it’s usually a sign of overwatering or poor drainage. If you see this, try to remove the affected part and ensure better air circulation and drier soil. Divisions can sometimes fail to establish if the roots were too dry during transplanting, or if the conditions aren’t to their liking.
A Encouraging Closing
Propagating plants is a beautiful way to connect with nature and expand your garden’s bounty. Don’t get discouraged if your first attempts aren’t perfect. Patience is truly your best gardening tool. Enjoy the process of nurturing these new lives, and soon you’ll have more of those lovely Valerian blooms to admire! Happy gardening!
Resource:
https://identify.plantnet.org/k-world-flora/species/Valeriana%20acutiloba%20Rydb./data