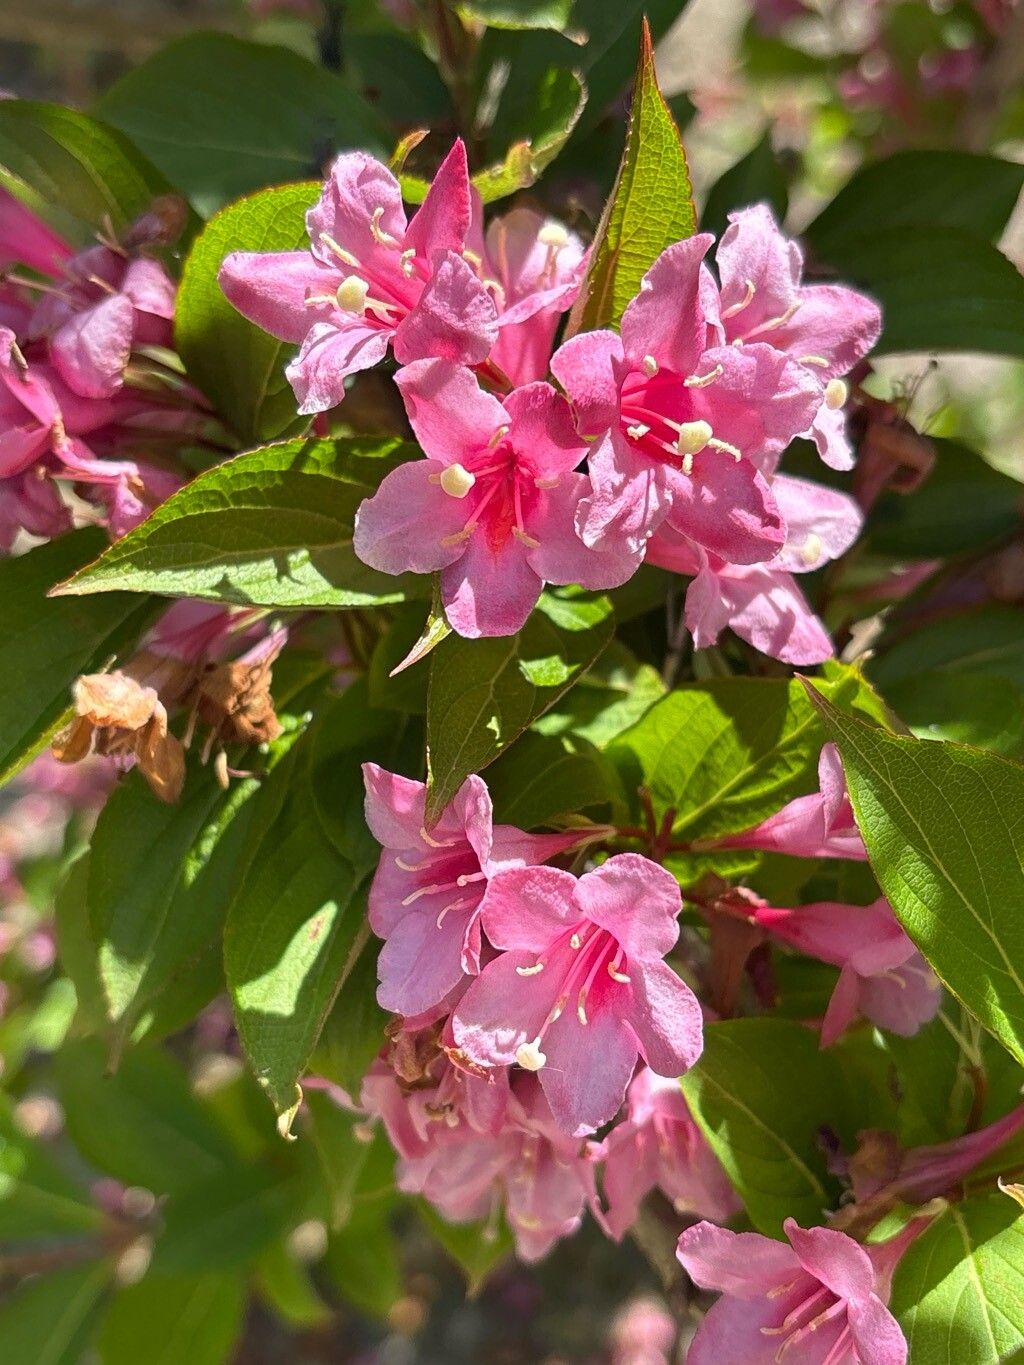
Oh, Weigela japonica! If you’ve ever admired those lovely, trumpet-shaped blooms spilling over your garden fence, you’re not alone. This plant is a real charmer, isn’t it? Soft pinks, vibrant fuchsias, sometimes even a cheerful yellow – each bloom is a little burst of joy. And the best part? You can easily grow your own Weigela beauties right from cuttings! It’s incredibly rewarding to watch a tiny snip of stem transform into a thriving new shrub. For beginners, I’d say Weigela is quite forgiving. You’ll likely have a good success rate if you follow a few simple steps.
The Best Time to Start
My favorite time to take Weigela cuttings is in late spring or early summer. You’re looking for “softwood” growth. This means the new shoots are flexible and green, not yet woody and hard. Think of it as the plant’s energetic growth spurt. These tender pieces root much more readily than older, established wood.
Supplies You’ll Need
Here’s what I always have on hand when I’m taking cuttings:
- Sharp Pruning Shears or a Craft Knife: Cleanliness is key.
- Rooting Hormone: A powder or gel. It really gives your cutting a head start.
- Small Pots or Seed Trays: With drainage holes, of course!
- Propagating Mix: A light, well-draining blend. I usually mix equal parts perlite and peat moss, or a good quality seed-starting mix.
- Plastic Bags or Clear Domes: To create a humid environment.
- Watering Can or Mister: For gentle watering.
Propagation Methods
Let’s get our hands dirty! The easiest and most reliable way to propagate Weigela is through stem cuttings.
- Take Your Cuttings: Select healthy, non-flowering stems from your Weigela plant. Aim for pieces about 4-6 inches long. Make your cut just below a leaf node (that little bump on the stem where leaves emerge). This is where the magic happens, technically speaking.
- Prepare the Cuttings: Gently remove the leaves from the bottom two-thirds of the stem. You want to avoid any leaves being buried in the soil or touching water later on. Leave just a couple of leaves at the top. If the remaining leaves are very large, you can even cut them in half to reduce water loss.
- Dip in Rooting Hormone: If you’re using it, dip the cut end of your stem into the rooting hormone, tapping off any excess.
- Plant Your Cuttings: Fill your pots with your propagating mix. Make a small hole with your finger or a pencil in the center of the soil. Carefully insert the bottom end of your cutting into the hole, making sure the rooting hormone stays in place. Gently firm the soil around the stem to ensure good contact.
- Water Gently: Water thoroughly so the soil is moist but not waterlogged.
Alternative: Water Propagation
If you’re feeling brave and want a visual cue, you can try water propagation. Simply place your prepared cuttings (without rooting hormone) in a jar of clean water, making sure no leaves are submerged. Place the jar in bright, indirect light. Once roots appear, typically after a few weeks, you can then pot them as described above.
The “Secret Sauce”
Here are a few things I’ve learned over the years that make a big difference:
- Don’t Let Leaves Touch the Water: This is crucial, especially for water propagation. Submerged leaves are an invitation for rot.
- Create a Humid Environment: After planting your cuttings, cover the pots with a clear plastic bag, tying it at the rim, or use a clear plastic dome. This traps moisture and keeps your cuttings from drying out. Just make sure there’s a little bit of airflow – a tiny slit in the bag or a few poked holes works, or just lift the dome for a few minutes daily.
- Bottom Heat is Your Friend: If you have a heat mat designed for seedlings, placing your pots on it provides gentle warmth that encourages root development. It’s like a cozy little spa for your cuttings!
Aftercare & Troubleshooting
Once your cuttings are planted, find them a spot with bright, indirect light. Avoid direct sun, which can scorch those tender new leaves. Keep the soil consistently moist but not soggy.
You’ll know your cuttings are rooting when you see new leaf growth and give them a gentle tug – if there’s resistance, roots are forming! This usually takes anywhere from 3-6 weeks. Once they have a decent root system, you can transplant them into slightly larger pots with regular potting soil. Continue to water them regularly.
The most common issue you might face is rot, which shows up as a mushy, black stem. This is usually a sign of too much moisture and not enough airflow. If you spot this, sadly, that cutting is likely lost. Sometimes, cuttings just don’t take, and that’s okay too. It’s part of the gardening adventure!
A Encouraging Closing
Don’t get discouraged if not every single cutting strikes. Gardening is a journey, and patience is a gardener’s greatest virtue. The joy of nurturing a new plant from a tiny piece of another is truly a special reward. So, go ahead, grab your shears, and enjoy the process of growing your own Weigela delights! Happy gardening!
Resource:
https://identify.plantnet.org/k-world-flora/species/Weigela%20japonica%20Thunb./data