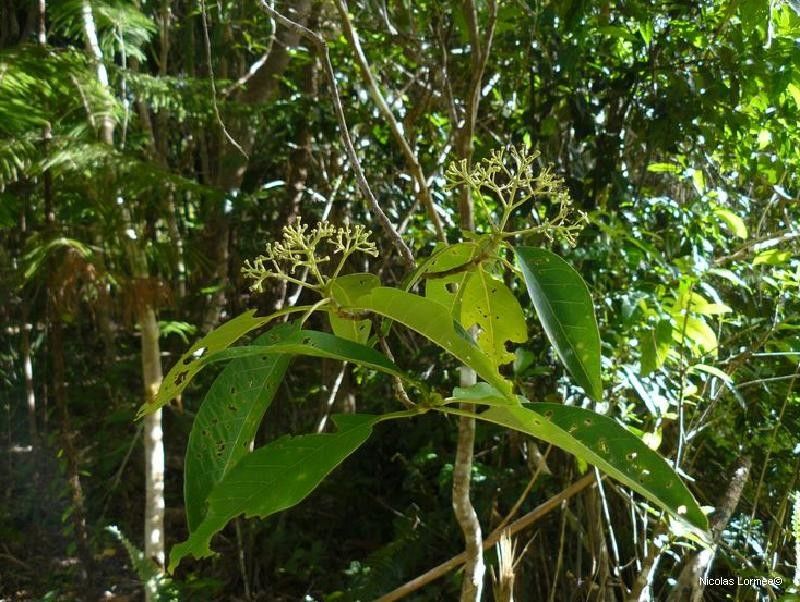
Oh, hello there! Pull up a chair. I’ve been meaning to chat with you about Tarenna lifouana. It’s one of those under-the-radar gems that truly blossoms with a little attention. Its glossy, deep green leaves offer a touch of elegance, and when it graces you with its delicate, fragrant white flowers – oh, it’s pure magic. And the best part? You can create more of this beauty yourself! Propagating Tarenna lifouana is a wonderfully rewarding venture. While it’s not the absolute easiest plant for a complete novice, with a little patience and these tips, you’ll be well on your way to success.
The Best Time to Start
To give your Tarenna lifouana cuttings the best chance, I like to start them in late spring or early summer. This is when the plant is actively growing, and those new, semi-hardwood stems are full of life and ready to root. You want to avoid taking cuttings from very old, woody stems or brand-new, soft, floppy growth. Look for stems that are firm but still a bit pliable.
Supplies You’ll Need
Before we dig in, let’s gather our tools. Having everything ready makes the process much smoother.
- Sharp pruning shears or a clean, sharp knife: For taking clean cuts.
- Rooting hormone (optional but recommended): Especially for woody cuttings.
- Well-draining potting mix: I like a blend of equal parts peat moss or coco coir and perlite or coarse sand.
- Small pots or seedling trays: With drainage holes, of course!
- Plastic bags or a propagator: To create a humid environment.
- Water mister or spray bottle: For light misting.
- Small plant labels: To keep track of your cuttings.
Propagation Methods
Now, let’s get our hands dirty! For Tarenna lifouana, stem cuttings are my go-to method.
- Select Your Parent Plant: Find a healthy, vigorous Tarenna lifouana.
- Take Your Cuttings: Using your clean shears or knife, take cuttings that are about 4-6 inches long. Make your cut just below a leaf node (where a leaf attaches to the stem). This is where the magic happens, where roots are most likely to form.
- Prepare the Cuttings: Gently remove the lower leaves from your cuttings, leaving just a couple of leaves at the top. This prevents them from rotting in the soil. If your leaves are very large, you can even cut them in half to reduce water loss.
- Apply Rooting Hormone (Optional): If you’re using rooting hormone, dip the cut end of each stem into the powder, tapping off any excess.
- Plant Your Cuttings: Fill your small pots or trays with your prepared potting mix. Make a small hole with your finger or a pencil, and gently insert the cut end of the stem into the mix. Firm the soil gently around it.
- Create a Humid Environment: Lightly water the soil. Then, cover the pot or tray with a plastic bag or place it in a propagator. Make sure the plastic doesn’t touch the leaves too much. You can use stakes to prop it up if needed.
- Placement: Place your pots in a bright location, but out of direct sunlight. A warm spot is ideal.
The “Secret Sauce” (Pro Tips)
Here are a few things I’ve learned over the years that can really boost your success rate:
- The Bottom Heat Trick: If you have an old seed heating mat, now’s the time to use it! Providing gentle warmth from below encourages root development like nothing else. Just place your pots on top of it.
- Avoid Leaf Rot: If you are water propagating (which I find slightly less successful for Tarenna than soil but still possible!), make sure none of the leaves are submerged in the water. Only the cut stem should be in contact with the water. Change the water every few days to keep it fresh.
- Patience is a Virtue (and Moisture is Key!): Don’t be tempted to overwater. The goal is to keep the potting mix consistently moist, but not soggy. If you’re using the plastic bag method, you’ll be surprised how long it holds moisture.
Aftercare & Troubleshooting
Once you see tiny white roots emerging from the drainage holes or gentle tugging reveals resistance, your cutting has rooted! This usually takes anywhere from 4 to 8 weeks, sometimes longer.
- Transplanting: Once you have a good root system, you can carefully transplant your new Tarenna lifouana into a slightly larger pot with fresh potting mix. Water it in gently.
- Gradual Acclimation: Slowly introduce your new plant to more light and slightly less humidity over a week or two. Remove the plastic cover gradually.
- Signs of Failure: The most common issue is rot. If your cuttings turn black and mushy, it’s usually due to too much moisture and poor air circulation. If they start to wither and look dry despite being watered, they may not have rooted and died from dehydration. Don’t despair if a few don’t make it; that’s part of the learning process!
There you have it! Propagating Tarenna lifouana is a beautiful way to connect with your plants and fill your home or garden with more of these lovely specimens. Be patient with yourself and your little green charges. Enjoy watching them grow and thrive. Happy propagating!
Resource:
https://identify.plantnet.org/k-world-flora/species/Tarenna%20lifouana%20(Däniker)%20Jérémie/data