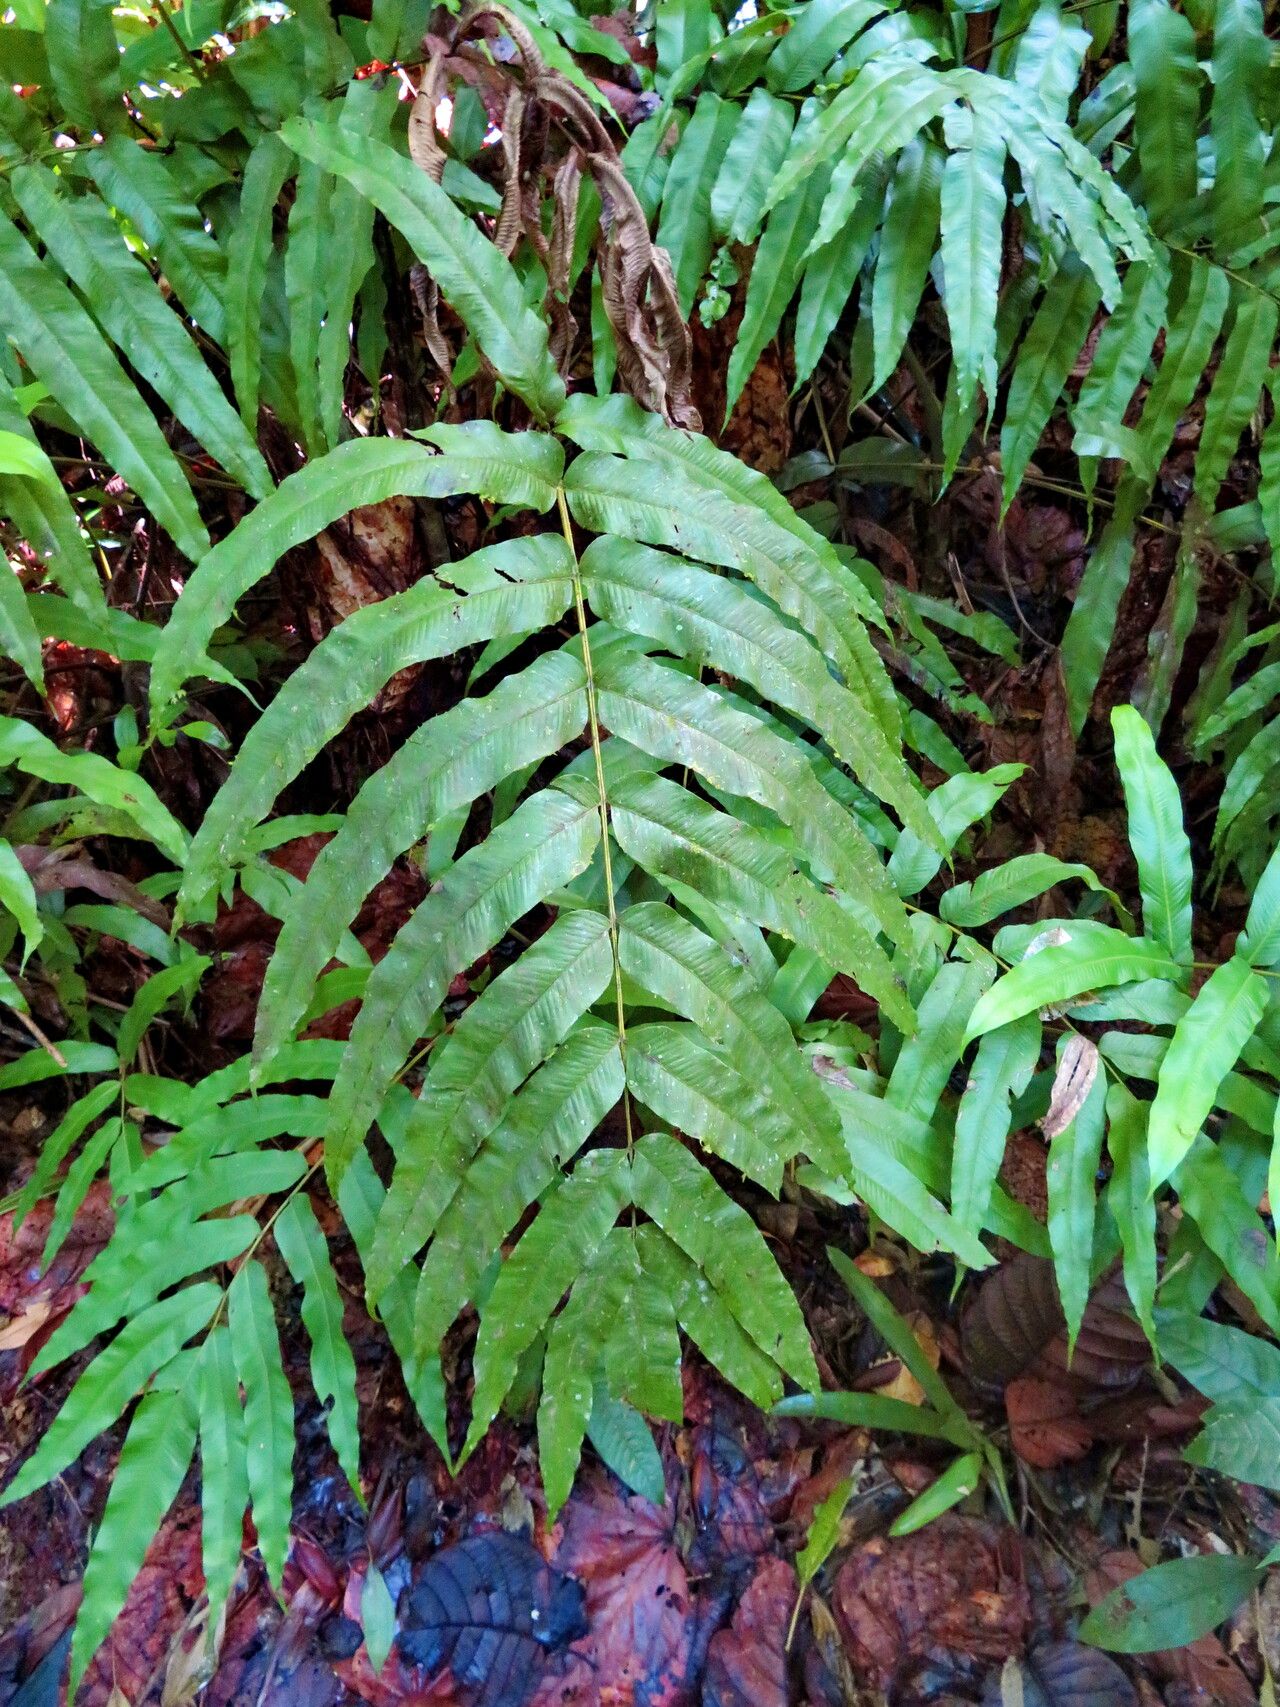
Hey there, fellow plant lovers! Have you ever found yourself gazing at a magnificent Olfersia cervina – that gorgeous fern with its graceful, deer-antler-like fronds – and wished you had another one (or two, or three!) to fill another sunny spot or gift to a plant-loving friend? I know I have! There’s something incredibly satisfying about coaxing new life from a parent plant, and Olfersia cervina is a wonderfully rewarding subject for propagation. While it’s not quite as beginner-friendly as, say, a pothos, it’s definitely achievable with a little patience and attention. Let’s dive in!
The Best Time to Start
For the highest success rates with your Olfersia cervina, aim to propagate in the late spring or early summer. This is when the plant is in its most active growth phase. You’ll find it’s producing fresh, vigorous fronds, which are perfect candidates for taking cuttings. Trying to propagate when the plant is dormant or stressed just won’t yield the results you’re hoping for, as those young parts won’t have the energy to root.
Supplies You’ll Need
Here’s what I always have on hand when I’m ready to get propagating:
- Sharp, sterile pruning shears or a clean knife: This is crucial for making clean cuts and preventing disease. Disinfect with rubbing alcohol.
- Well-draining potting mix: I prefer a mix that’s about 50% perlite and 50% high-quality potting soil for cuttings. For division, a standard fern mix works beautifully.
- Small pots or containers: Terra cotta pots are great as they allow the soil to breathe.
- Rooting hormone (optional but recommended): A powdered hormone can give cuttings an extra boost in establishing roots.
- Clear plastic bags or a propagation dome: To create a humid environment for cuttings.
- Water mister: For keeping humidity levels up.
- Labels and a marker: So you don’t forget what you planted where!
Propagation Methods
Olfersia cervina can be propagated through a couple of reliable methods. I find stem cuttings to be the most common and successful for this fern.
Stem Cuttings
- Identify healthy growth: Look for mature, but not woody, fronds that have at least two healthy pinnae (leaflets) and a bit of stem below them.
- Make a clean cut: Using your sterile shears, carefully cut the frond from the parent plant, ensuring you have a bit of the stem attached. Try to make the cut as close to the main rhizome as possible.
- Prepare the cutting: If the cutting is very large, you can trim it down slightly to reduce moisture loss. Gently remove any lower pinnae that might end up below the soil line – these will just rot.
- Apply rooting hormone (optional): If you’re using rooting hormone, dip the cut end of the stem into the powder, tapping off any excess.
- Plant the cutting: Insert the stem end into your prepared potting mix, burying it just deep enough so it stands upright. You want the soil to be firmly around the stem.
- Create a humid environment: Water the soil gently and then cover the pot with a clear plastic bag, securing it around the rim with a rubber band or clip. Alternatively, use a propagation dome. This creates a mini-greenhouse effect.
- Place in light: Position the pot in a bright spot with indirect light. Avoid direct sun, which can scorch the delicate cutting.
Division
This method is best done when you have a mature, well-established plant that’s starting to fill its pot, often in the spring before active new growth really kicks off.
- Gently remove from pot: Carefully tip the parent plant out of its container.
- Loosen the root ball: Gently tease apart any tightly bound roots with your fingers.
- Identify natural divisions: Look for sections of the rhizome that have their own set of fronds and roots.
- Separate the divisions: Using your hands or a clean knife, carefully split the plant into smaller sections. Make sure each division has a good portion of both roots and fronds.
- Pot up the divisions: Plant each division in its own pot filled with a good fern potting mix. Water gently.
The “Secret Sauce” (Pro Tips)
Here are a few things I’ve learned over the years that really make a difference:
- Don’t let the leaves touch the water. If you’re propogating multiple cuttings in one container, make sure the fronds aren’t dipping into any excess water that might collect at the bottom. Rot city!
- Bottom heat is gold. A heated propagation mat can significantly speed up the rooting process. It mimics the warmth of spring soil and encourages those roots to form much faster. Just ensure it’s not too hot – a gentle warmth is all you need.
- Patience is key, and observation is your friend. Don’t be tempted to pull up your cuttings to check for roots too early! It can damage delicate new growth. Instead, watch for signs of new frond development. That’s your best indicator that roots are forming.
Aftercare & Troubleshooting
Once you start seeing new frond development, that’s your sign that roots have formed!
- Harden off: Gradually introduce your new plant to lower humidity over a week or two. Open the plastic bag a little more each day, or lift the lid of your propagation dome for longer periods.
- Water wisely: Continue to keep the soil consistently moist but not waterlogged. As the plant grows stronger, you can transition it to a regular watering schedule for mature ferns.
- Fertilize gently: Once you see a few new fronds, you can start with a very diluted liquid fertilizer every 4-6 weeks during the growing season.
The most common sign of failure is rot, which usually manifests as black, mushy stems or fronds. This often happens due to overwatering or poor air circulation. If you see this, sadly, the cutting is likely lost. Another sign is simply a lack of new growth after a prolonged period, which might mean it just didn’t take – don’t be discouraged, just try again!
A Encouraging Closing
Growing new plants from cuttings or divisions is a journey, and sometimes the path is a little winding. Be patient with yourself and your new Olfersia cervina babies. The act of nurturing something from a small piece into a thriving plant is incredibly rewarding. So go ahead, grab your shears, and happy propagating! I know you’ve got this.
Resource:
https://identify.plantnet.org/k-world-flora/species/Olfersia%20cervina%20(L.)%20Kunze/data