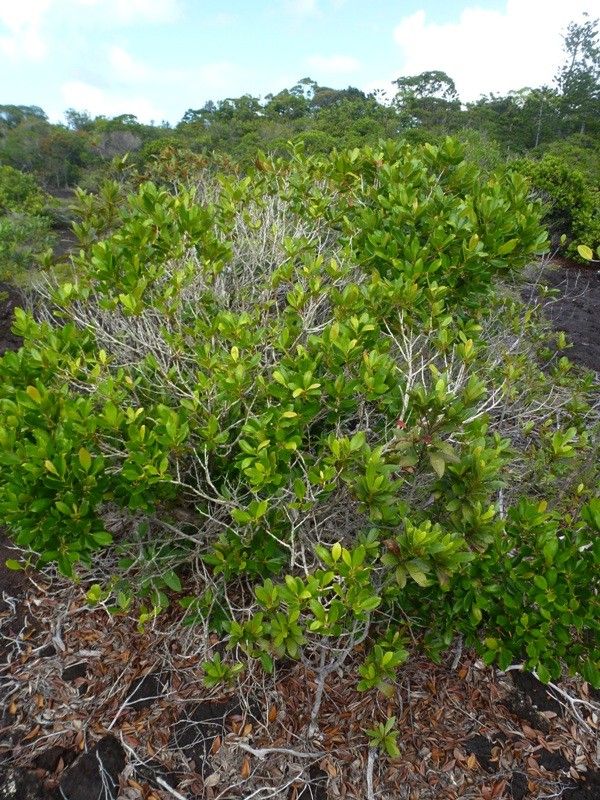
Oh, Tristaniopsis vieillardii! What a gem. If you’ve ever admired its glossy, leathery leaves and the way it seems to glow with health, you’re not alone. This Australian native, often called Water Gum or Kanooka, brings such a lush, tropical feel to the garden, even in cooler climates. And let me tell you, coaxing a new plant from a simple cutting or a bit of division is one of the most satisfying garden joys. For beginners? It’s definitely doable, requiring a little attention to detail but largely forgiving if you’re a touch patient.
The Best Time to Start
Timing is everything in the garden, isn’t it? For Tristaniopsis vieillardii, the sweet spot for increasing your plants is when they’re actively growing, which usually means late spring through summer. You’re looking for new, semi-hardwood growth – think of it as that pencil-thick stage, flexible but not brand new and dangly. This is when the plant has plenty of energy reserves to put into rooting.
Supplies You’ll Need
Before we get our hands dirty, let’s gather our tools:
- Sharp Pruning Shears or a Blade: Cleanliness is paramount to prevent disease transmission.
- Rooting Hormone: A powder or gel will significantly boost your chances.
- Seed Starting Mix or a Well-Draining Potting Mix: I like a mix of equal parts peat moss, perlite, and a bit of vermiculite. Avoid heavy garden soil.
- Small Pots or Propagation Trays: With drainage holes, of course!
- Plastic Bags or a Propagation Dome: To keep humidity high.
- Watering Can with a Fine Rose: For gentle watering.
- (Optional but Recommended) Bottom Heat Mat: This is a game-changer for root development.
Propagation Methods
Let’s get these beauties started!
Stem Cuttings (My Go-To)
This is how I usually increase my Tristaniopsis.
- Take Your Cuttings: From your healthy parent plant, select a stem that’s about 4-6 inches long and has at least a couple of sets of leaves. Make a clean cut just below a leaf node. Remove the lower leaves, leaving about two to four at the top.
- Prepare the Cutting: Dip the cut end into your rooting hormone, tapping off any excess.
- Plant Your Cuttings: Fill your pots with your prepared mix and make a small hole with a pencil or your finger. Gently insert the cutting, firming the soil around it. They should stand upright.
- Water Gently: Give them a light watering to settle the soil.
- Create a Humid Environment: Cover the pot with a clear plastic bag, using stakes to keep it off the leaves, or pop it under a propagation dome. Place it in a bright spot out of direct sunlight.
Water Propagation (Simple and Satisfying)
This method works for Tristaniopsis, though I find stem cuttings are often more reliable for larger growth.
- Select and Prepare Cuttings: Choose a similar stem cutting as described above, though you can go a little shorter, perhaps 3-4 inches. Remove all but the top two leaves.
- Place in Water: Find a clean jar or glass and fill it with fresh, room-temperature water. Submerge the cut end of the stem, making sure no leaves are touching the water. This is crucial to prevent rot.
- Change Water Regularly: Over the next few weeks, change the water every few days to keep it fresh and oxygenated.
- Watch for Roots: You’ll start to see tiny white nubs emerge from the leaf nodes. Once these roots are about an inch long, it’s time to move them to soil. Plant them in your small pots with the well-draining mix as you would stem cuttings.
The “Secret Sauce” (Pro Tips)
Here are a few things I’ve learned over the years:
- Don’t Be Afraid to Prune the Leaves: If your cuttings have larger leaves, I sometimes give them a light trim by cutting them in half. This reduces water loss through transpiration, helping the cutting conserve energy while it roots.
- Bottom Heat is Your Best Friend: If you can invest in a bottom heat mat, do it! Tristaniopsis roots much faster with that gentle warmth from below. It mimics the natural soil temperatures of their native habitat and really encourages root development.
- Sterilize Everything: I’m a bit of a germ freak when it comes to propagation. Sterilize your pruners, your pots, even your hands before you start. It’s a simple step that dramatically reduces the risk of fungal infections and rotting.
Aftercare & Troubleshooting
Once those lovely roots start to develop (you’ll see new leaf growth as a good sign!), it’s time for a little TLC.
- Gradually Acclimate: Slowly remove the plastic covering over a week or so to let your new plants get used to normal humidity.
- Potting Up: When your new plants have developed and are starting to fill their small pots, it’s time to pot them into slightly larger containers with fresh, good-quality potting mix.
- Water Wisely: Keep the soil consistently moist but never soggy. Allow the top inch of soil to dry out slightly between waterings.
- Signs of Trouble: The most common culprit is rot. If your cutting wilts and turns mushy or black, it’s likely rotted. This is often caused by too much moisture and poor air circulation. If you see this, sadly, it’s time to start again. Another sign of failure is no new growth after several weeks, which might mean it didn’t root or it’s just a bit slow.
A Gentle Encouragement
Now, go forth and propagate! Don’t get discouraged if your first few attempts aren’t perfect. Gardening is an adventure, and propagation is a wonderful way to learn more about your plants and your own green thumb. Be patient, observe your cuttings, and enjoy the process. Watching a new life emerge from something small is truly a gift. Happy gardening!
Resource: