Oh, hello there! Grab your favorite mug, because we’re going to chat about something truly special today: Thelypteris leprieurii, often called the Amazon Tree Fern.
Introduction: A Touch of the Tropics
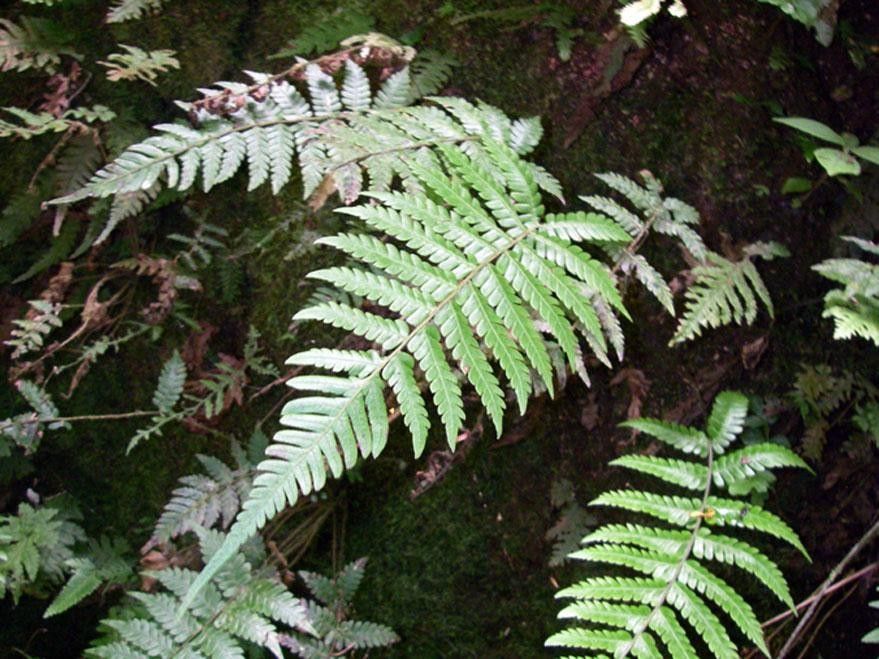
Isn’t it just breathtaking? Those incredibly lush, feathery fronds just scream “tropical paradise,” don’t they? Bringing a bit of that wild, untamed beauty into our homes or gardens is such a joy. And the best part? Propagating this stunner is more accessible than you might think. While it might seem a little intimidating at first glance, I’ve found Thelypteris leprieurii to be quite forgiving, even for those who are just dipping their toes into the wonderful world of propagation. It’s incredibly rewarding to watch a tiny piece of this magnificent fern transform into its own vibrant self.
The Best Time to Start
For the highest success rate, spring is your golden ticket. This is when your mature Thelypteris leprieurii is bursting with new growth, brimming with energy. Aim for a time when the days are getting longer and warmer, and you’re seeing those young, bright green fronds unfurl. This vigor translates beautifully into successful propagation.
Supplies You’ll Need
Here’s what you should have on hand:
- Sharp, clean pruning shears or a razor blade: For making nice, neat cuts.
- Well-draining potting mix: I often use a blend of peat moss, perlite, and a little bit of regular potting soil. Think light and airy!
- Small pots or containers: Clean ones, of course! Yogurt cups with drainage holes poked in work in a pinch.
- Rooting hormone (optional but helpful): A powder or gel can give your cuttings a nice boost.
- Watering can or spray bottle: For gentle hydration.
- Plastic bags or a propagation dome: To create a humid environment.
- A warm spot: Near a radiator or on a heat mat can be beneficial.
Propagation Methods
Let’s get our hands dirty! We’ll focus on the method that works best for Thelypteris leprieurii: division.
Division: Sharing the Abundance
Ferns like Thelypteris leprieurii often form clumps, and the easiest way to propagate them is by dividing these clumps.
- Gently Remove from Pot: Carefully take your mature fern out of its pot. If it’s a bit snug, a gentle squeeze around the sides of the pot usually does the trick.
- Examine the Root Ball: Look at the base of the plant. You’ll want to identify distinct sections with their own emerging fronds and roots.
- Separate the Divisions: This is the crucial step. Using your clean hands or a sharp knife, carefully pull or cut the clump apart. Aim for sections that have at least one or two healthy fronds and a good mass of roots. It’s better to have smaller, well-rooted divisions than large ones with weak roots. Don’t be afraid if a few roots break; they’ll bounce back.
- Pot Up Your New Babies: Plant each division into its own pot filled with your well-draining potting mix. Make sure the crown of the plant (where the fronds emerge) is at soil level.
- Water Gently: Water thoroughly after potting, ensuring the soil is evenly moist but not waterlogged.
The “Secret Sauce” (Pro Tips)
Now, a couple of little tricks I’ve learned over the years that really make a difference:
- Don’t Over-Complicate the Soil: While we want good drainage, don’t go too extreme. A slightly more moisture-retentive mix, like the one I mentioned with peat, is perfect. They love a bit of humidity around their roots.
- Mimic the Jungle Floor: After dividing and potting, I immediately cover each new pot with a clear plastic bag or pop it into a mini greenhouse. The increased humidity is crucial for these divisions to establish without drying out. Make sure the bag doesn’t touch the fronds for too long, though – a little airflow is good.
- Little and Often with Light Watering: Once they’re covered and happy, resist the urge to flood them. Check the soil moisture regularly. A light spray from your mister or a small amount of water from your watering can is often enough. You want the soil to be consistently damp, not soggy.
Aftercare & Troubleshooting
Once you see signs of new growth – typically new fronds unfurling – you’re on the right track! Gradually lower the humidity levels by opening the plastic bag a little more each day over a week or two. As the plant becomes more established, you can treat it like your mature fern.
What if things aren’t looking so great? Rot is the most common culprit if a division fails. This usually happens from overwatering and poor drainage. If you notice mushy stems or blackening roots, it’s likely rot. Unfortunately, there’s not much you can do once rot sets in. The key is prevention: good drainage, not overwatering, and plenty of airflow once the humidity domes come off. If a frond yellows and crisps up, it might just be the plant shedding an older frond. Give it time; new growth is a great sign!
A Encouraging Closing
Propagating Thelypteris leprieurii is a journey, and like all good gardening adventures, it requires a little patience. Don’t be discouraged if your first attempt isn’t perfect. Each plant has its own personality, and learning to understand what yours needs is part of the magic. So go ahead, give it a try! Enjoy the process, revel in the satisfaction of nurturing new life, and soon you’ll have more of these gorgeous Amazon Tree Ferns to share. Happy growing!
Resource: