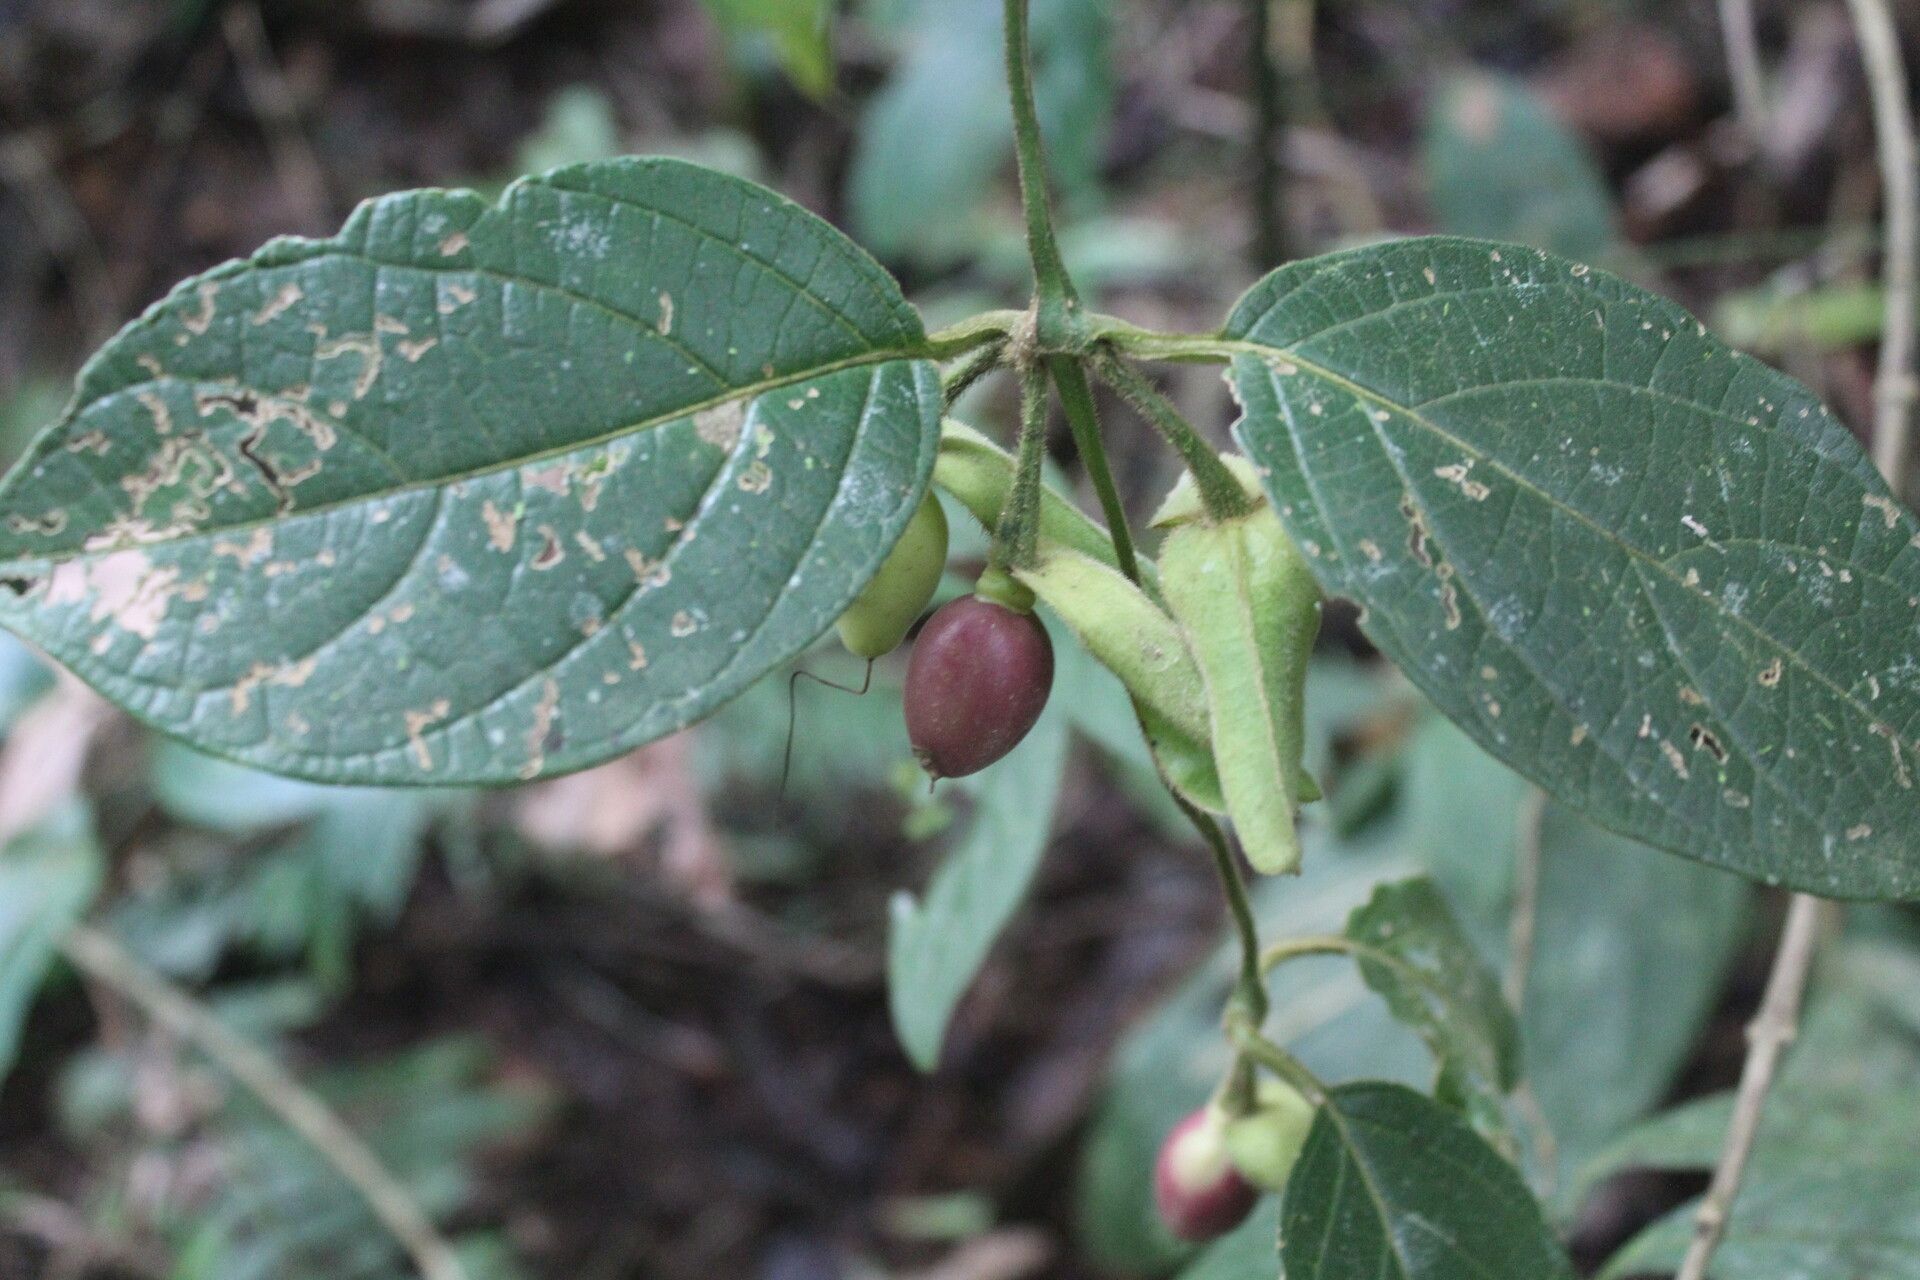
Oh, Mendoncia brenesii! If you’ve seen this beauty unfurl its velvety, dark green leaves, I bet you’re hooked. Its elegant form and lush foliage bring such a sophisticated touch to any indoor space. And let me tell you, sharing your love for this plant by propagating it yourself is incredibly satisfying. It’s not the absolute easiest plant to start with for a complete beginner, but with a little patience and these tips, you’ll be well on your way to success. It’s a special plant, and bringing new ones to life feels like a little bit of magic.
The Best Time to Start
For Mendoncia brenesii, spring and early summer are your golden ticket. This is when the plant is in its most vigorous growth phase, meaning any cuttings you take will have a much better chance of taking root quickly. You want to take cuttings from stems that are actively growing, not from old, woody growth or brand-new, super-soft shoots. Think of it as getting cuttings when the plant is full of energy!
Supplies You’ll Need
Here’s a little kit you’ll want to gather before you dive in:
- Sharp, clean pruning shears or a sharp knife: This is crucial for making clean cuts and preventing disease.
- Potting mix: A well-draining, airy mix is key. I’m a fan of a 50/50 blend of good quality potting soil and perlite or coarse sand. You can also use a specialized propagation mix.
- Small pots or propagation trays: Clean, empty pots will do the trick.
- Plastic bag or humidity dome: To keep those precious cuttings cozy and humid.
- Rooting hormone (optional, but recommended): Powder or gel forms work well. It’s like a little boost for your cuttings.
- Water: For watering and potentially for water propagation.
- Labels and a pen: Trust me, you’ll thank yourself later for labeling your cuttings!
Propagation Methods
Mendoncia brenesii is quite happy to be propagated from stem cuttings. It’s straightforward and usually yields great results.
Stem Cuttings
- Find a healthy stem: Look for a stem that has at least two or three sets of leaves and is neither too soft nor too woody.
- Make the cut: Using your clean shears or knife, make a cut just below a leaf node. A leaf node is that little bump where a leaf sprouts from the stem. This is where the magic happens for root development. Aim for cuttings about 4-6 inches long.
- Prepare the cutting: Gently remove the lower leaves from the cutting, leaving just the top one or two sets. If the remaining leaves are very large, you can cut them in half to reduce water loss.
- Apply rooting hormone (if using): Dip the cut end of the stem into your rooting hormone. Tap off any excess.
- Plant your cutting: Make a small hole in your prepared potting mix with your finger or a pencil. Insert the cut end of the stem into the hole. Gently firm the soil around the stem.
- Water gently: Water the soil thoroughly but avoid oversaturation. You want the soil to be moist, not soggy.
- Create a humid environment: Place the pot inside a plastic bag (tent it over the pot with a couple of skewers if needed) or cover it with a clear plastic lid or humidity dome. This traps moisture, which is vital for cuttings.
- Placement: Put the pot in a bright spot, but out of direct sunlight. A little warmth from a sunny window or a heat mat is beneficial.
The “Secret Sauce” (Pro Tips)
Here are a couple of things I’ve learned over the years that seem to make all the difference with particularly fussy rooters:
- No Soggy Bottoms for Leaves: This is vital! When you pot your cuttings, or if you’re doing water propagation, ensure no leaves are touching the soil or the water level. Any submerged foliage will quickly rot and can take your whole cutting down with it. Trim those lower leaves generously!
- Bottom Heat is Your Friend: If you have a seedling heat mat, use it! Placing your pots of cuttings on a gentle heat source can significantly speed up root formation. It mimics the warmth of the soil after a spring rain and really encourages those roots to get going.
Aftercare & Troubleshooting
Once you see signs of new growth – perhaps tiny leaves unfurling from the top or even, if you’re brave enough to peek, little nubs of roots at the drainage holes – you’re on the right track!
- Gradual Acclimation: Slowly start to acclimate your new plant to normal room humidity. Gradually open the plastic bag or dome over a week or two.
- Watering: Water when the top inch of soil feels dry. Continue to be mindful of not overwatering.
- Transplanting: Once the roots are well-established and you see good, solid growth, you can transplant your new Mendoncia into its own small pot with fresh potting mix.
The most common issue you’ll face is rot. If your cutting turns black and mushy, it’s usually a sign of too much moisture and not enough air circulation. If you see mold on the soil surface, that’s another indicator to ease up on the watering and ensure good airflow. Don’t be discouraged if a few tries don’t work out; gardening is always a learning process!
Happy Propagating!
See? It’s really not too intimidating. With a bit of care and these straightforward steps, you’ll be creating your own little Mendoncia brenesii family in no time. Be patient with yourself and with the plants. Each new bud and root is a victory. Enjoy the rewarding journey of watching your new plants thrive!
Resource: