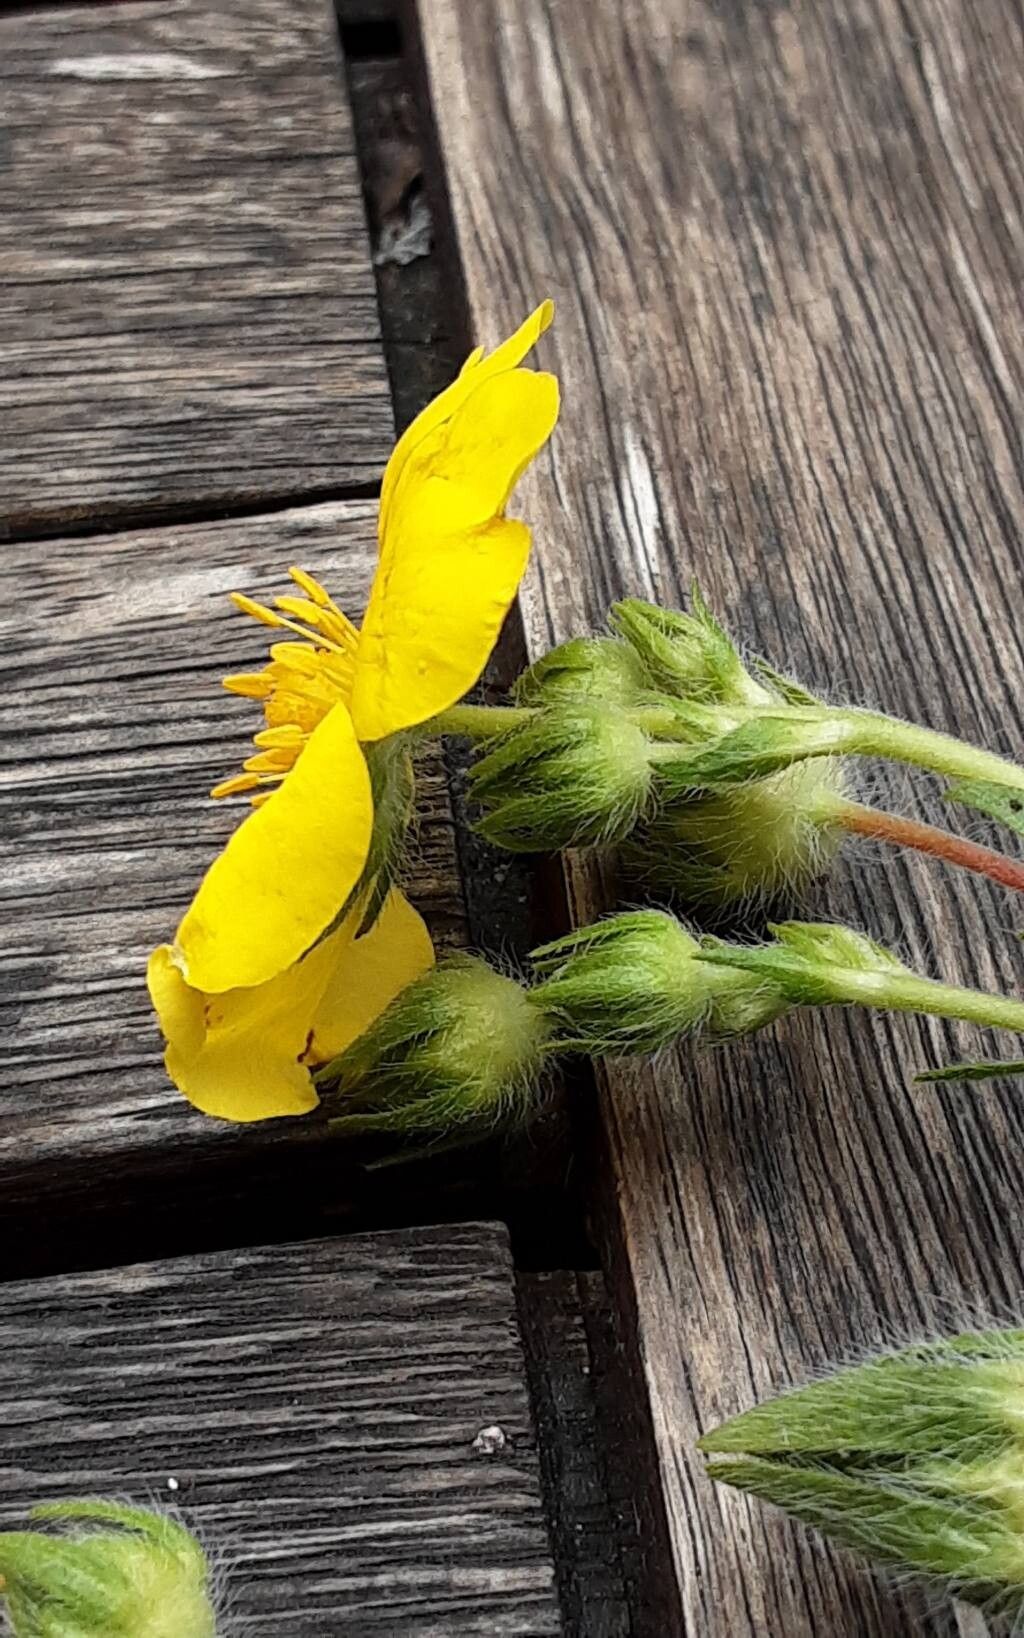
Hello, fellow garden enthusiasts! It’s so wonderful to have you here for a chat about a plant that truly deserves more attention: Potentilla hirta. Around my garden, these beauties are a burst of sunshine, with their cheerful yellow or apricot blooms that practically hum with life from late spring right through summer. They offer such a lovely, informal charm, and honestly, coaxing a new plant into existence from an existing one is one of the most satisfying parts of gardening. If you’re a beginner looking to try your hand at propagation, you’ll be happy to know that Potentilla hirta is generally quite forgiving, making it a fantastic choice to start with!
The Best Time to Start
For the highest success rate when propagating Potentilla hirta, I find that late spring or early summer is your golden ticket. This is when the plant is actively growing, and you can take cuttings from healthy, non-flowering shoots. It’s also a great time to think about division after the main flowering flush has passed, usually in the early autumn. This gives the divisions plenty of time to establish before winter sets in.
Supplies You’ll Need
Gathering your supplies is half the battle, isn’t it? It makes the whole process so much smoother. Here’s what I usually have on hand:
- Sharp pruning shears or a clean, sharp knife: For making nice, clean cuts.
- Small pots or seed trays: For your cuttings and divisions.
- Well-draining potting mix: A good seedling mix or a blend of peat moss, perlite, and a little compost works wonders.
- Rooting hormone (optional but recommended): A powder or gel can give your cuttings an extra boost.
- Watering can with a fine rose: To water gently without disturbing your new charges.
- Labels and a permanent marker: So you don’t forget what you planted where!
- A plastic bag or propagator lid: To create a humid environment for cuttings.
- For division: A garden fork or trowel.
Propagation Methods
Let’s get our hands dirty with a couple of reliable methods for Potentilla hirta.
1. Stem Cuttings: A Garden Classic
This is my go-to for making more of these lovely plants.
- Choose Your Cuttings: Select healthy, non-flowering, semi-hardwood stems from your mature Potentilla hirta. You’re looking for stems that are a little firm but still flexible. Aim for pieces about 4-6 inches long.
- Make the Cut: Using your clean pruners, cut just below a leaf node. This is the point where leaves emerge from the stem.
- Prepare the Cuttings: Gently remove the lower leaves from the bottom half of the cutting. This prevents them from rotting when you insert them into the soil. If there are any flower buds, pinch them off. You can then dip the cut end into your rooting hormone, tapping off any excess.
- Planting Time: Fill your small pots with the well-draining potting mix. Make a small hole in the center with your finger or a pencil. Insert the prepared cutting into the hole, firming the soil gently around it.
- Create a Humid Environment: Water the soil thoroughly. Then, cover the pot with a clear plastic bag or place it in a propagator. Make sure the leaves don’t touch the plastic.
2. Division: The Natural Multiplier
If your Potentilla hirta has become a bit of a bush, division is a fantastic way to rejuvenate it and gain new plants.
- Digging Up: The early autumn, after flowering, is ideal. Carefully dig around the plant with a fork or trowel, lifting the entire root ball from the ground.
- Separating the Divisions: Gently tease the root ball apart with your fingers or a trowel. You’re looking for sections that have healthy roots and shoots. Don’t be afraid to be a little firm, but try not to damage the roots too much.
- Replanting: You can either replant the larger divisions directly back into their original spot (or a new one!) or pot them up individually. Ensure they are planted at the same depth they were growing before, firming the soil around them. Water them well.
The “Secret Sauce” (Pro Tips)
Here are a couple of little tricks I’ve picked up over the years that really make a difference:
- Bottom Heat is Your Friend: For stem cuttings, placing the pots on a warm propagator mat or in a warm spot in the greenhouse can significantly speed up root development. It mimics that lovely, cozy feeling that encourages growth.
- Air Circulation is Key: Even though we want humidity for cuttings, too much stagnant air can lead to fungal issues. Open the plastic bag or propagator lid for a short period each day to allow for some fresh air exchange. You’ll see tiny droplets of condensation inside – that’s what you want!
Aftercare & Troubleshooting
Once your Potentilla hirta cuttings have started to root (you might see new leaf growth or feel a gentle tug when you try to lift a cutting), it’s time to adjust their care. Gradually remove the plastic humidity cover over a few days to harden them off. Continue to water them regularly, keeping the soil evenly moist but not waterlogged.
The most common sign of trouble is rot. If your cuttings turn mushy, black, or wilt dramatically despite being watered, it’s likely rot. This usually happens from too much moisture and not enough air. If you see this, sadly, it’s best to discard the affected cuttings and try again, paying extra attention to drainage and air circulation. For divisions, watch for wilting, which can sometimes occur as they settle in. Consistent watering usually helps them bounce back.
A Little Encouragement
Propagating plants is a journey, and like all journeys, it has its moments of wonder and occasional detours. Be patient with your Potentilla hirta cuttings and divisions. Gardening is all about observation and learning, so don’t be discouraged if not every attempt is a roaring success. The joy is in the trying, the nurturing, and eventually, in seeing those new little plants thrive. Happy gardening!
Resource:
https://identify.plantnet.org/k-world-flora/species/Potentilla%20hirta%20L./data