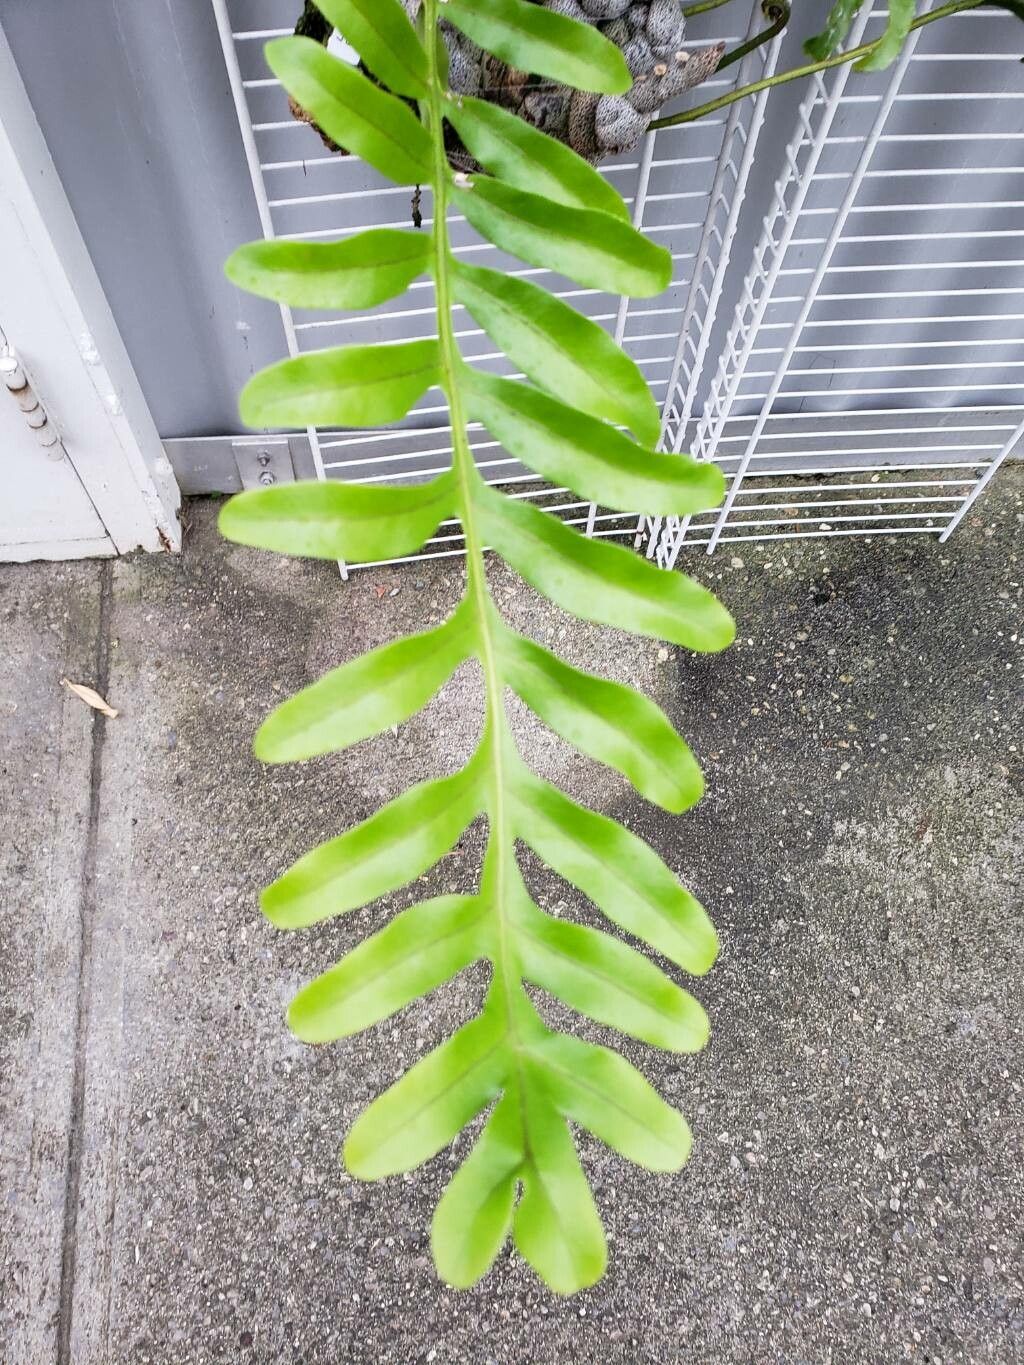
Oh, hello there! I’m so glad you’ve stopped by. Today, we’re diving into the wonderful world of a truly unique plant: Lecanopteris lomarioides. You might know them as Ant Ferns, and honestly, they’re a joy to have. Their frilly, almost delicate fronds, coupled with their fascinating symbiotic relationship with ants (though you won’t see that at home, sadly!), make them a real conversation starter.
Propagating Lecanopteris lomarioides might sound a bit intimidating, but I promise you, it’s a deeply rewarding experience. It gives you a chance to multiply these beauties and share them with friends, or just fill your own space with more greenery. For beginners? I’d say it’s moderately challenging – it requires a gentle hand and a bit of patience, but it’s absolutely achievable with the right approach.
The Best Time to Start
For these lovelies, the spring and early summer are your golden window. Think of it as when everything in nature is kicking into high gear. Your plant will be actively growing, pushing out new shoots and energy. This robust growth period means cuttings will be more vigorous and more likely to root successfully. So, aim for March through June, when your plant is clearly showing signs of life and getting ready for its annual burst of growth.
Supplies You’ll Need
Gathering your tools beforehand makes the whole process smoother. Here’s what I usually have on hand:
- Sharp Pruning Shears or a Clean Knife: For making nice, clean cuts.
- Potting Mix: A well-draining mix is crucial. I like to combine equal parts peat moss or coco coir with perlite or pumice. You want it to hold some moisture but never become waterlogged.
- Small Pots or Trays: Clean pots, about 3-4 inches in diameter, or even propagation trays work well.
- Rooting Hormone (Optional but helpful): A powdered or liquid hormone can give your cuttings a boost.
- Plastic Bag or Dome: To create a humid environment for your cuttings.
- Spray Bottle: For misting.
- Labels: So you don’t forget what you’ve planted!
Propagation Methods
When it comes to Lecanopteris lomarioides, the most successful method I’ve found is stem cuttings and a touch of water propagation to get things started.
Stem Cuttings
- Select a Healthy Parent Plant: Look for a mature Lecanopteris that has plenty of healthy stems, ideally with some new growth showing.
- Take Your Cuttings: Using your clean shears, cut a stem about 4-6 inches long. Make the cut just below a node (where a leaf attaches to the stem). Try to get cuttings that have at least two or three nodes on them.
- Prepare the Cuttings: Gently remove the lower leaves from the cutting, leaving just a couple of leaves at the top. This prevents them from rotting when they’re in the soil or water.
- Apply Rooting Hormone (Optional): If you’re using rooting hormone, dip the cut end of the stem into the powder or liquid. Tap off any excess.
- Planting:
- In Soil: Fill your clean pots with your prepared well-draining mix. Make a little hole with your finger or a pencil, and gently insert the cut end of the stem. Tuck the soil in gently around the stem to ensure good contact.
- In Water: You can also place 1-2 prepared cuttings in a jar or glass of water. Ensure the nodes closest to the cut end are submerged, but try not to let the remaining leaves touch the water.
- Create Humidity: If planting in soil, water gently and then cover the pot with a clear plastic bag or a propagation dome. If in water, you can place the jar in a plastic bag. This creates a humid microclimate, which is vital for rooting.
- Placement: Place your pots or jars in a bright spot that receives indirect light. Avoid direct sun, as it can scorch the delicate cuttings.
Water Propagation (Initial Stage)
This is a great way to visually monitor root development. Once you see tiny roots emerging from the nodes after a few weeks in water, you can then carefully transplant these into your well-draining potting mix. Handle the nascent roots with extreme care.
The “Secret Sauce” (Pro Tips)
Here are a few little tricks I’ve learned over the years that seem to make a big difference:
- Don’t Overwater the Cuttings: This is probably the #1 killer. The cuttings are trying to grow roots, not drown. Let the top of the soil dry out slightly between waterings. If you’re using a plastic bag, you’ll be misting less frequently. In fact, I often find that a light misting every few days is all they need once they’re covered.
- Bottom Heat is Your Friend: If you have a seedling heat mat, place your pots on it. This gentle warmth from below encourages root development significantly and speeds up the process. It mimics the warm soil of spring.
- Be Patient with the Leaves: If you’re doing the water method, it’s really about keeping those stem nodes in the water, not the leaves. If leaves are submerged, they’ll rot and can take the whole cutting down with them.
Aftercare & Troubleshooting
Once you start seeing new leaf growth on your cuttings, that’s a fantastic sign they’ve rooted!
- Acclimatization: Gently remove the plastic bag or dome for a few hours each day to gradually acclimate them to the normal humidity of your home. Slowly increase the time they are exposed until you can remove the cover permanently.
- Watering: Water when the top inch of soil feels dry. Continue to use your well-draining mix and ensure good drainage in the pot.
- Fertilizing: Wait until your new plant is well-established and showing consistent new growth (usually a couple of months) before offering a very diluted dose of liquid fertilizer every few weeks during the growing season.
Troubleshooting:
The most common issue you’ll face is rot. This is almost always due to overwatering or poor drainage. If you notice the stem turning black or mushy, or the leaves wilting dramatically and developing brown spots, it’s likely rot. At this point, it’s often too late to save the cutting. Prevention is key: use that well-draining mix and water judiciously. Sometimes, you might not see any root growth for a while. Don’t give up too soon! Some plants can take weeks, even months, to show signs of rooting. Gentle tugging on the cutting will reveal resistance if roots have formed.
A Little Encouragement
So there you have it! Propagating Lecanopteris lomarioides is a journey, not a race. Enjoy the process, get your hands dirty, and don’t be discouraged if your first attempt isn’t perfect. Each cutting you try, each pot you fill, teaches you something new. Happy propagating – I can’t wait to hear about your successes!
Resource: